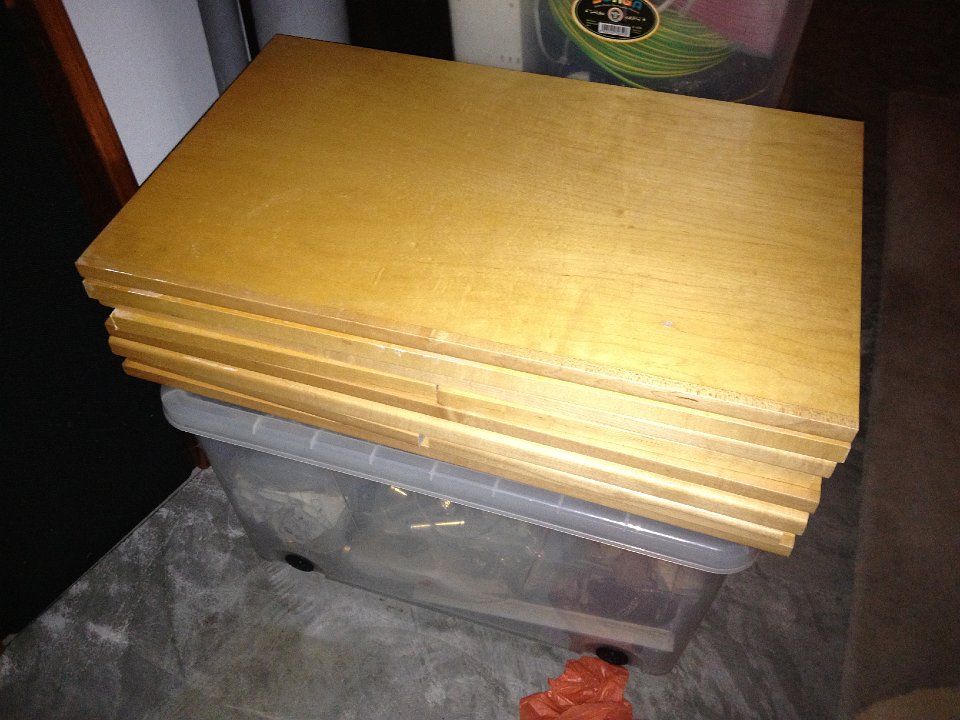
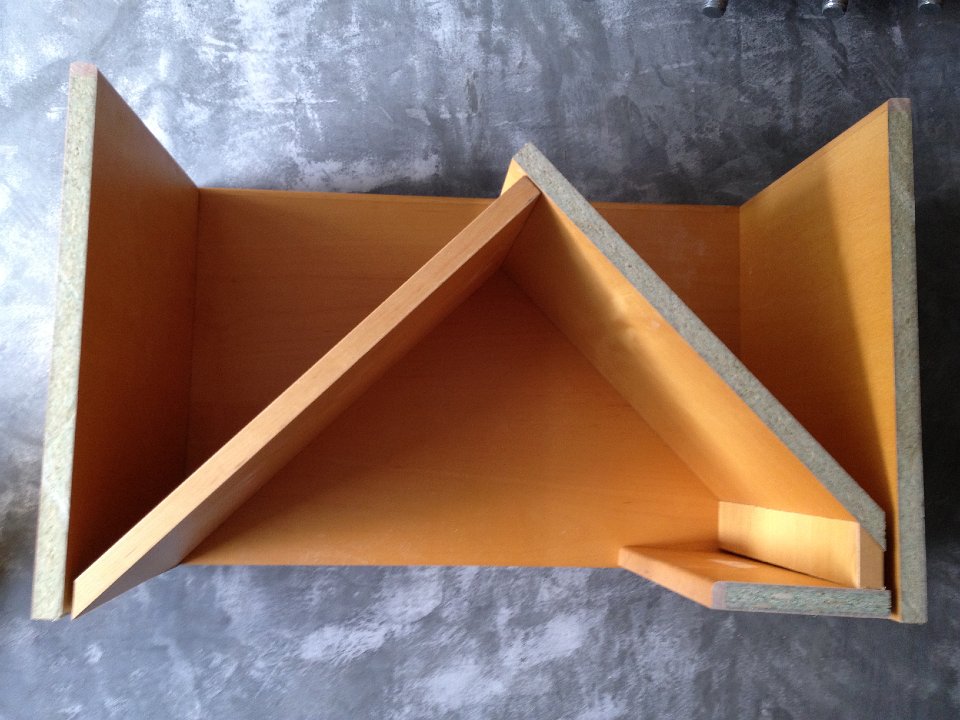
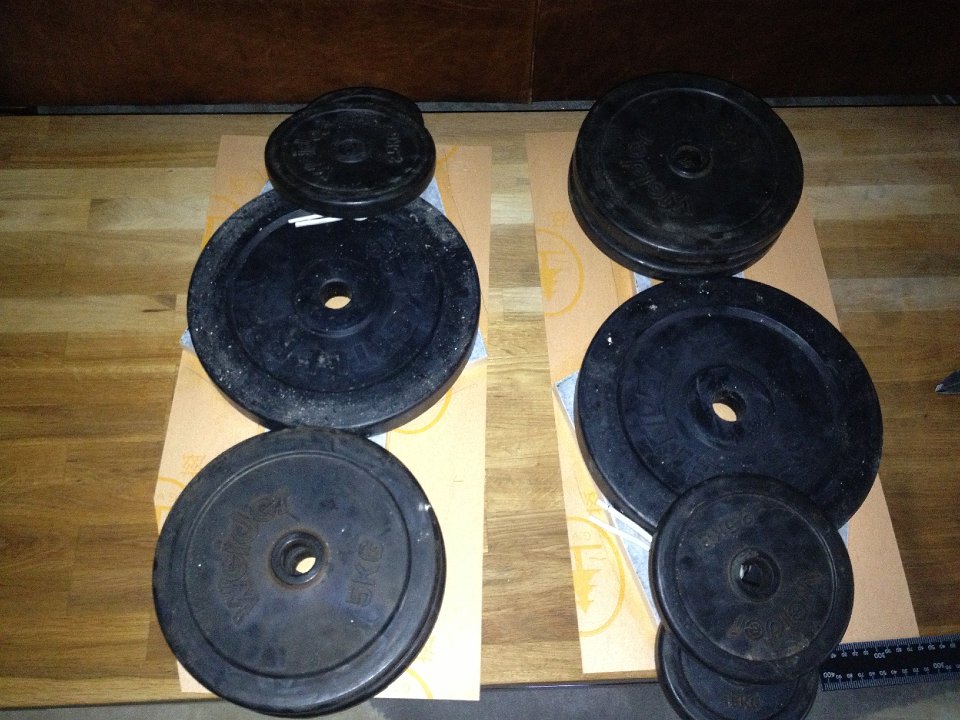
 1 Shelving that will be used to Build the LX521's |
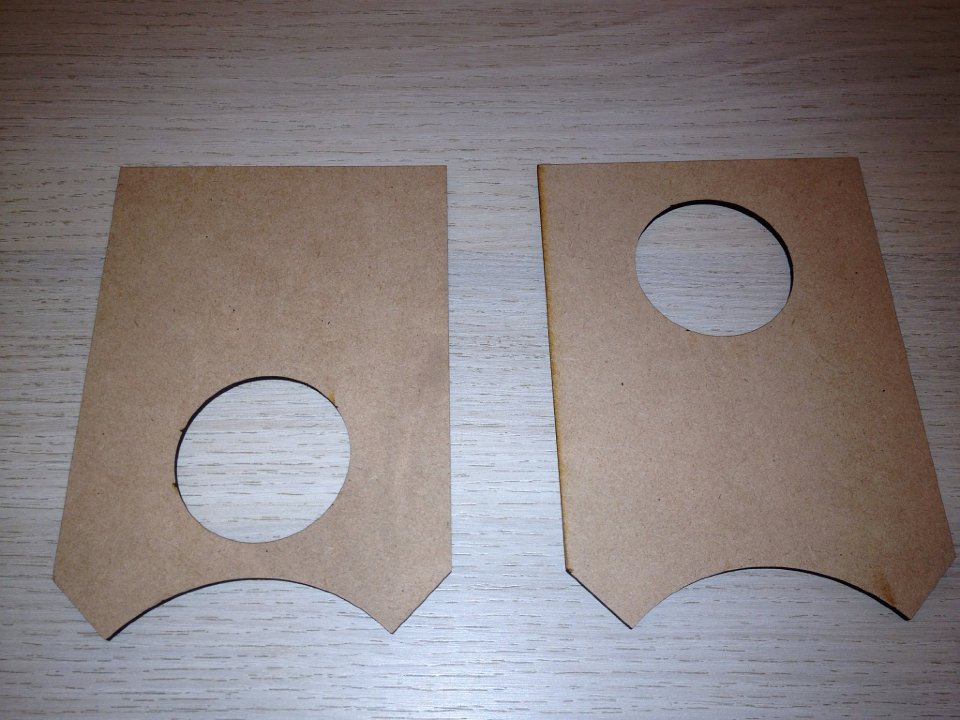 2 Laser cut Tweeter Baffles |
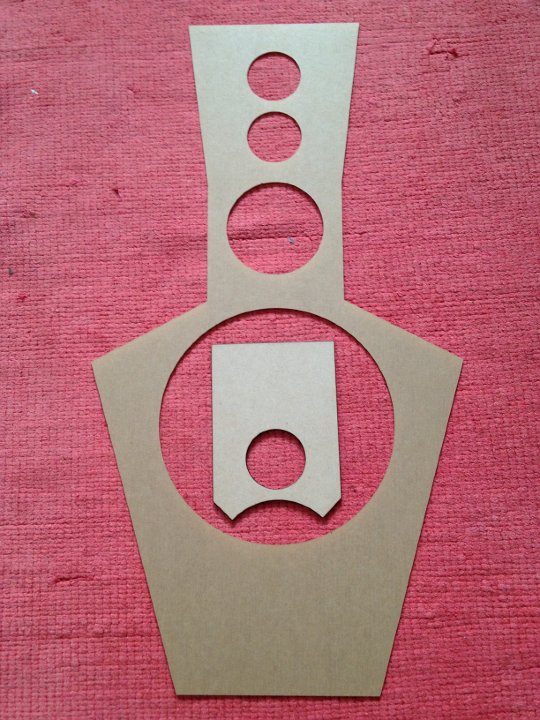 3 Laser cut Upper Baffles at www.plixo.com.sg |
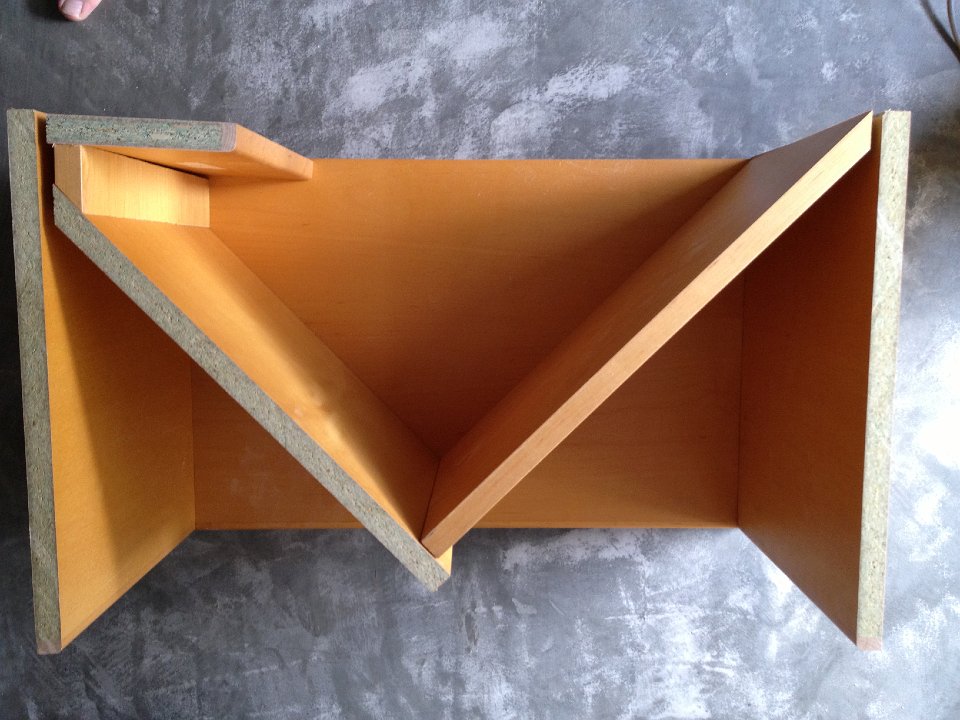
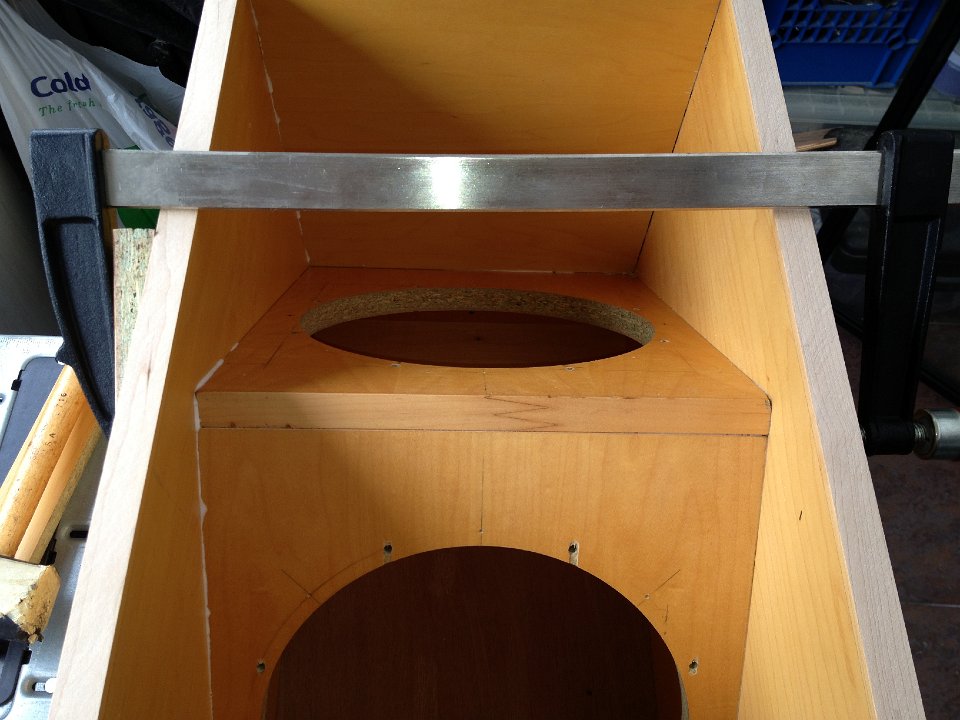
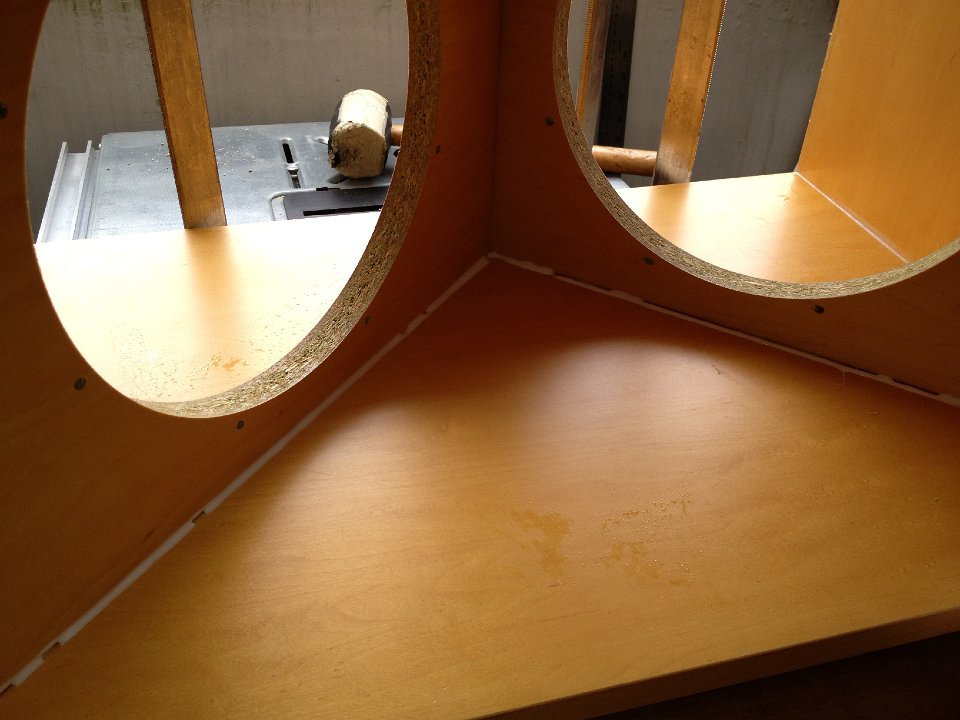
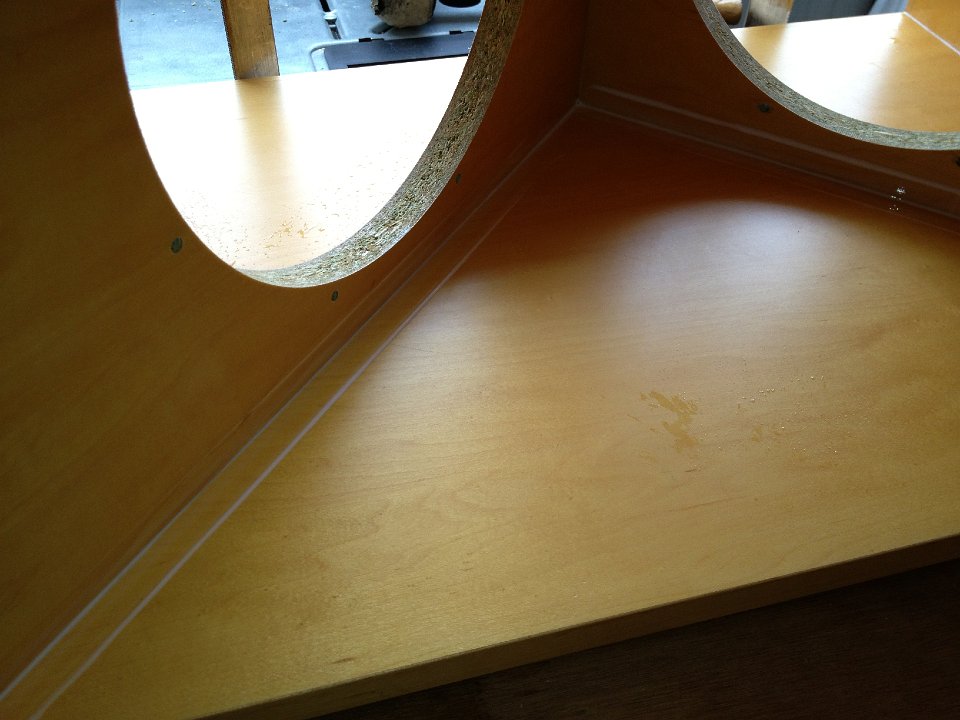
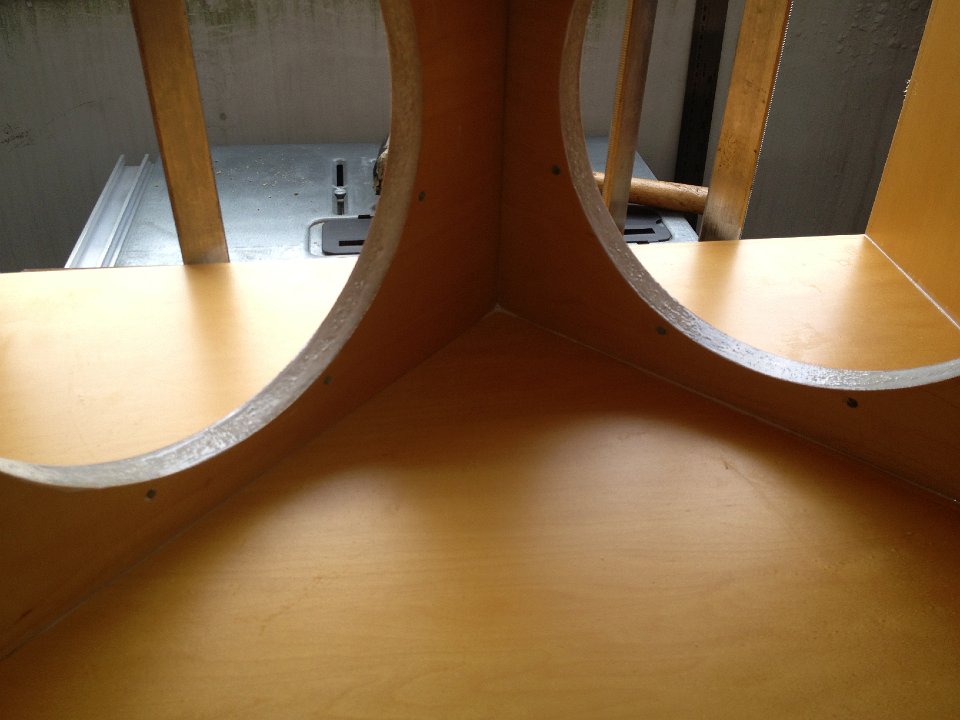
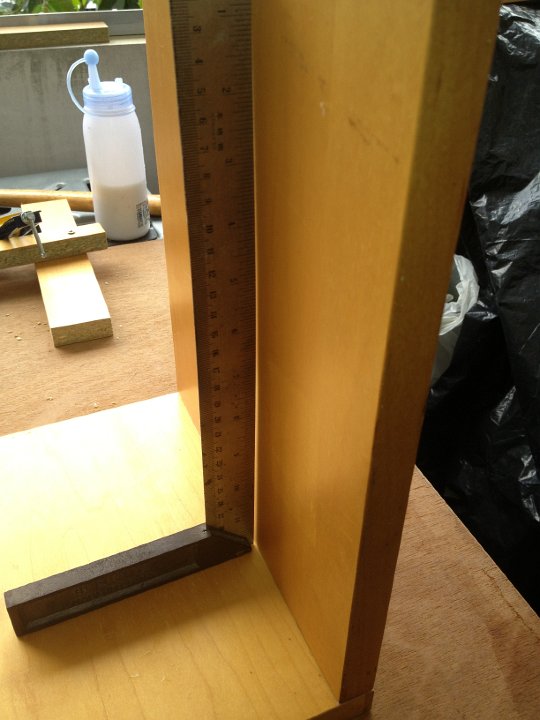
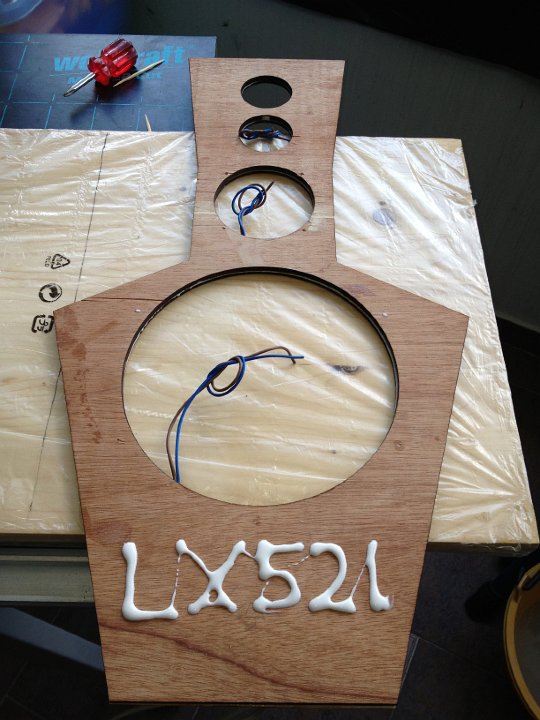
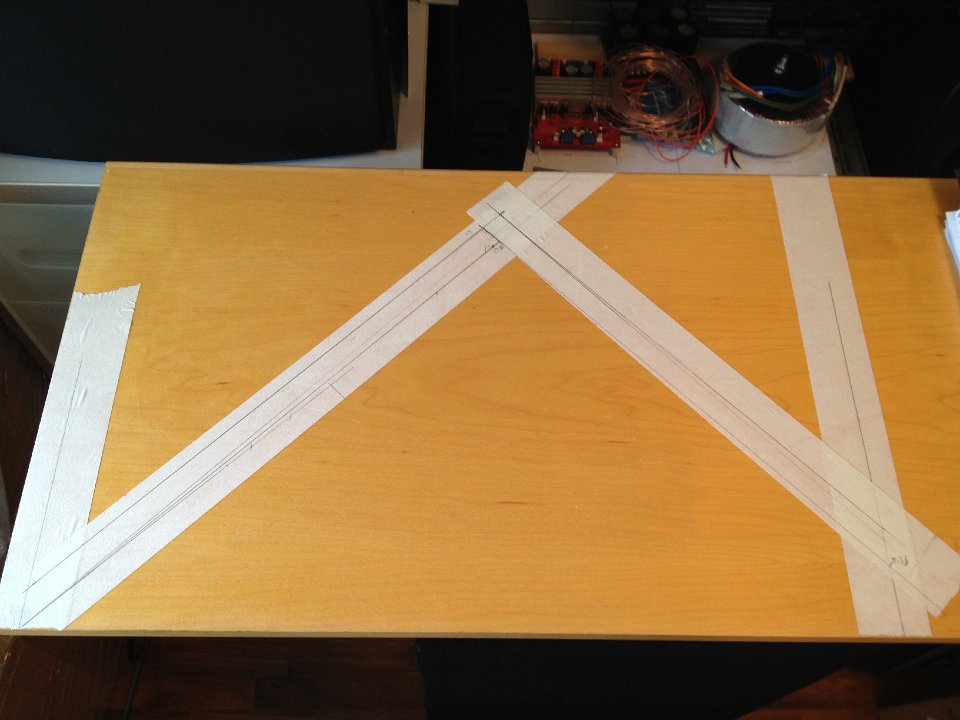 4 Marking up the V baffle to get measurements and angles sorted out |
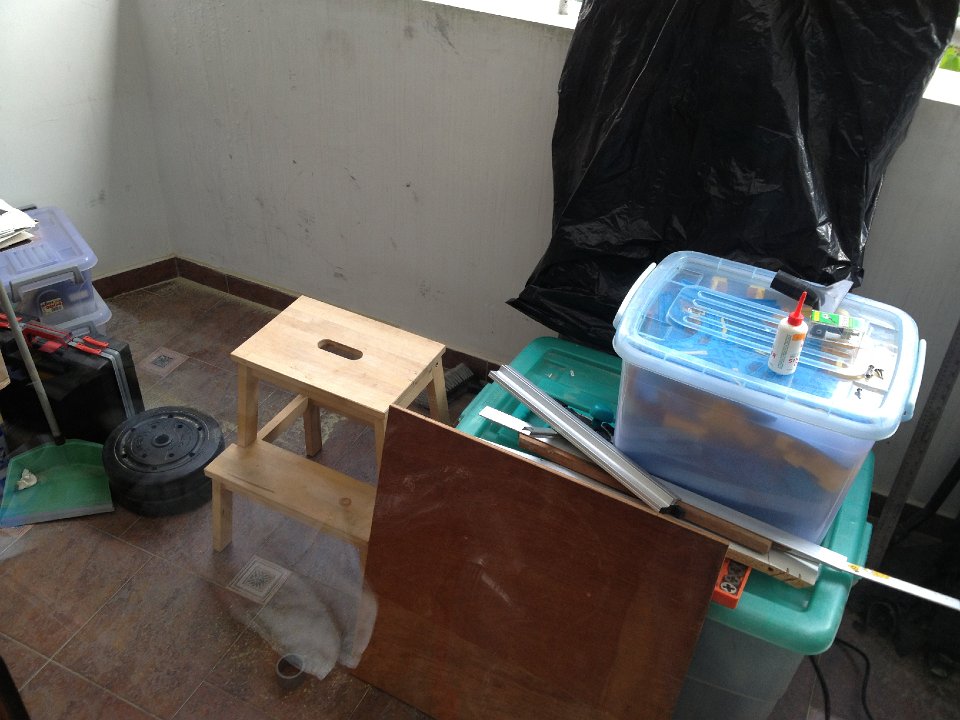
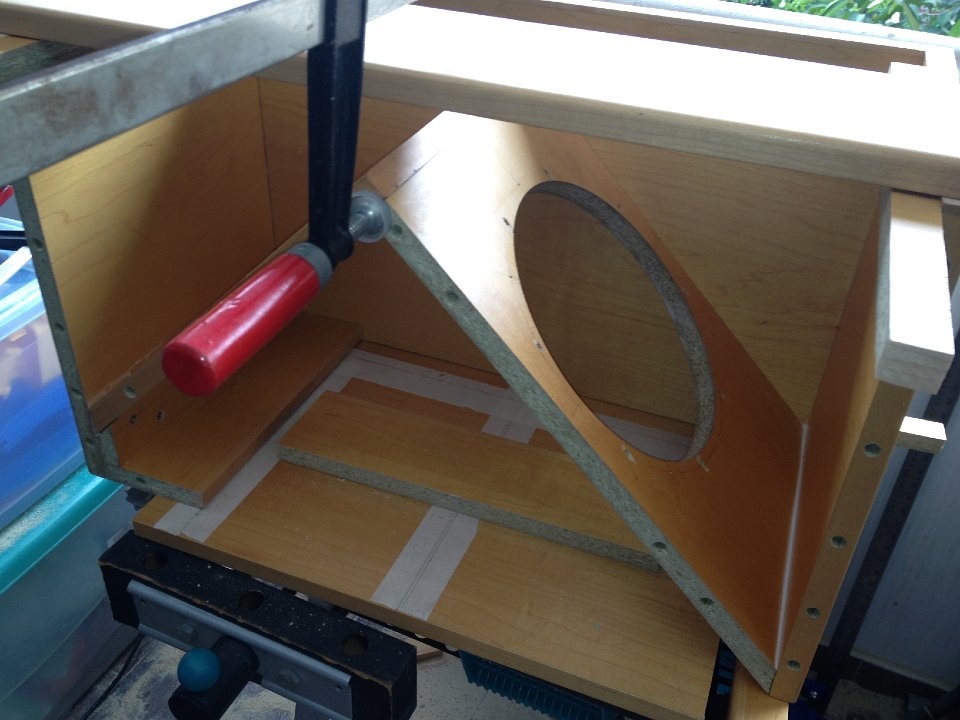
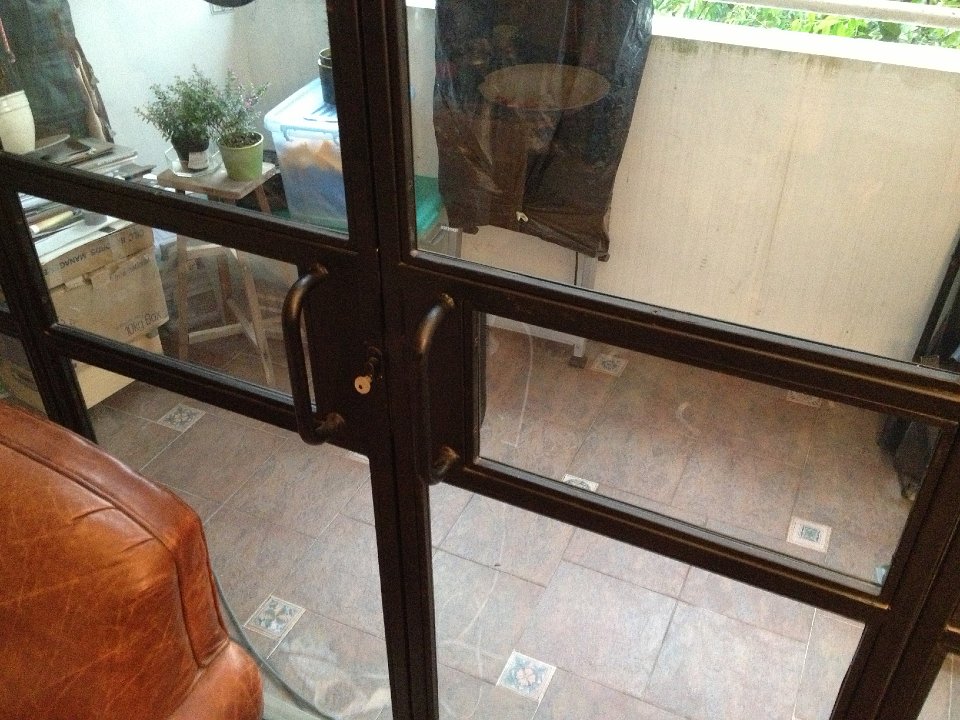
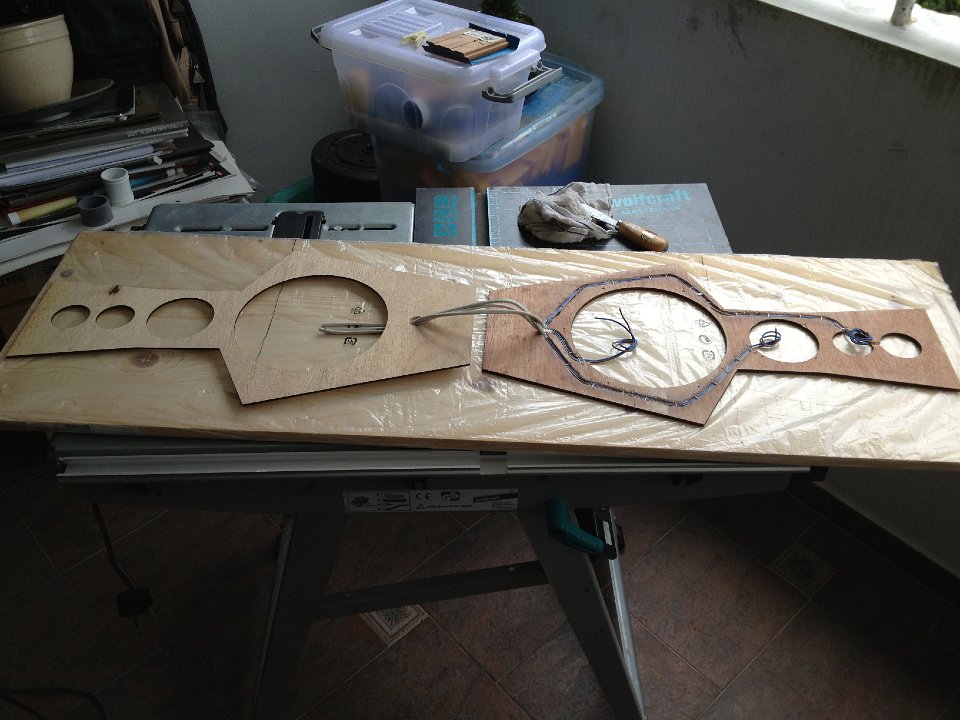
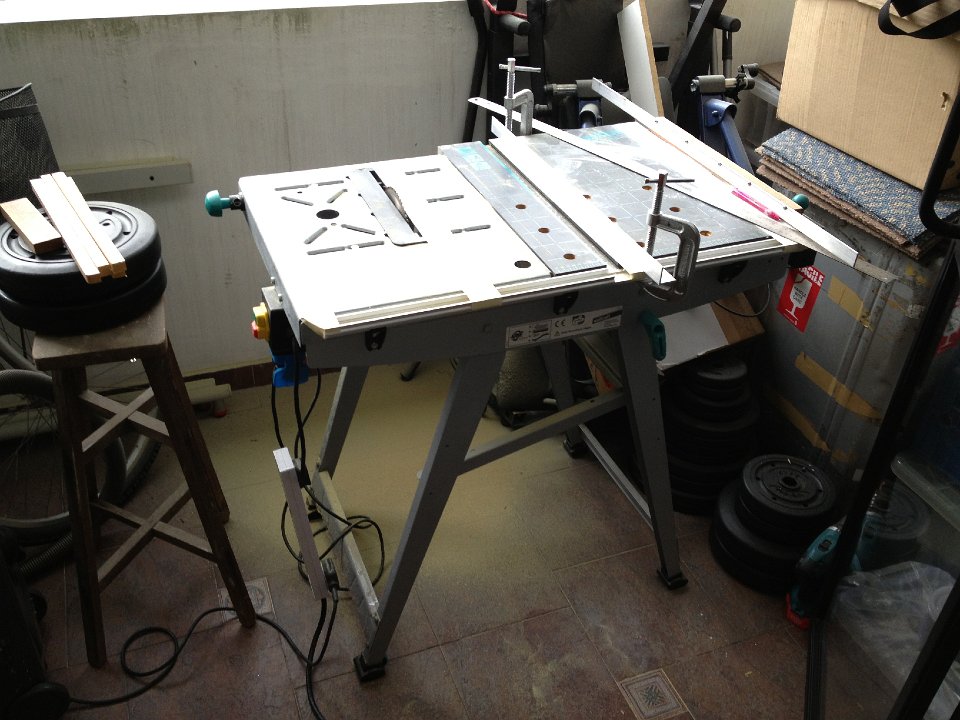 5 My humble WolfCraft work bench / saw / extra pair of hands. I am working on a small balcony in 35Deg C heat. At least its not in the sun. Vacuuming as I go...the dust is not good. At least I can close the doors while I work. The wind fortunately was blowing through the house and out the balcony so that was a big benefit. I was working completely alone. |
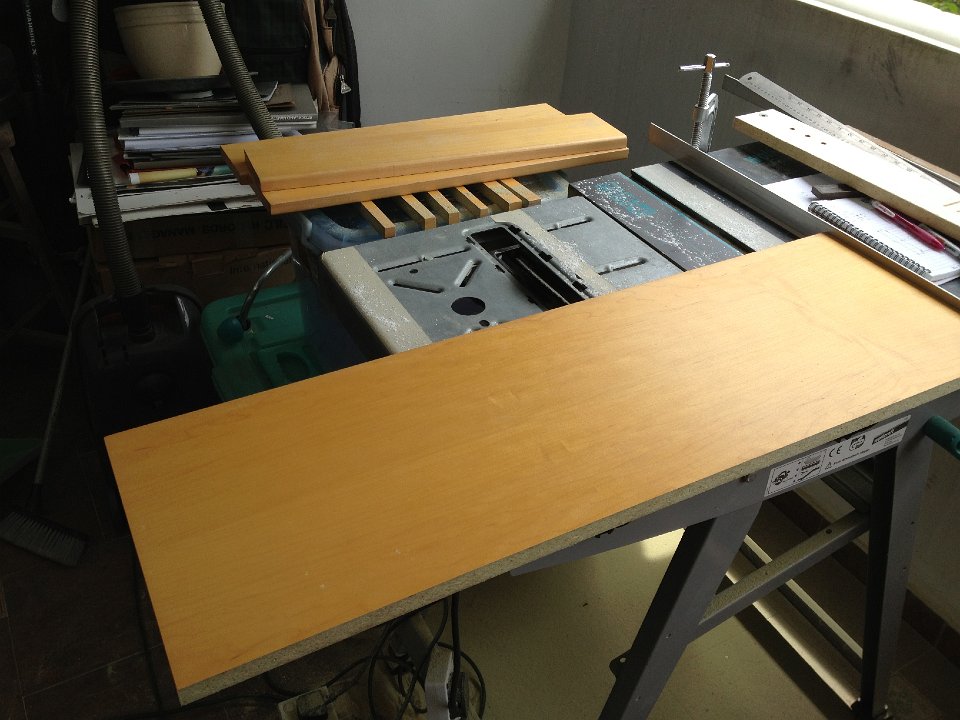
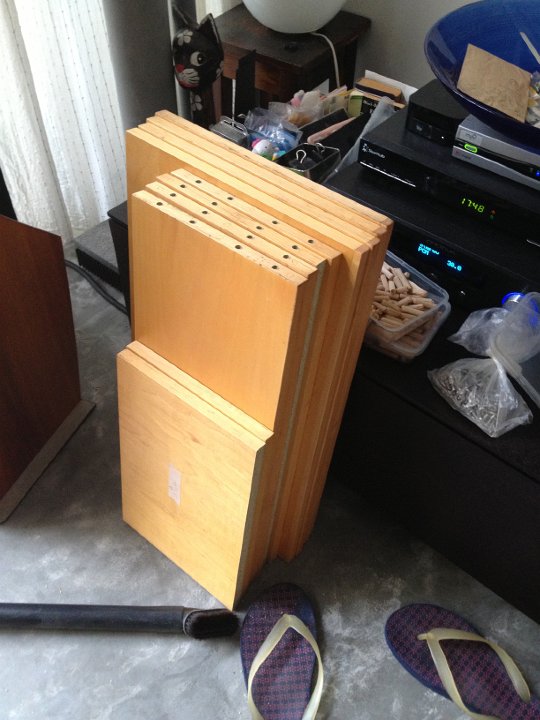
 6 Some of the sized up wood. |
 7 Some more of the sized up wood...my Orion there in the left side shadows |
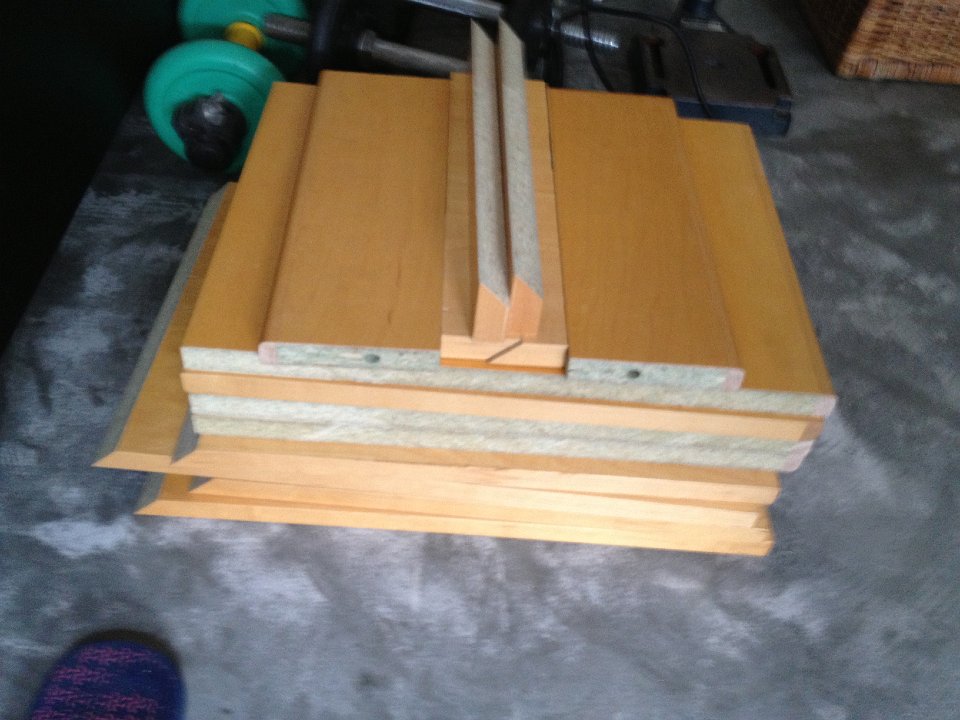
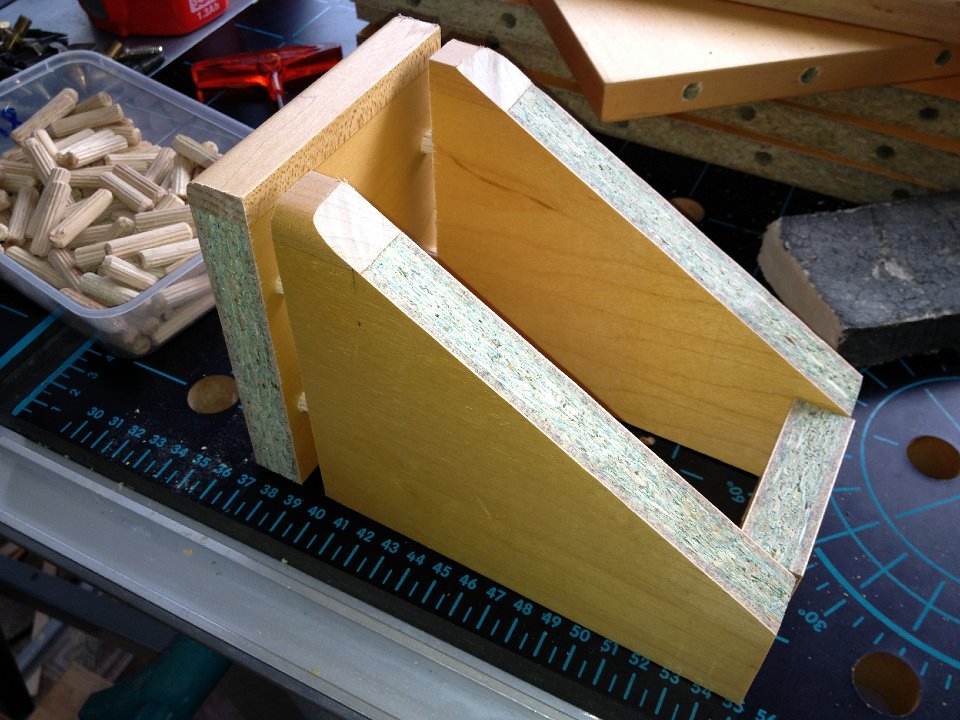
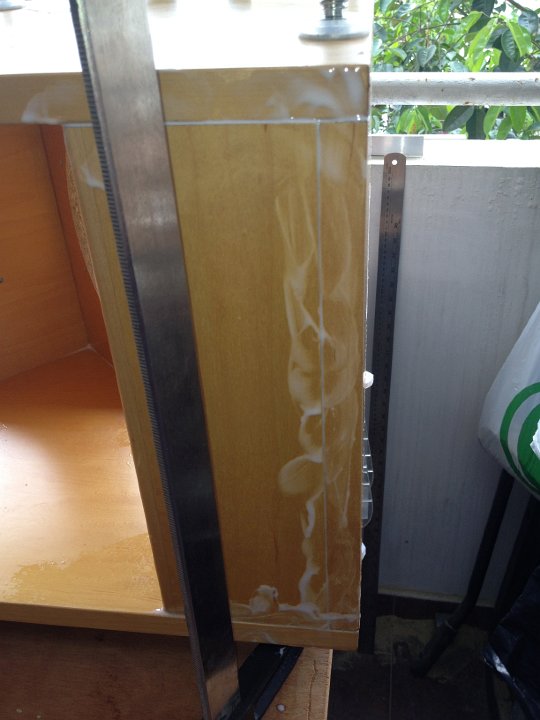
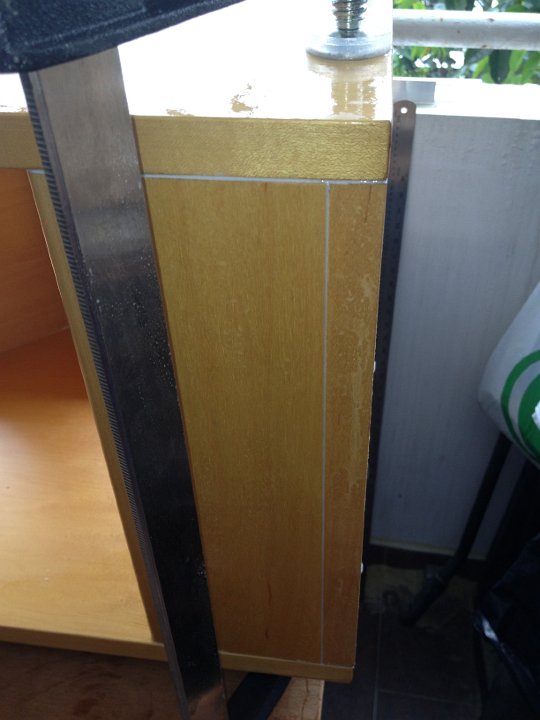
 8 Getting ready to cut the V baffle mitre angles, these are a single piece that is cut to have the 2 mitres needed done in one cut...genius! Note the sawdust on the floor! |
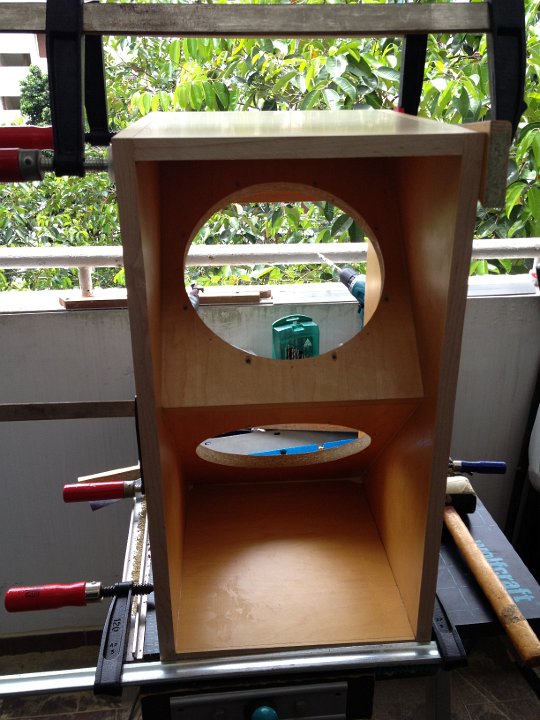
 9 I cut some extra bits of scrap for the top V baffle mounting and bracing |
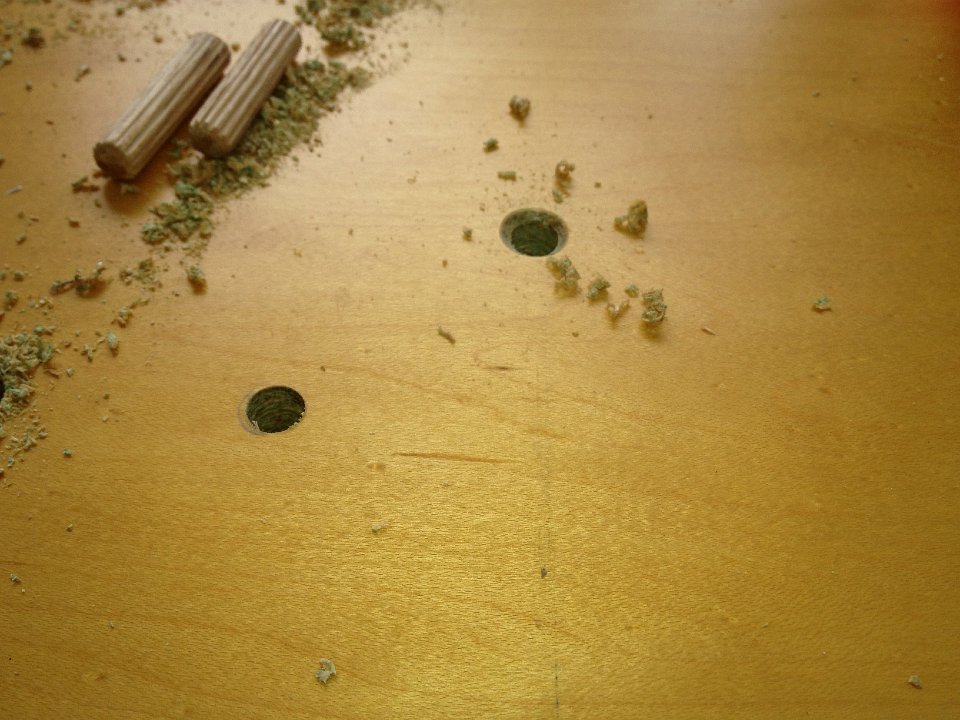
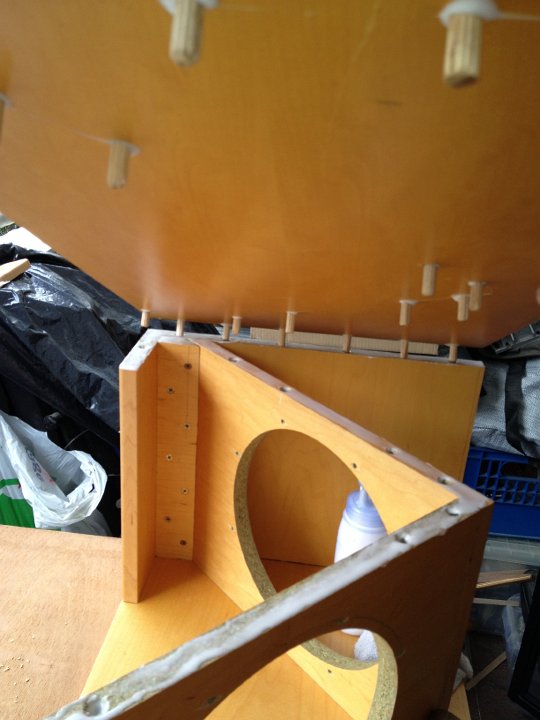
 10 Another angle...just a placement assembly to check that I didnt mess up. Then comes the dowelling...this needs a whole wbsite unto itself...but I digress. |
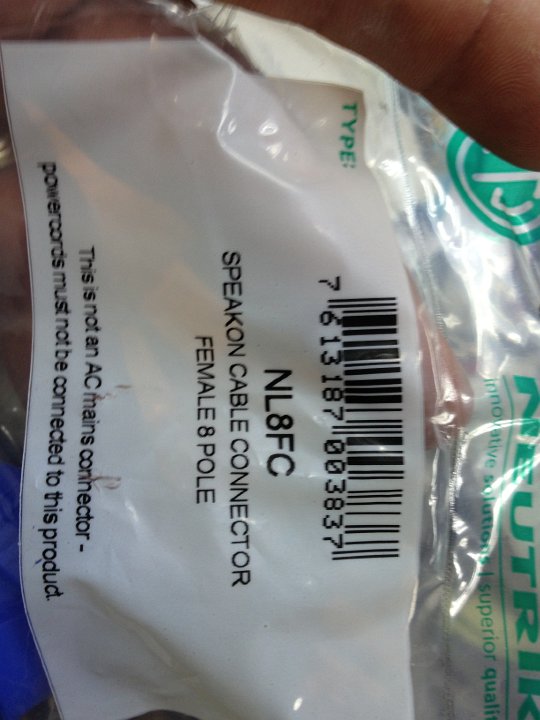 11 Speakons...I doubt that I will ever want to use Banana Plugs and Binding posts ever again |
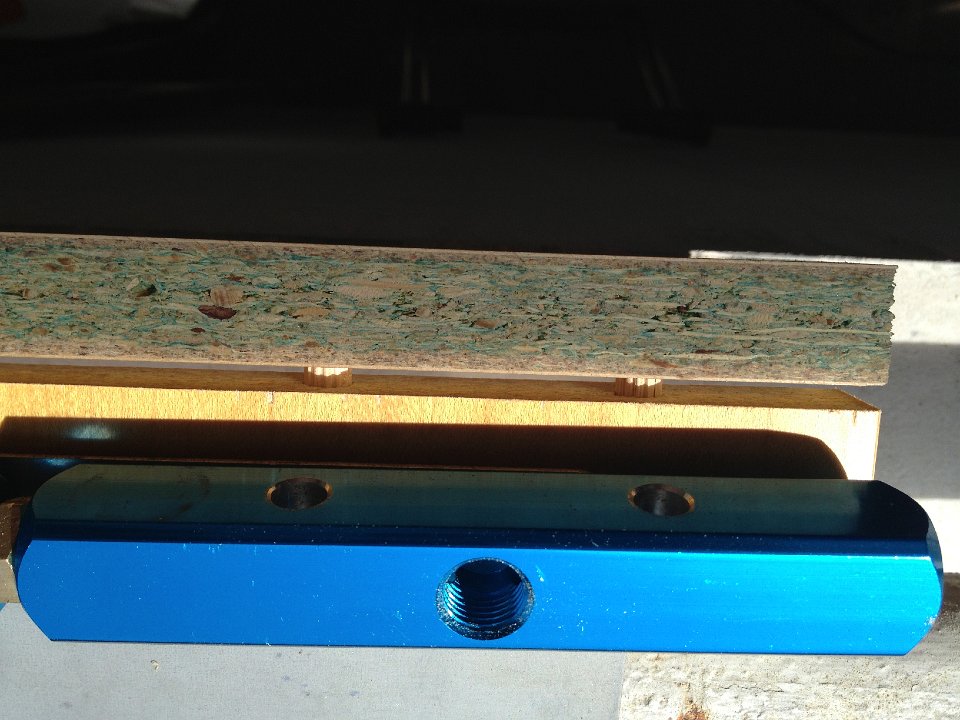
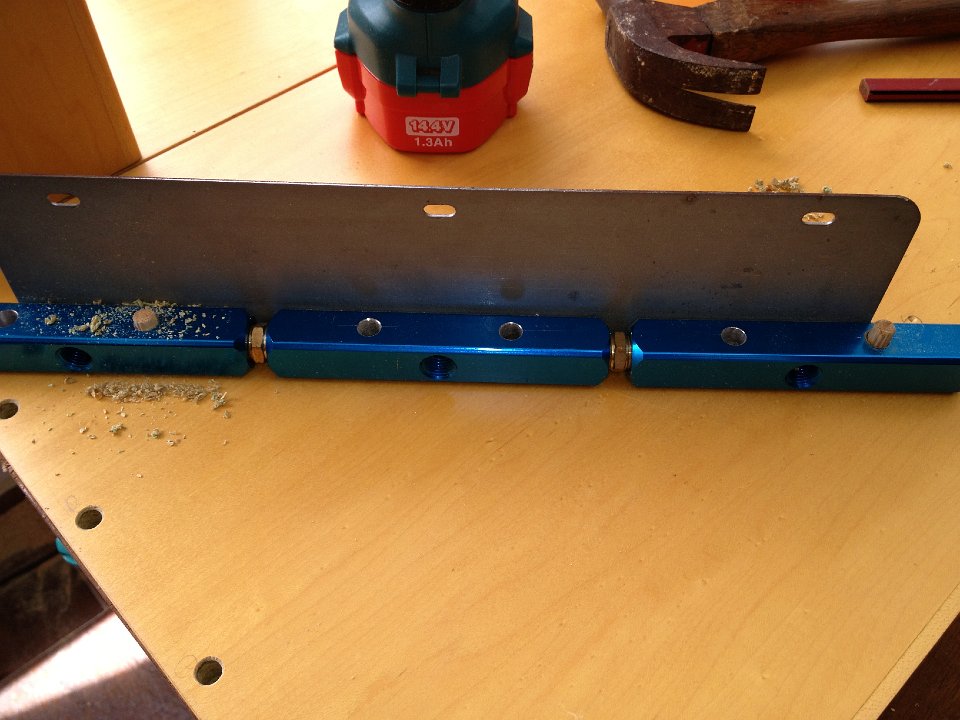
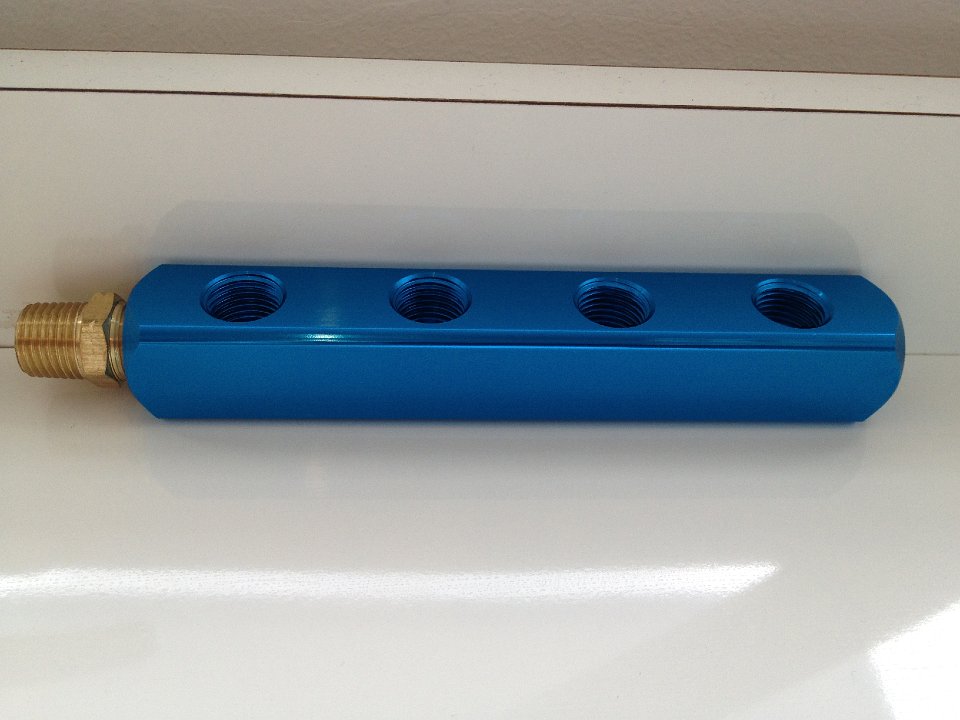 12 Singapore is not a place where DIY is done much...well outside of my place anyway. I looked high and low for a dowelling jig...after several days of calling and driving around I decided to do it MAKE MY OWN. this is the start of the effort. Actually just finding Dowels was even a challenge. 2 male-male nipples (the brass bit) plus 3 of the blue aluminium manifoilds - total cost about US$15, and I was back home to make tools, SHEESH! We KIWI's know how to be self sufficient! |
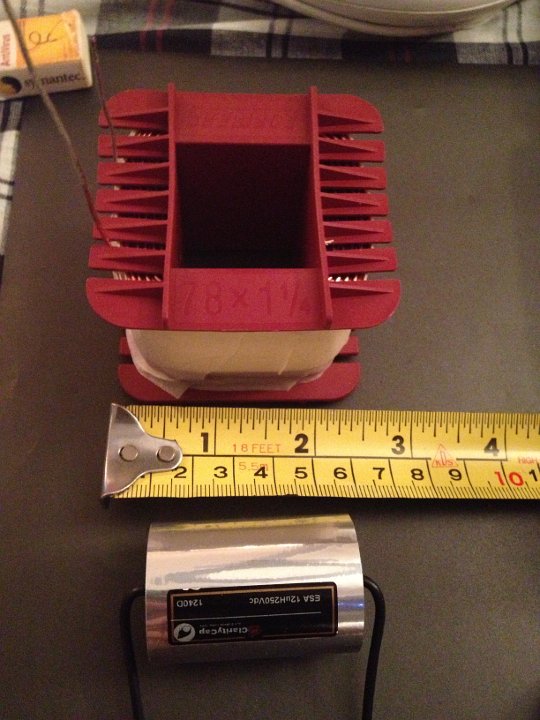 13 The mid range drivers passive crossover components. |
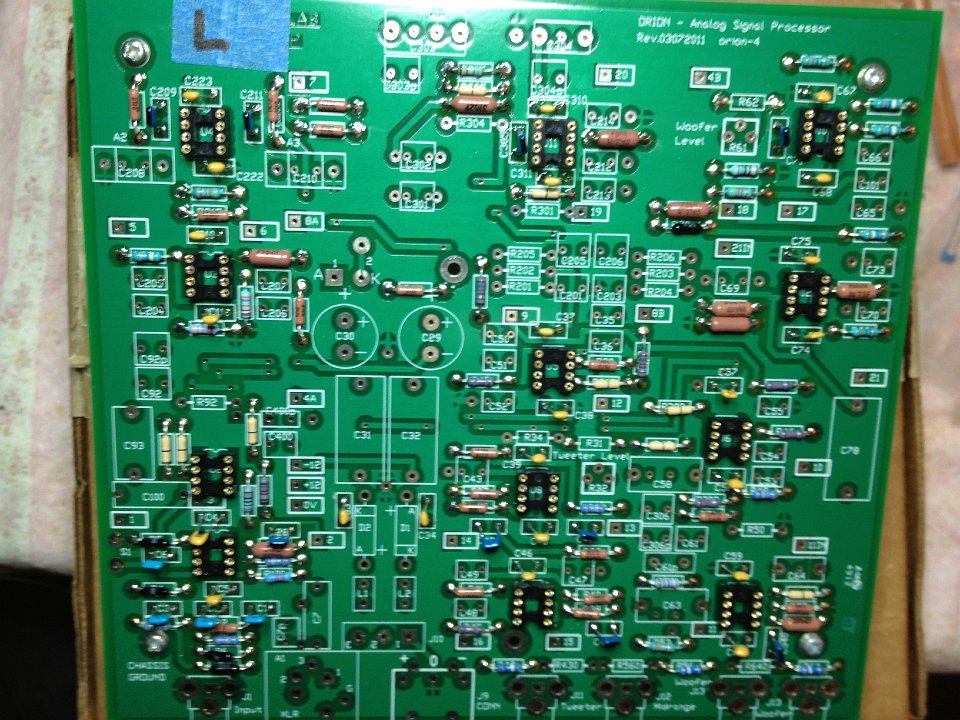
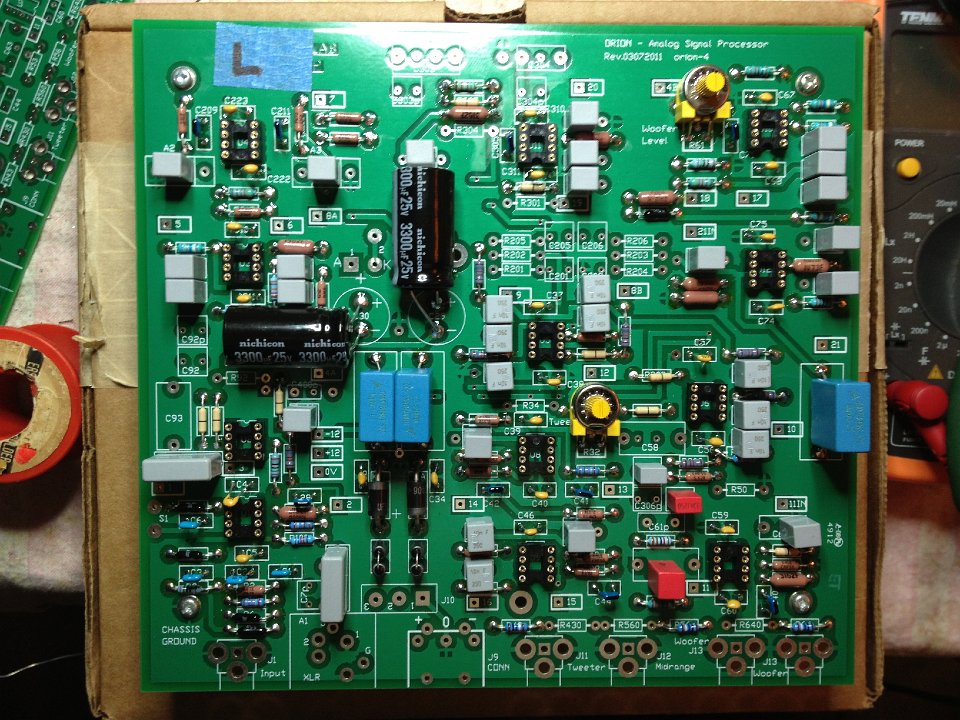
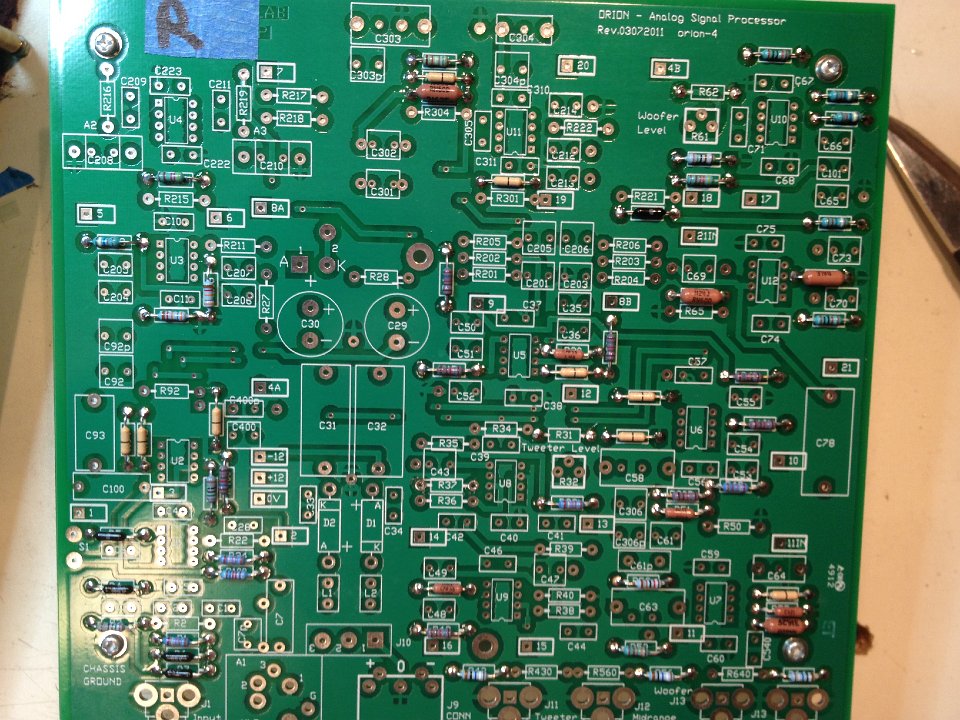 14 The ASP board starting to be populated. |
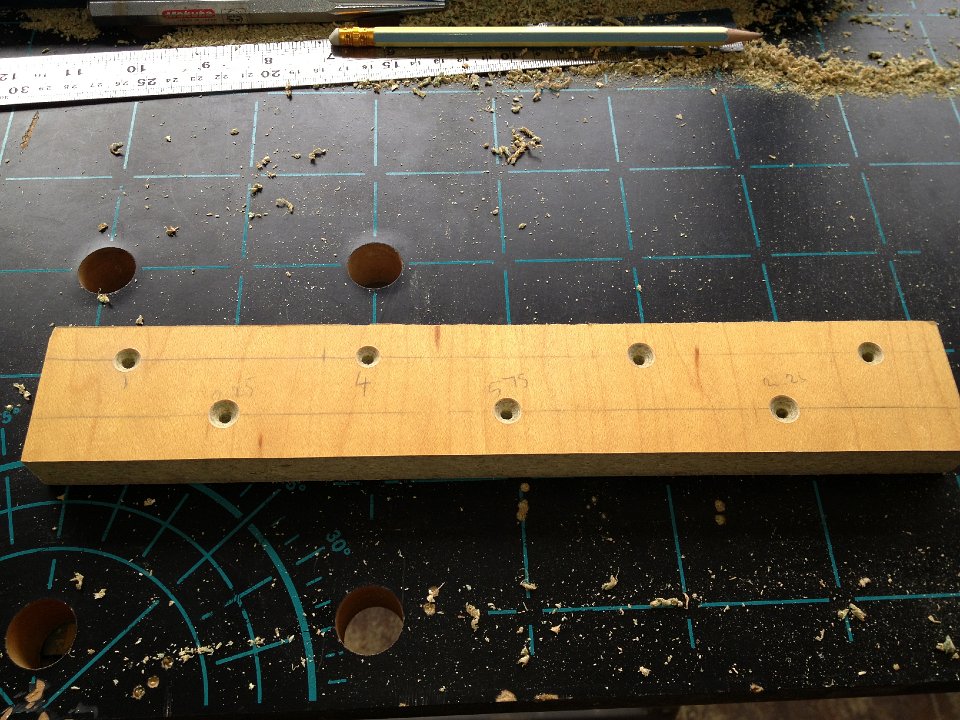
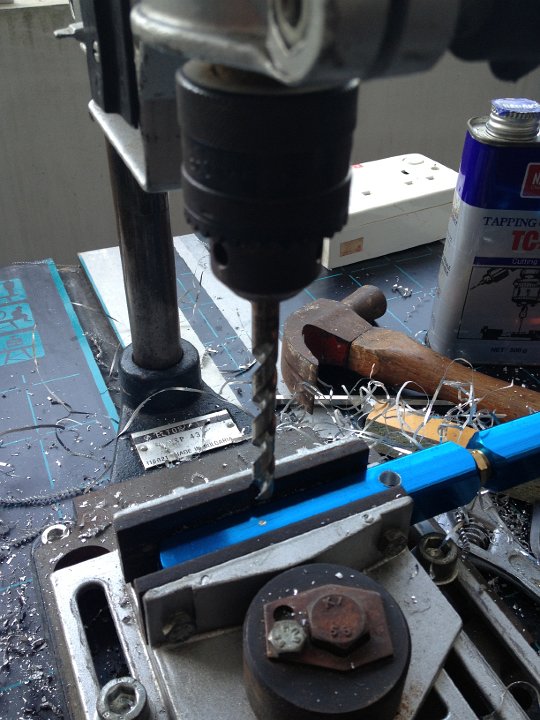 15 Making the Dowelling jig...drilled holes at the right location (same for eask piece of blue manifold |
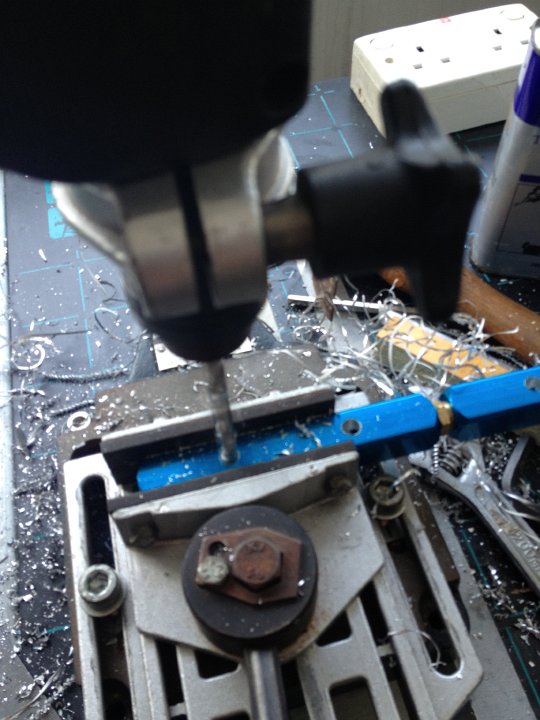 16 dont drill and take pictures at the same...dont say I didnt tell you! |
 17 Also hard (I ave up) trying to get cutting fluid for Aluminium |
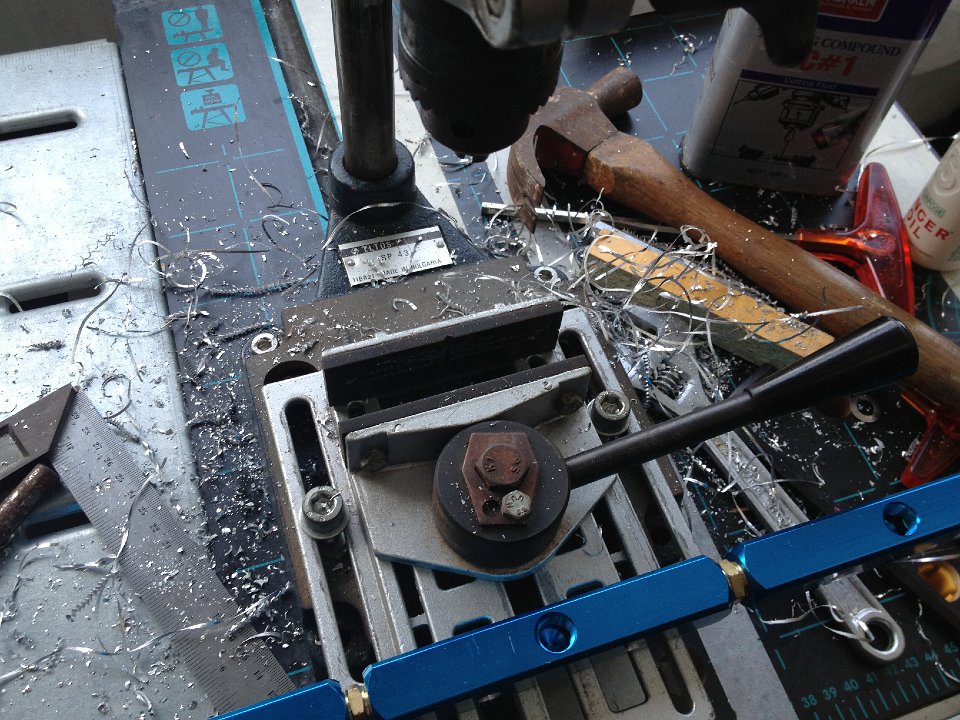
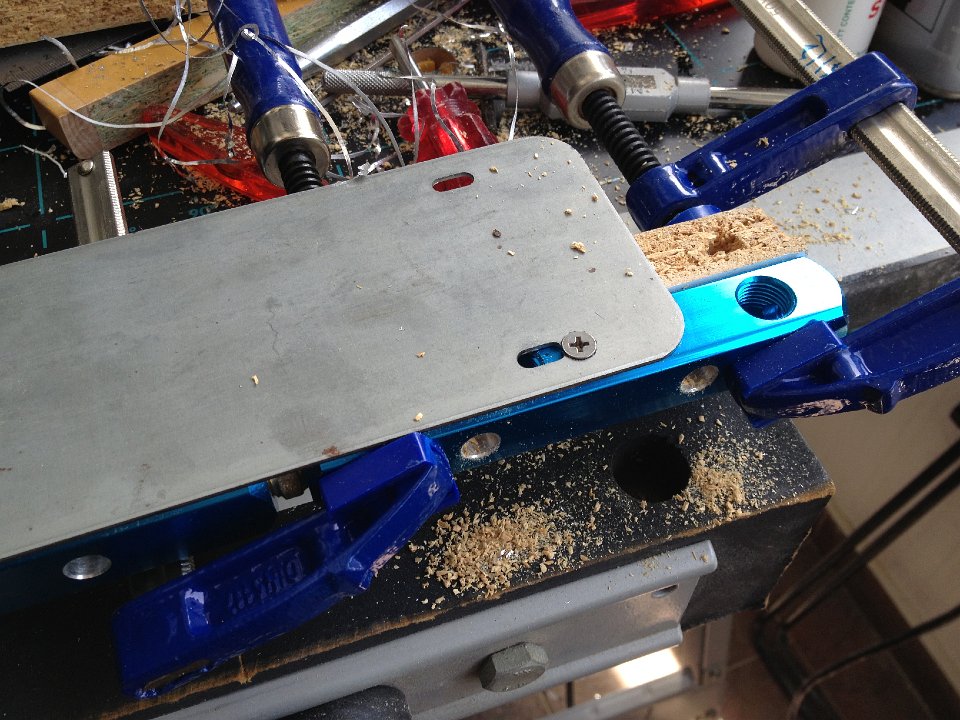 18 The backing / clamping plate for the dowelling jig use...came from the same fit out that all the wood came from. Recycling at its finest. Clamped on a test piece of wood and looking good |
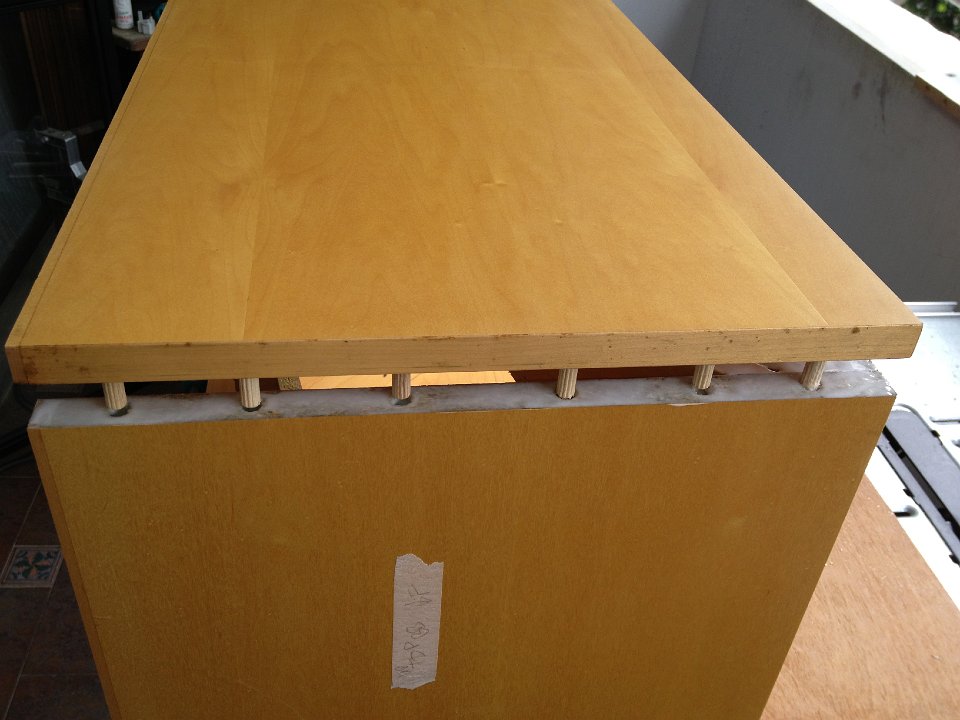
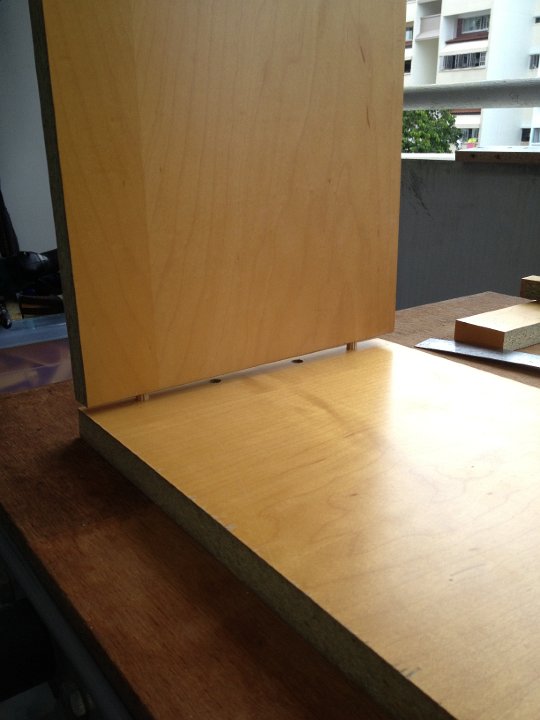
 19 A little test...sweet, dry fitted dowels in the joint can be seen. Alignments are to the end of the wood pieces. wors well and is reproducable for a good join. |
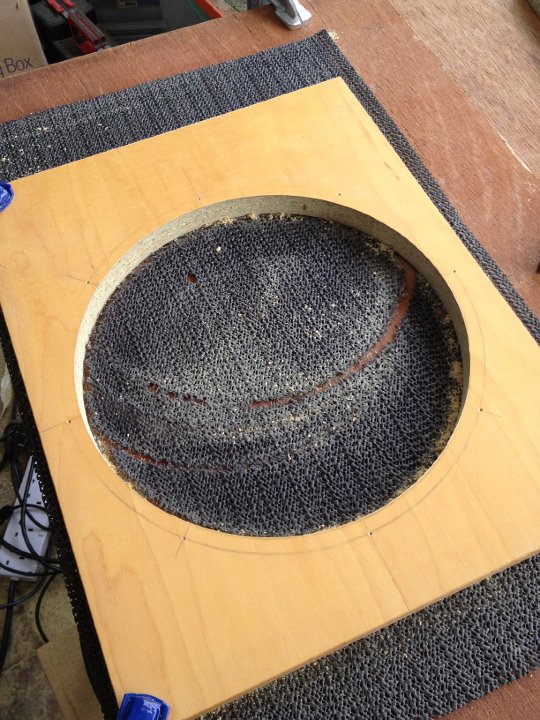
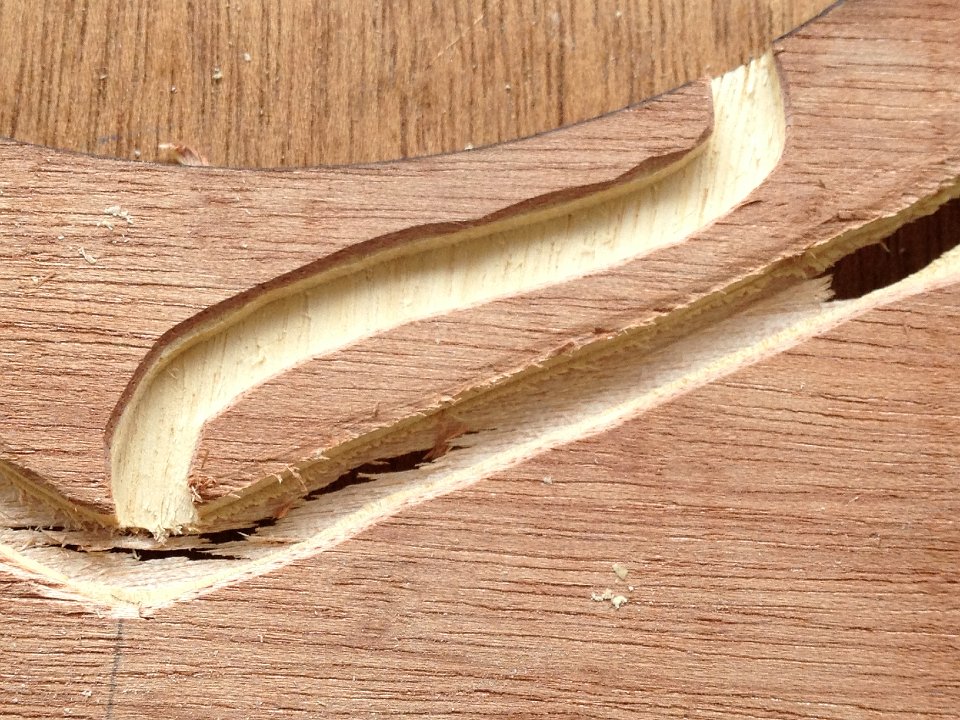
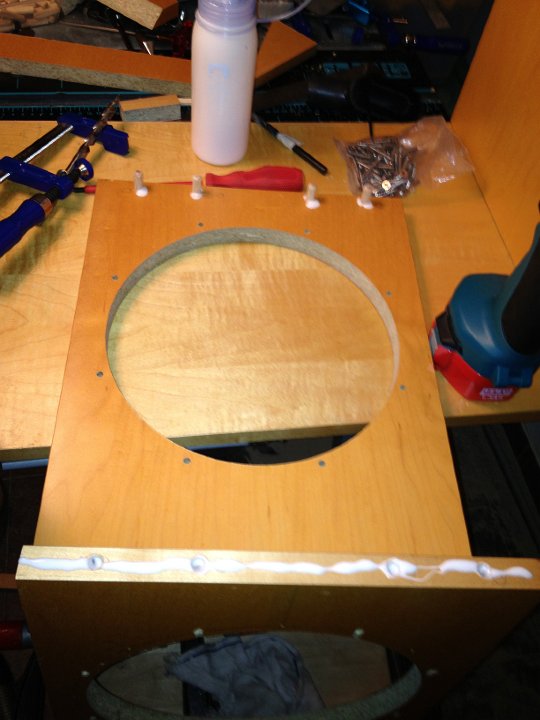
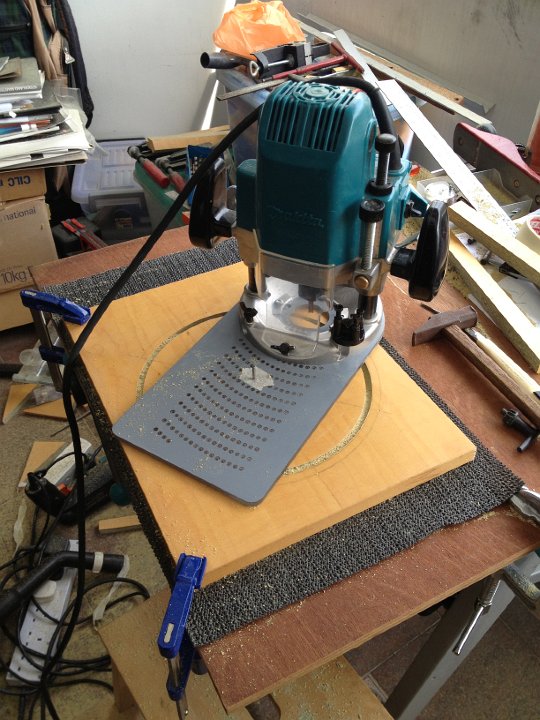 20 Thanks to Steven H for the router and Jasper jig loan. A quick familiarisation with how this thing works and a 15 min setup. 3 plunges and we are done ... 4 woofer baffles done is all of about 30 mins with cleanup. The black material under the wood and inbetween the scrap below and the wood to be cut is what you se to put on a car dash board or other surface to stop things slipping. its a synthetic weave that has been soft ruberised. aw this on a youtube video for doing routing. |
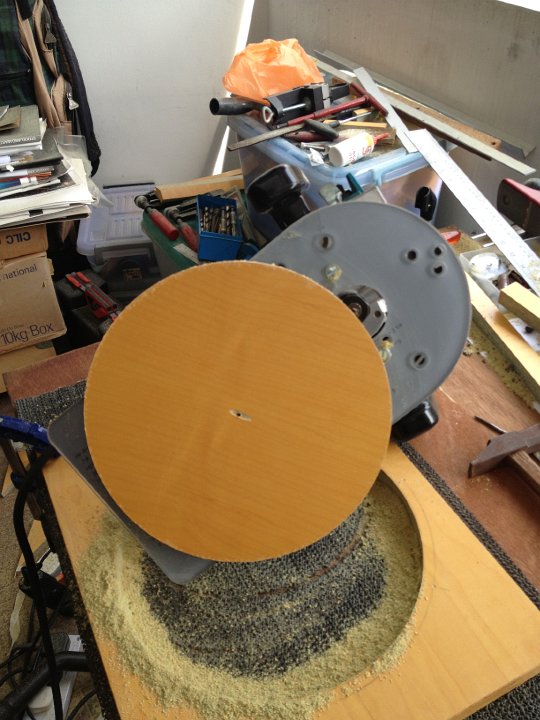 21 Done... about 4 minuets per piece. Barely cut the nonslip sheet at all.Protecive gear is a MUST... ears and eyes |
 22 Just like that...sweet |
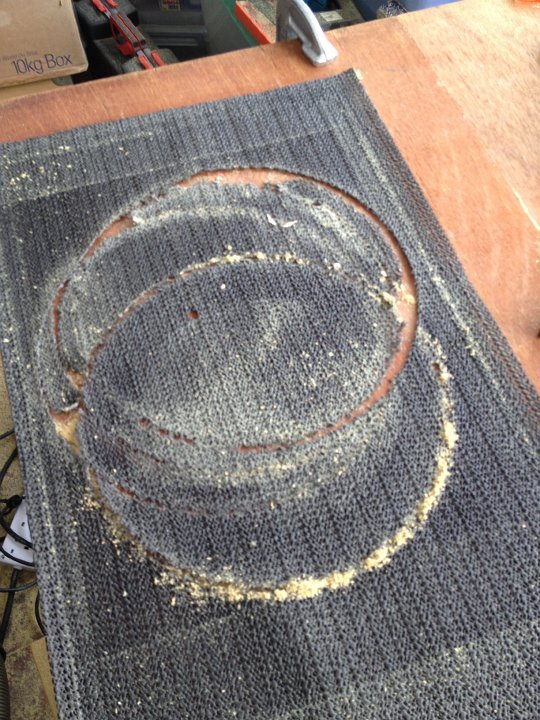 23 close...but hey not a bad effort for my first time with a router. Gotta get me one of these! |
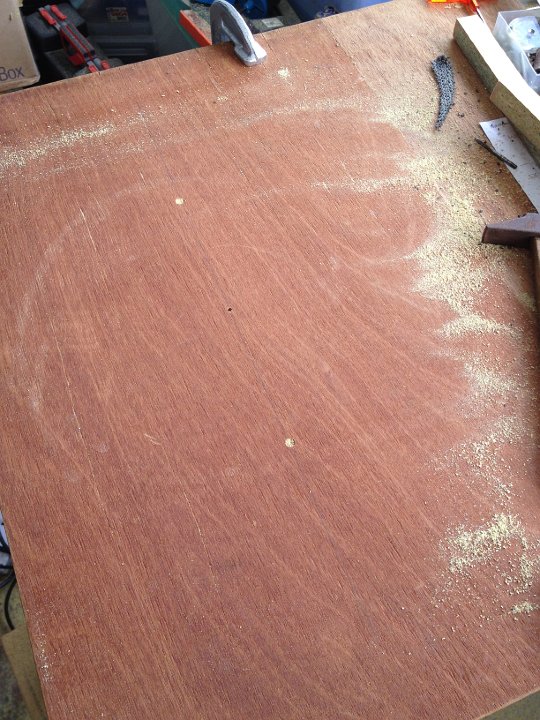 24 barely a scratch...just the 1/8" Jasper jig pin hole and 2 test plunges to make sure the daimeter was 240mm |
 25 More cut wood...WITH DOWEL HOLES and my work boots 8-D just kidding. |
 26 More bits ready for final assembly. my scrap bits with the mitres that I did while the sawwas at 45degrees |
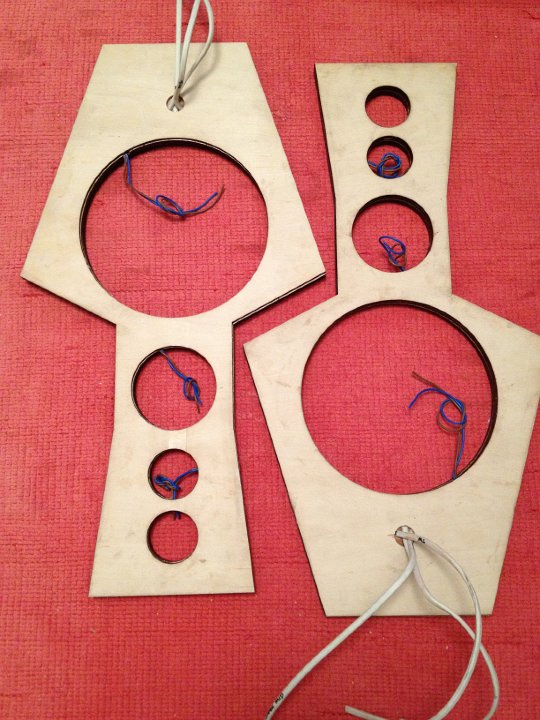
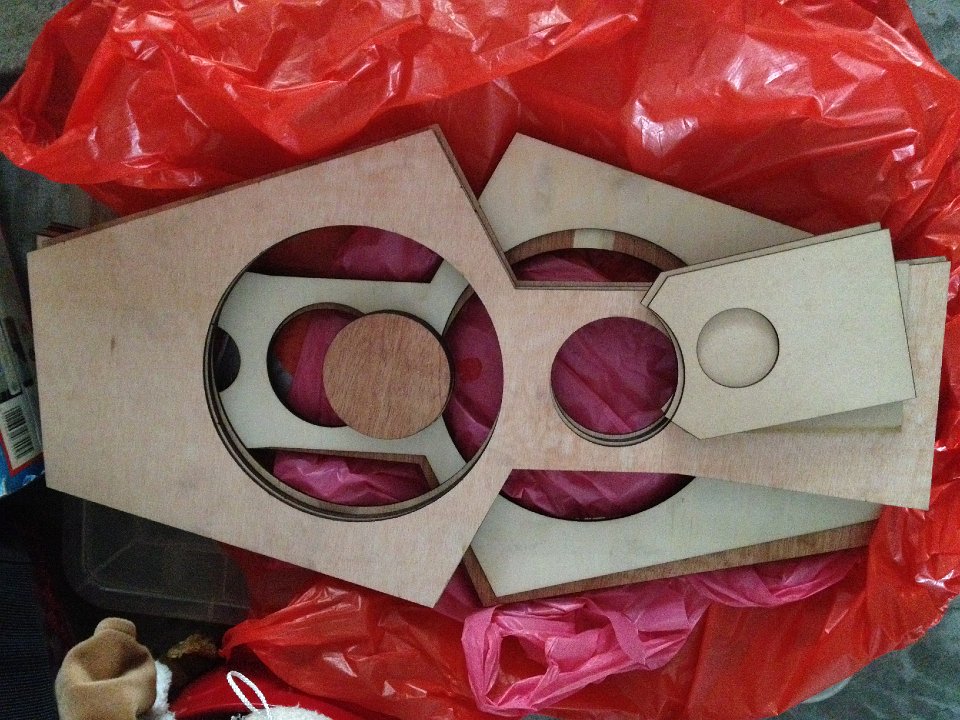 27 The laser cut upper baffle parts. the 8" and 4" centres will make nice pot and cup/drink coasters |
 28 the rain is coming....time to bag the worktop and cleanup |
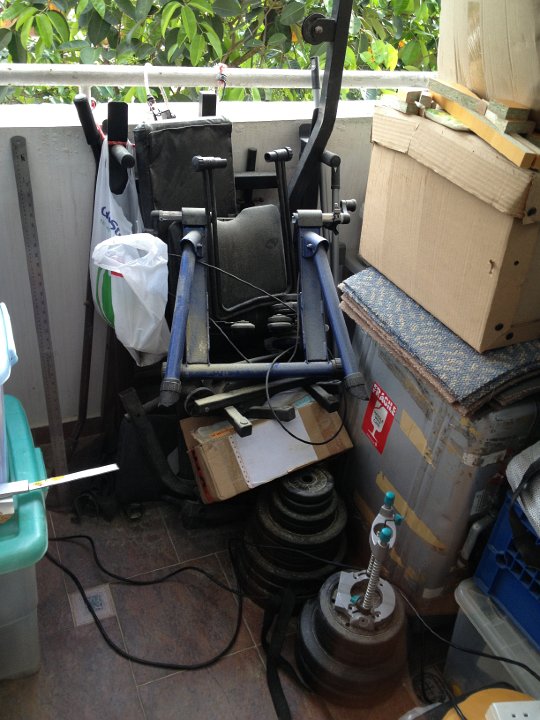 29 My balcony is a shared space with other accumulated items. Not much storage space in Singapore homes |
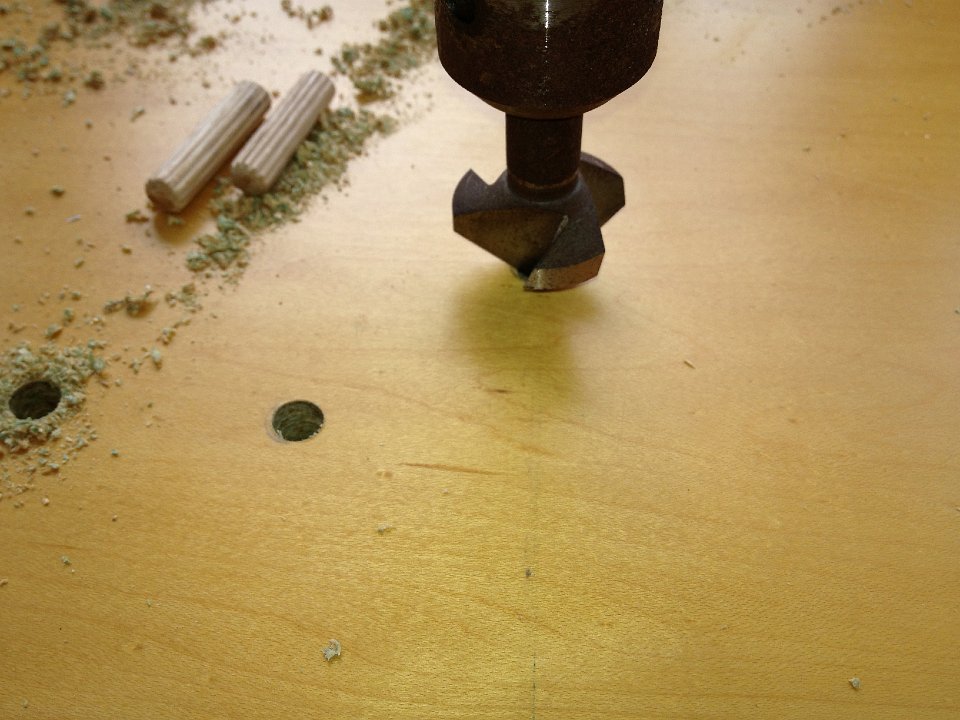
 30 upper cut with a router...lower with the steel milling bit in a drill press...I need aa router...next tool I buy I think |
 31 using the dowelling jig |
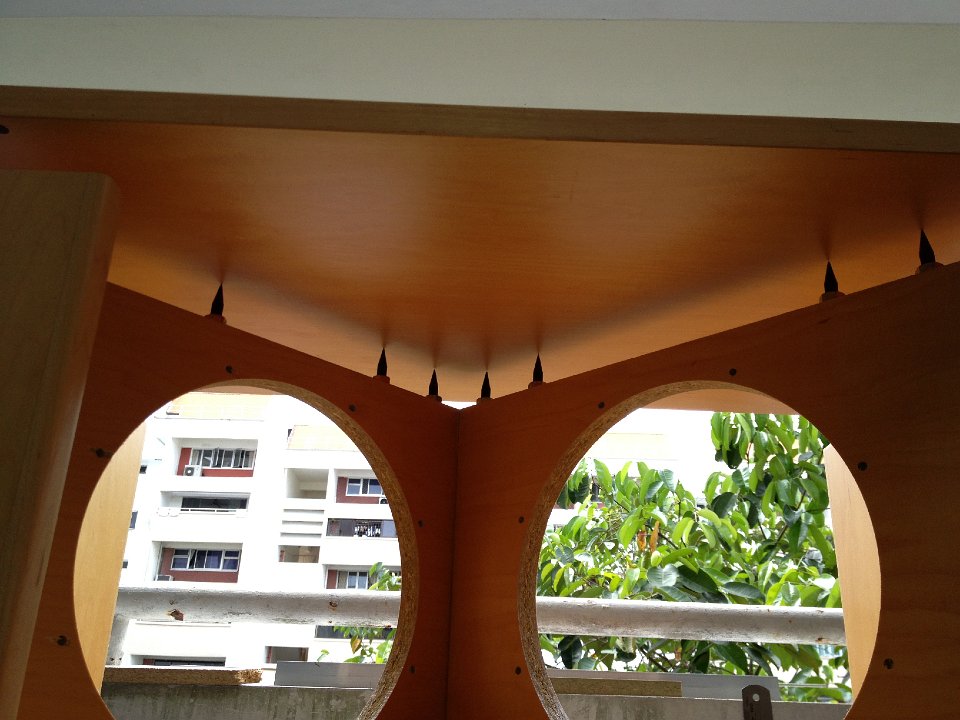
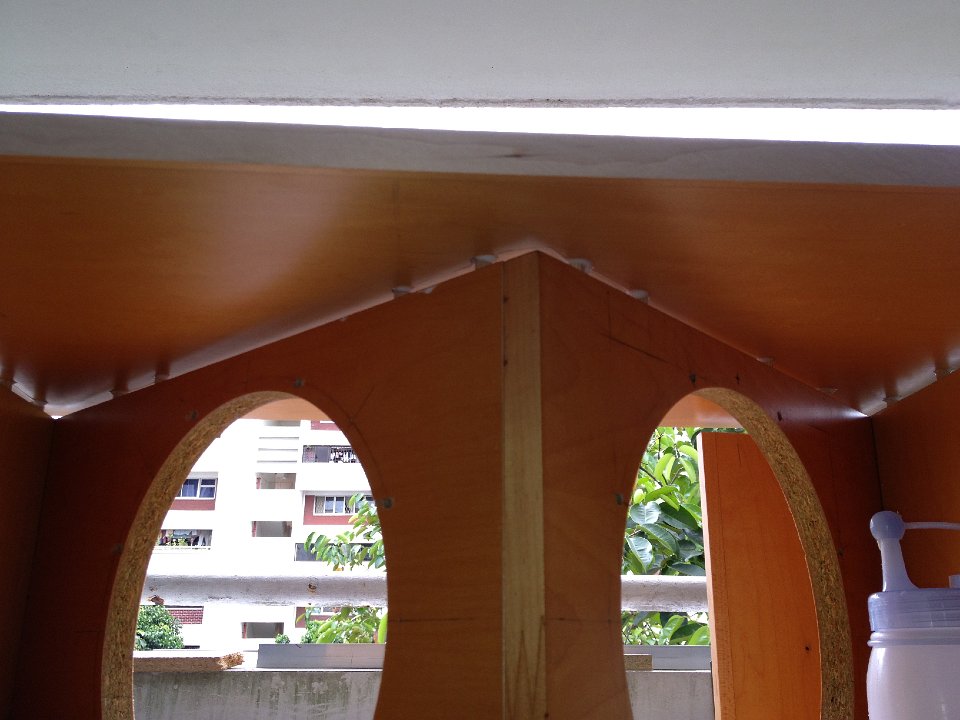
 32 Bridges done and dry assembled |
 33 Upper baffle dowelled and dry assembles too. |
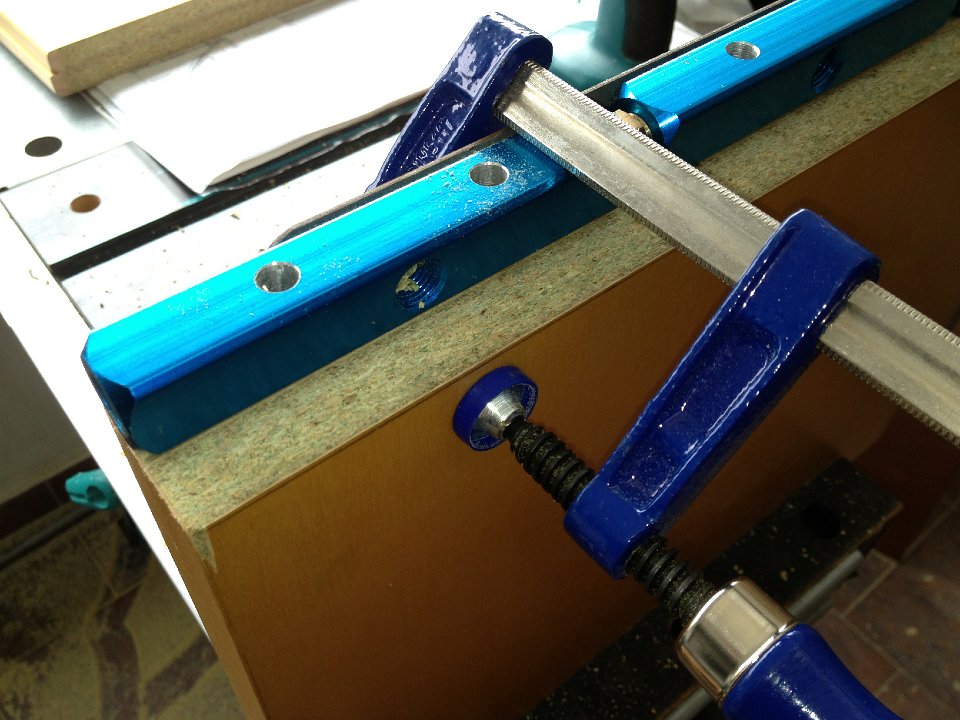
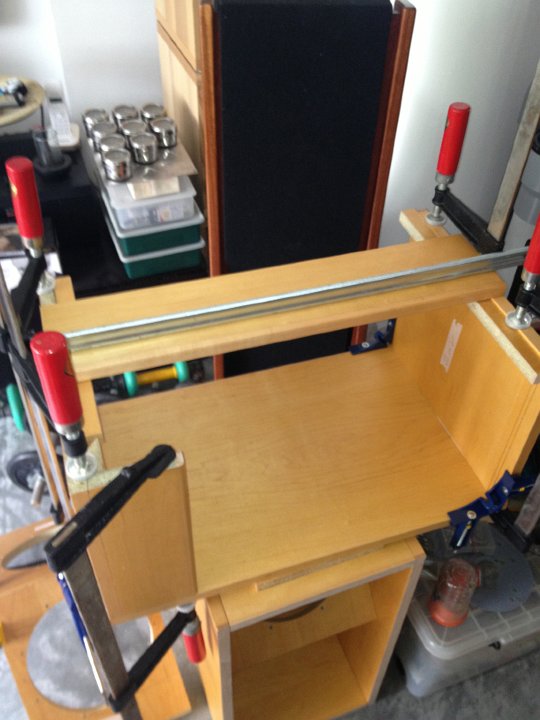
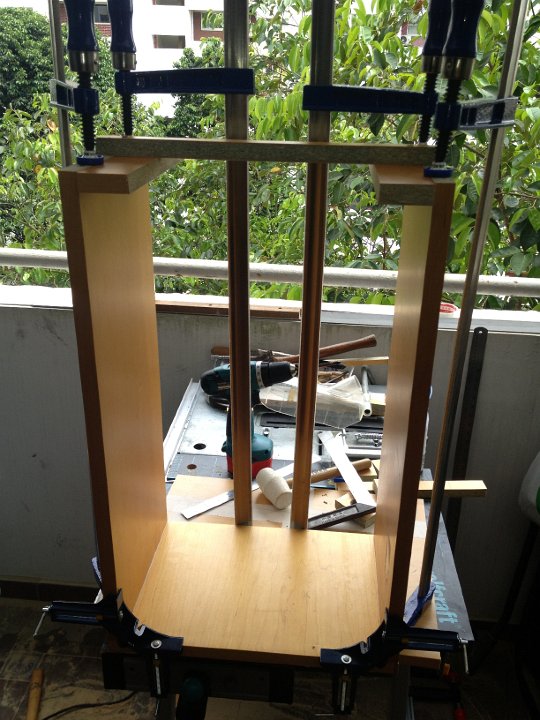
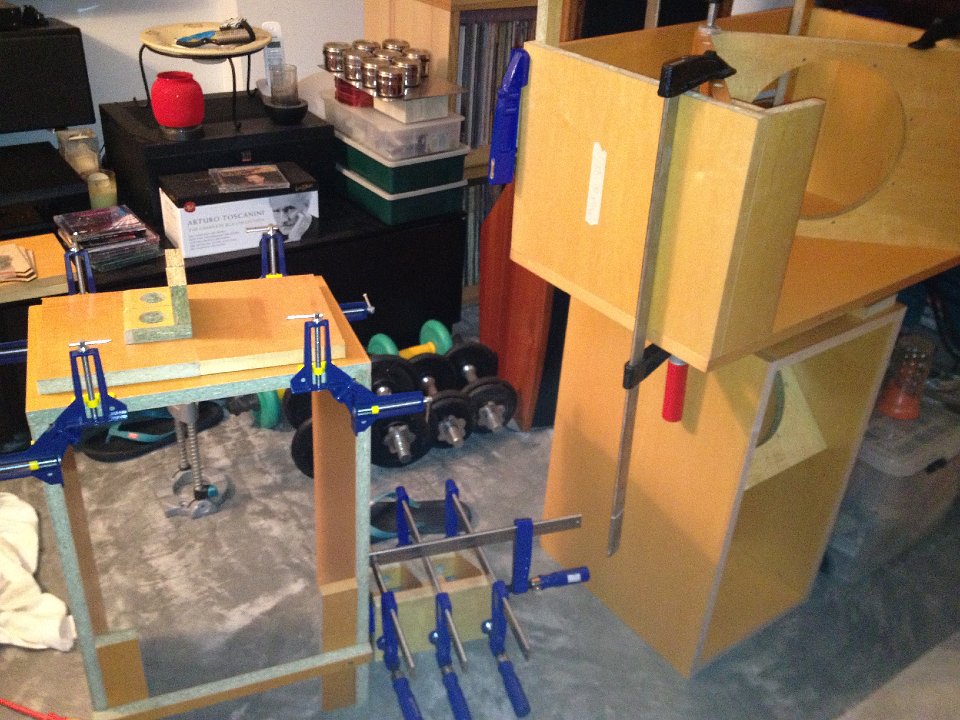
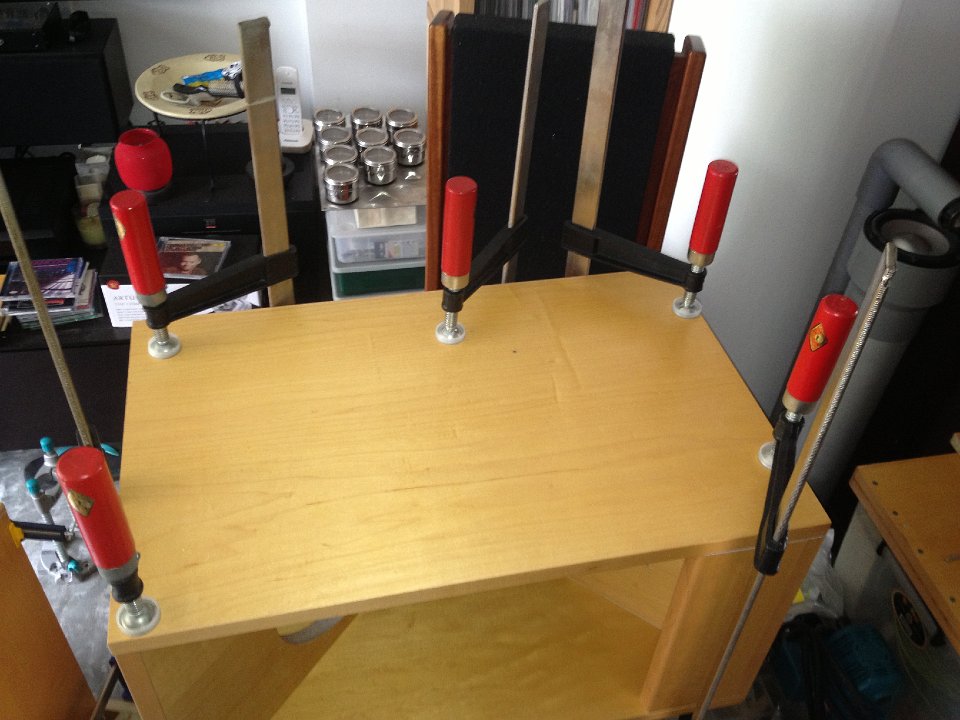
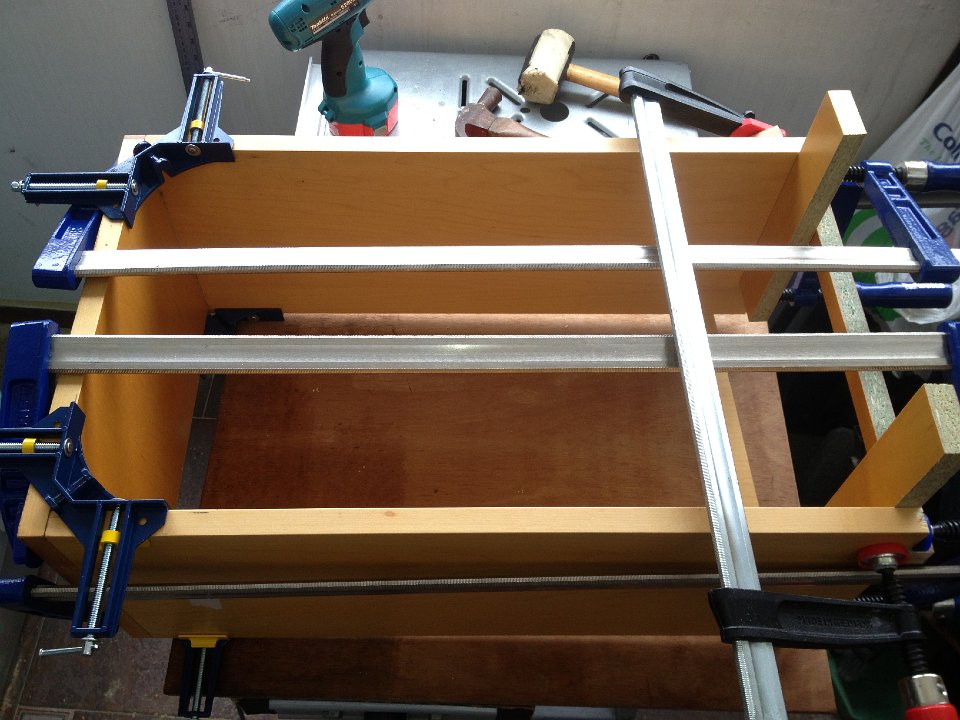
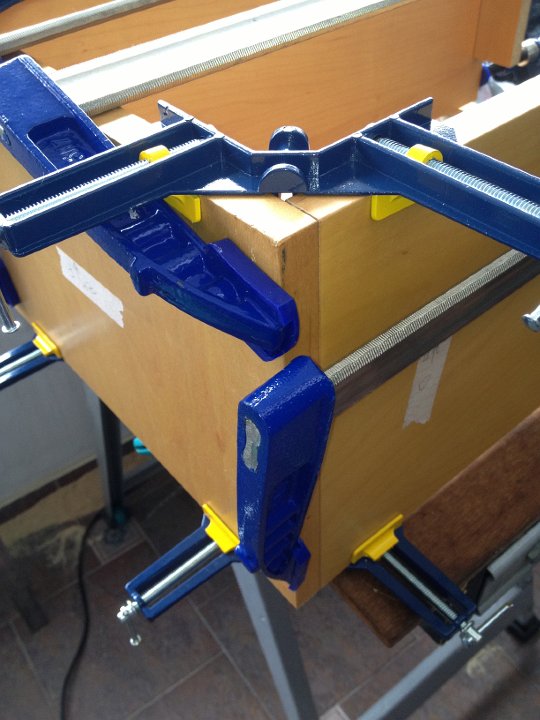
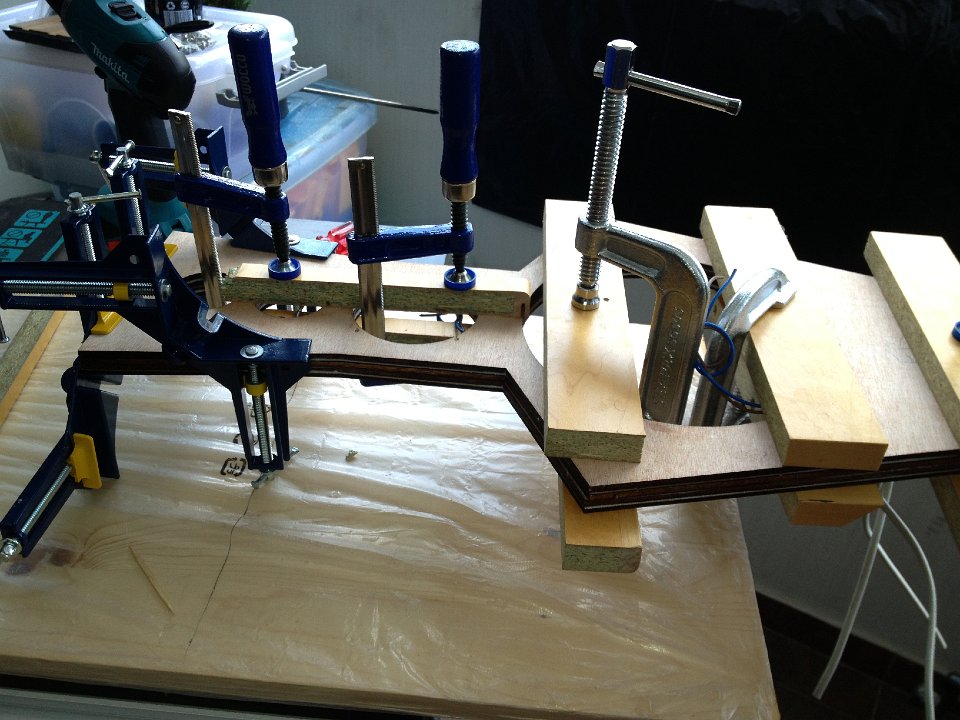
 34 Clamping time...borrowed 2 clamps from Steven H..thanks mate...this will take a long time with my 3 x 24" clamps (not long enough) and SH's 2 x 36" ones. NEED MORE CLAMPS |
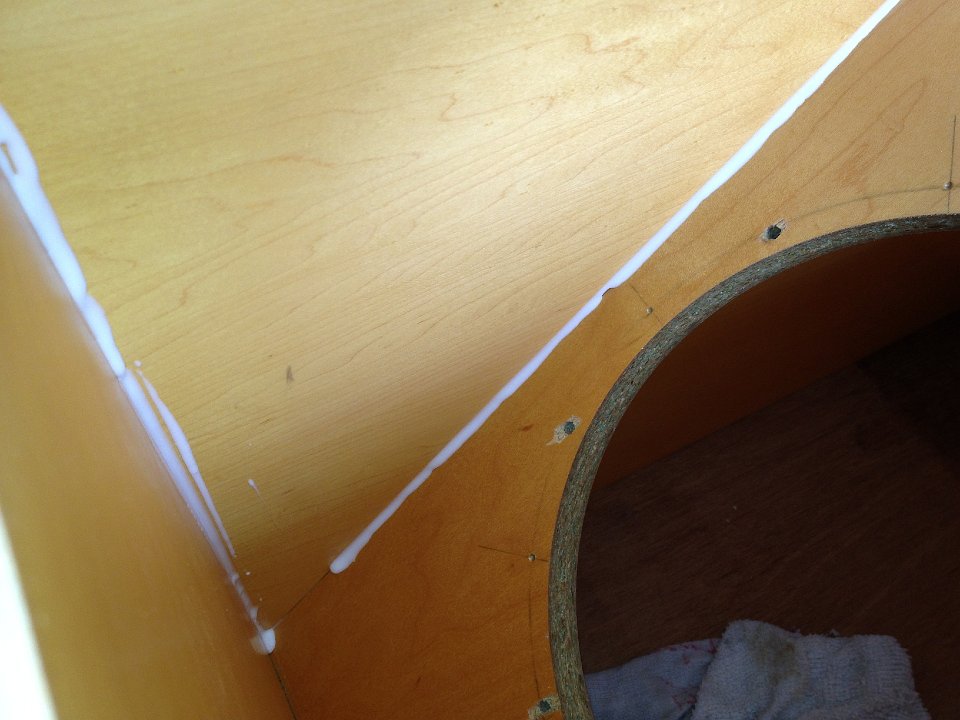
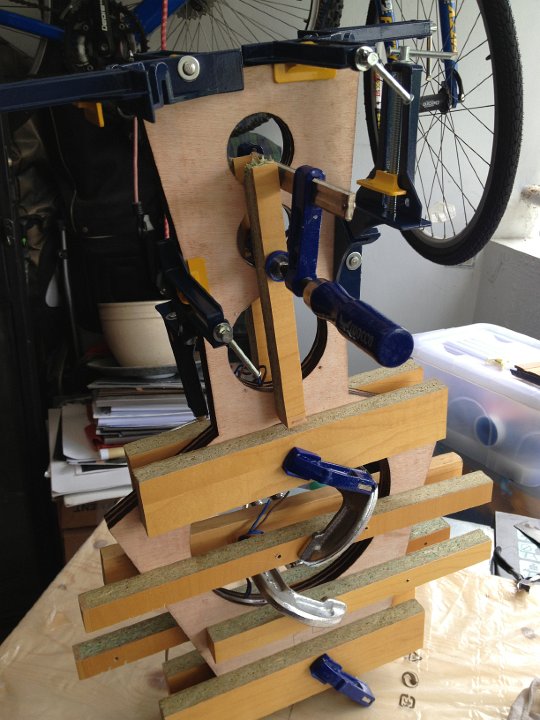
 35 V baffle getting done with glue (PVA / White wood glue) Note the new small clamp..and a whole lot more bigger ones...I have loads of clamps now I can fix just about anything! |
 36 Learning as I go... you cant put dowels in one pice of wood when you are woring in a right angle that already assembled...my only cock up...my WolfCraft kreg like tool saved the day...This I DID manage to find in Singapore...one of only 3 in the country! US$60 approx |
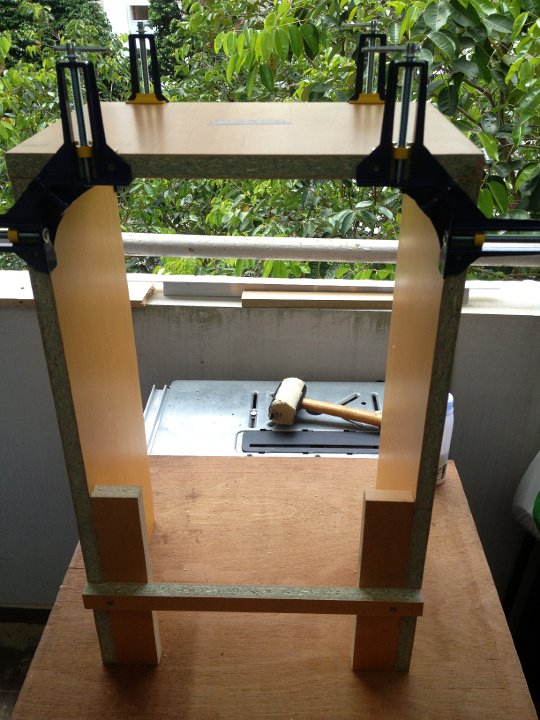
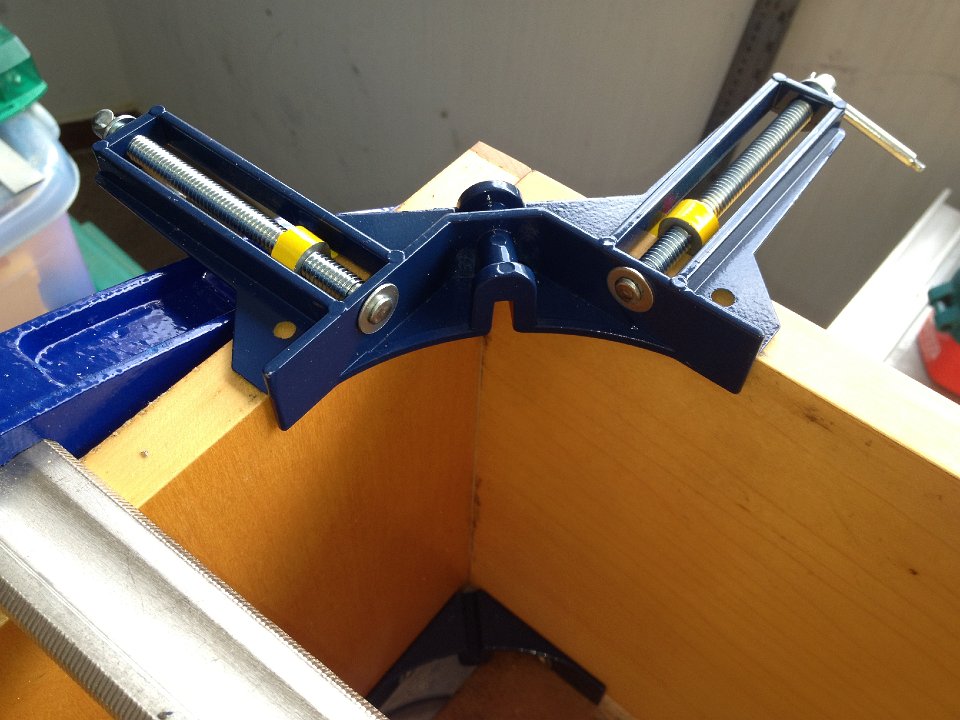
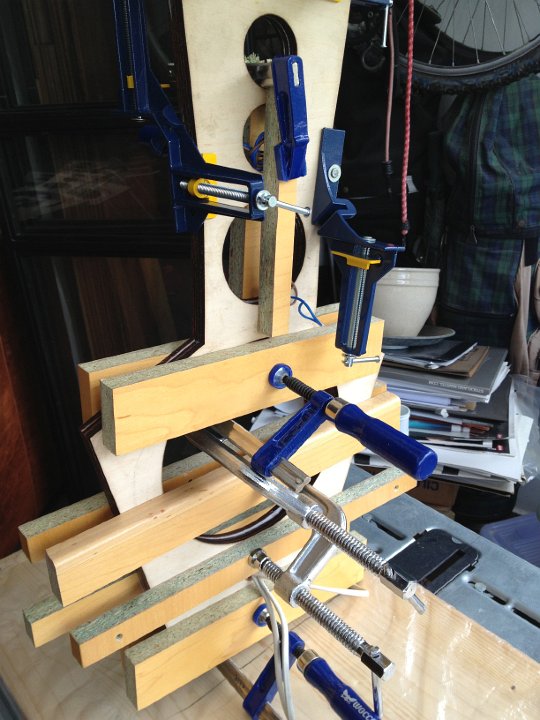
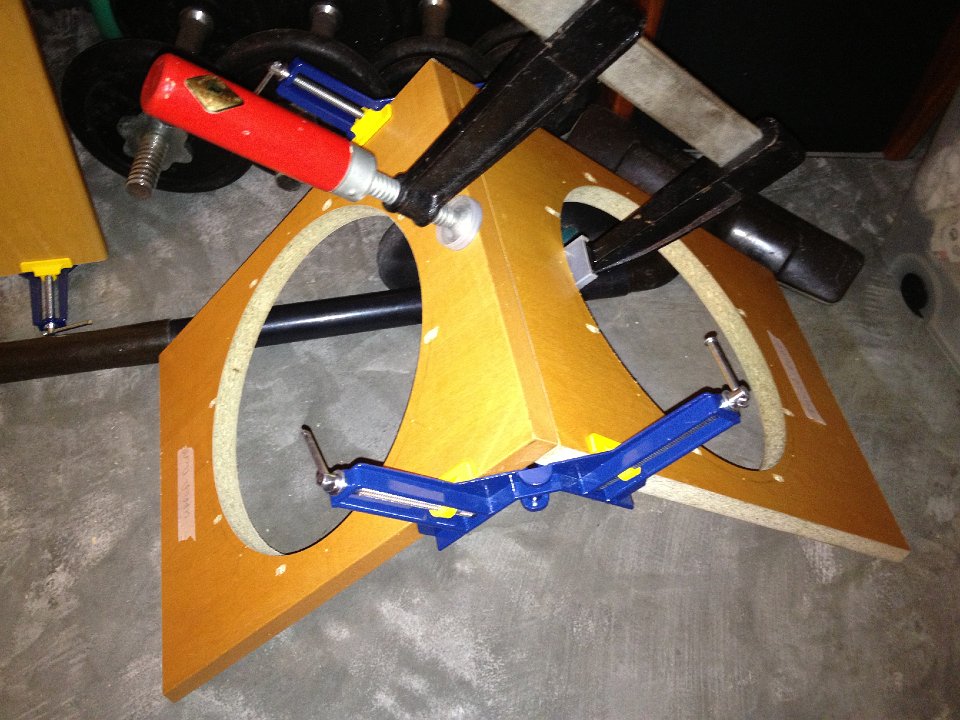 37 Clampng the V baffle with some 90degree clamps (also hard to find) but cheap at US$5 a pop |
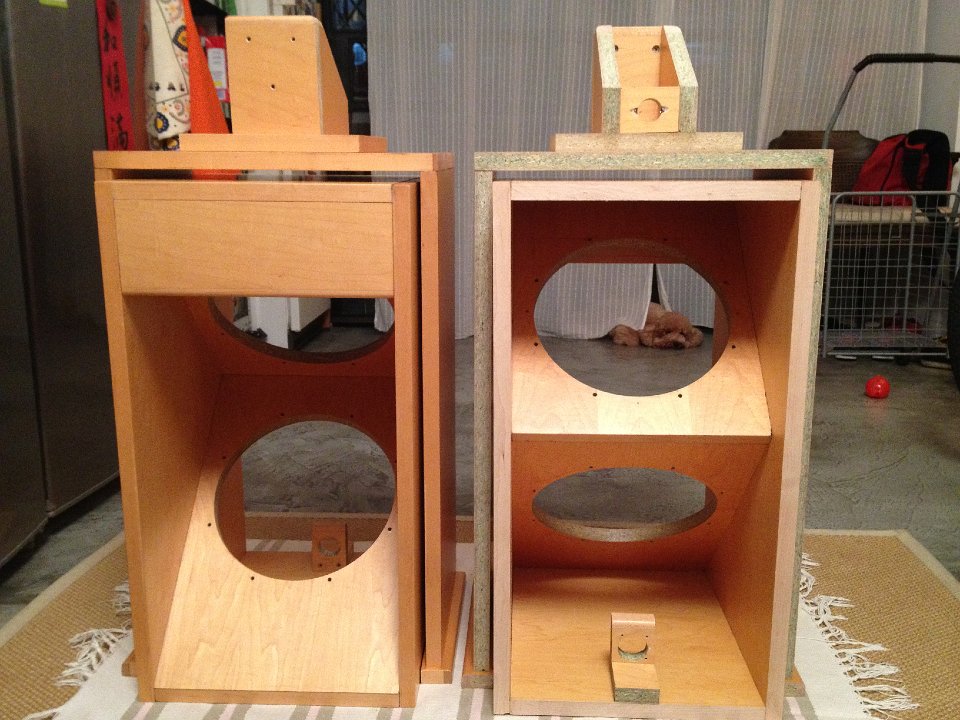
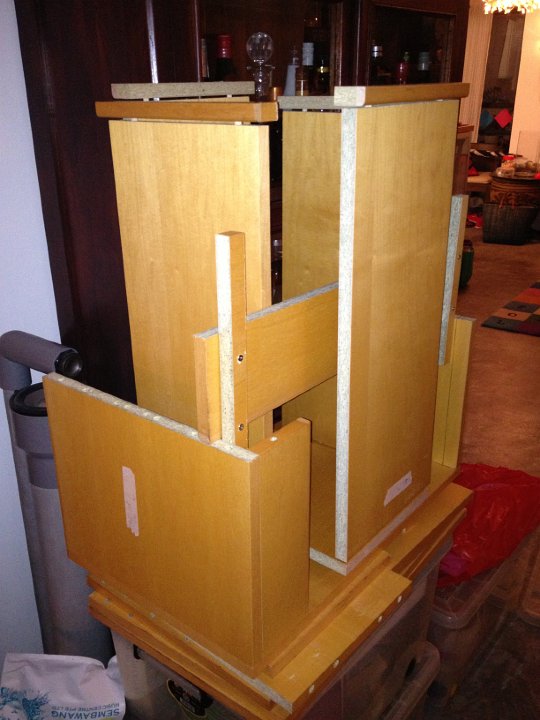 38 a pair of LX521's in bits bar the V and upper baffles parts |
 39 Its dowelling time again...hmm how am I going to make the V baffle holes as I have nothing to clamp or align the jig to...this KIWI ingenuity thing really does come in handy. there are 50 dowels in each bass bin...that should be enough I hope...and only 11 screws used for the 45degree mitre areas |
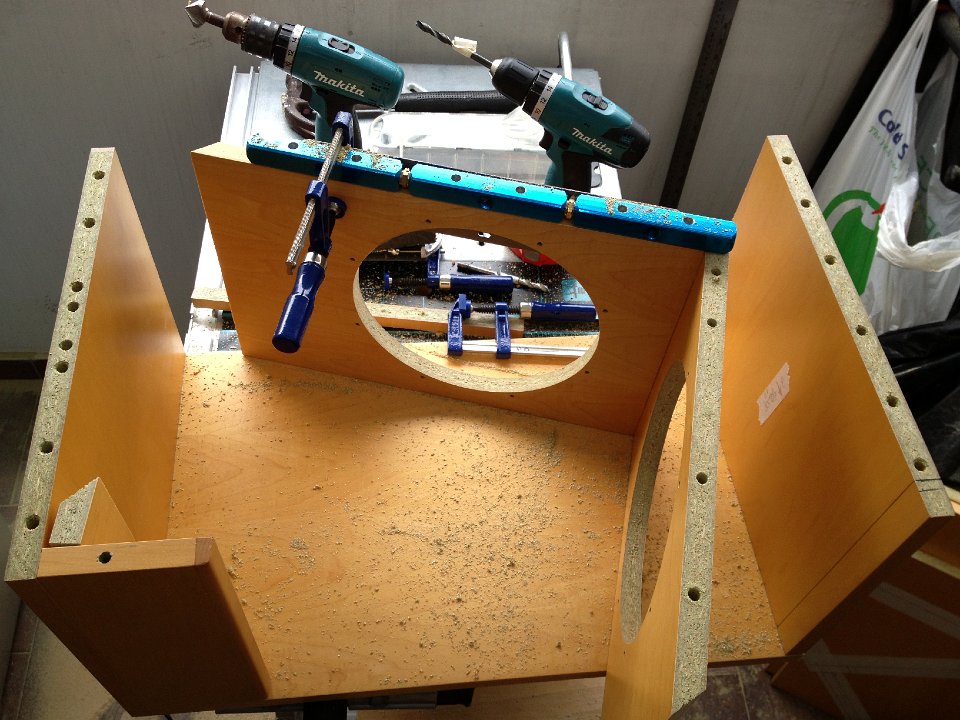
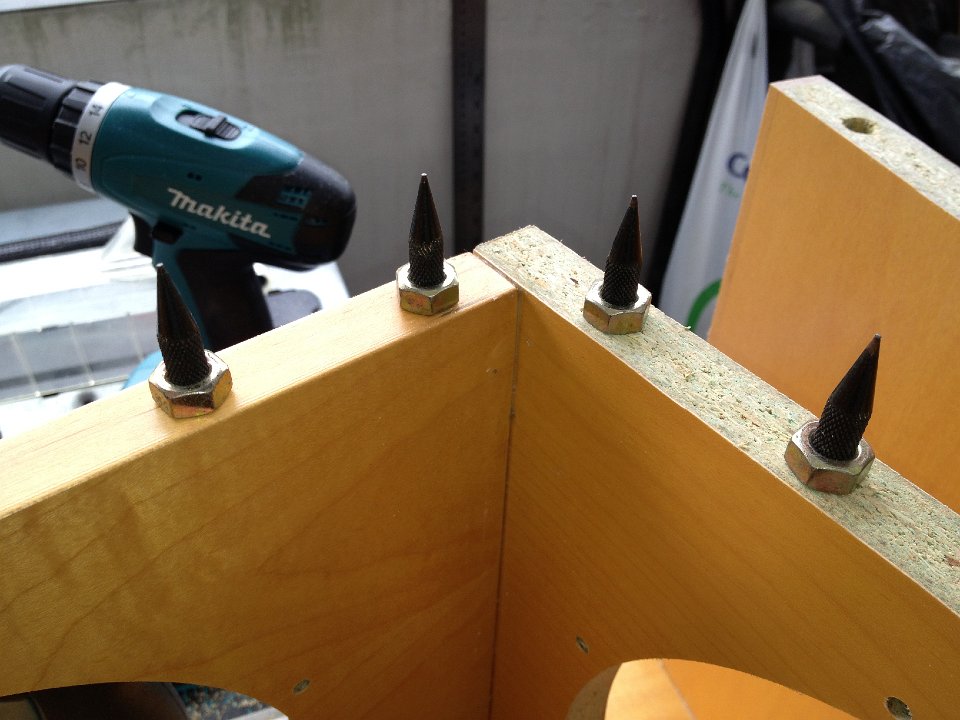 40 8mm speaker spikes...my secret dowelling jig weapon....look and learn kiddies |
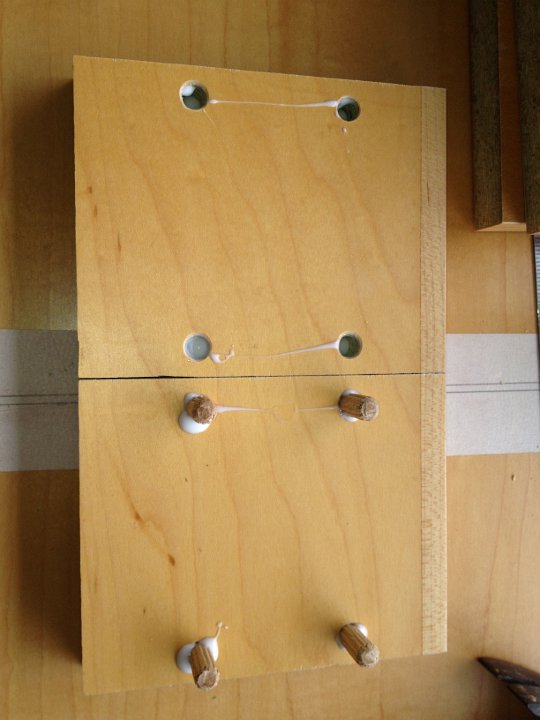
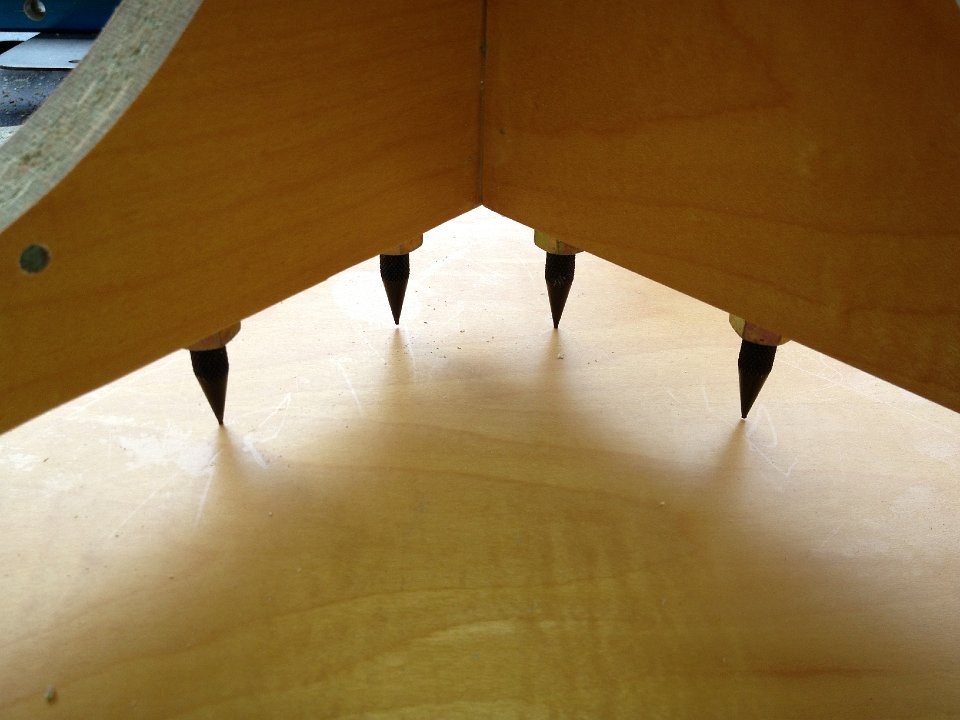 41 place on wood...bang bang bang maxwell's silver hammer goes down upon her...no hang on, well you get the idea |
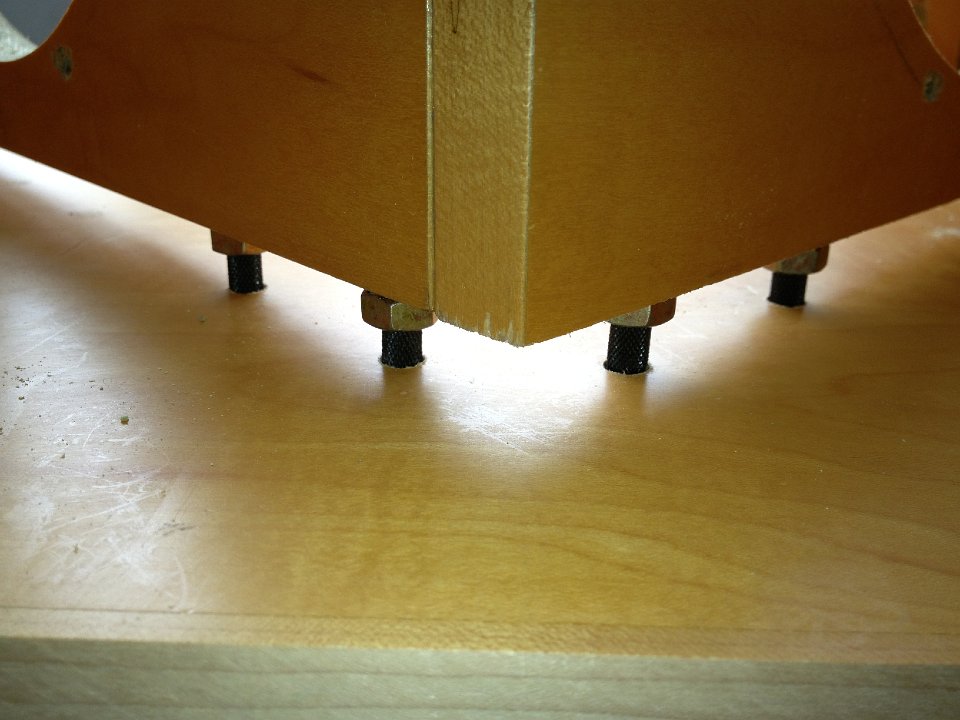 42 after drilling the holes a quck alignment test....sweet...more of this trick in a few more shots |
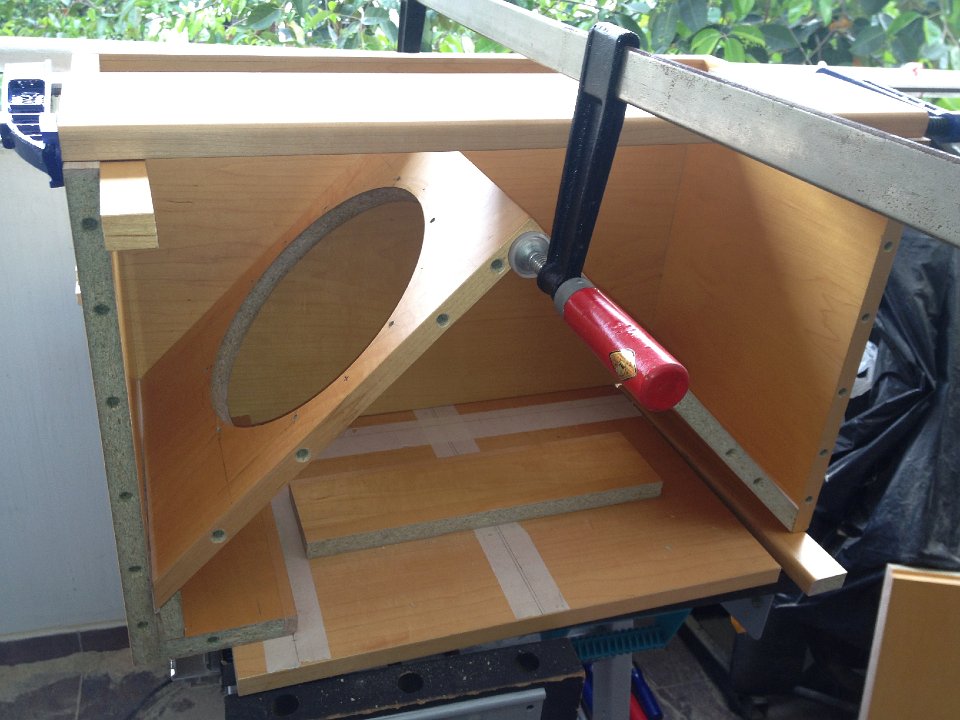
 43 The upper V baffle mitred clamp...3 screws for the clamt to the top plate and 4 for the V baffle mitred edge |
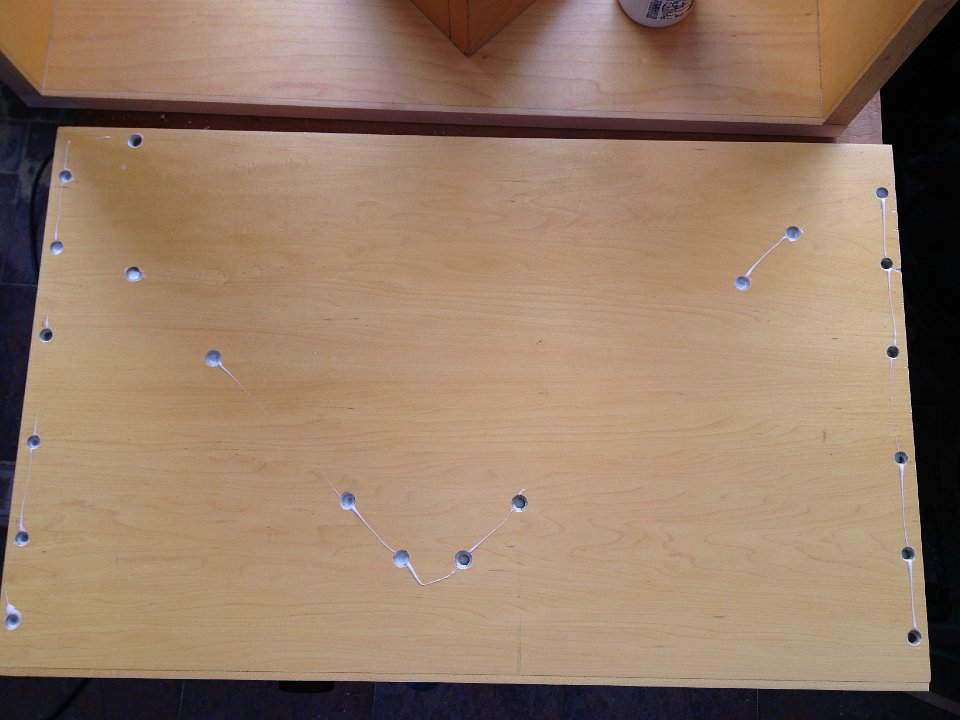
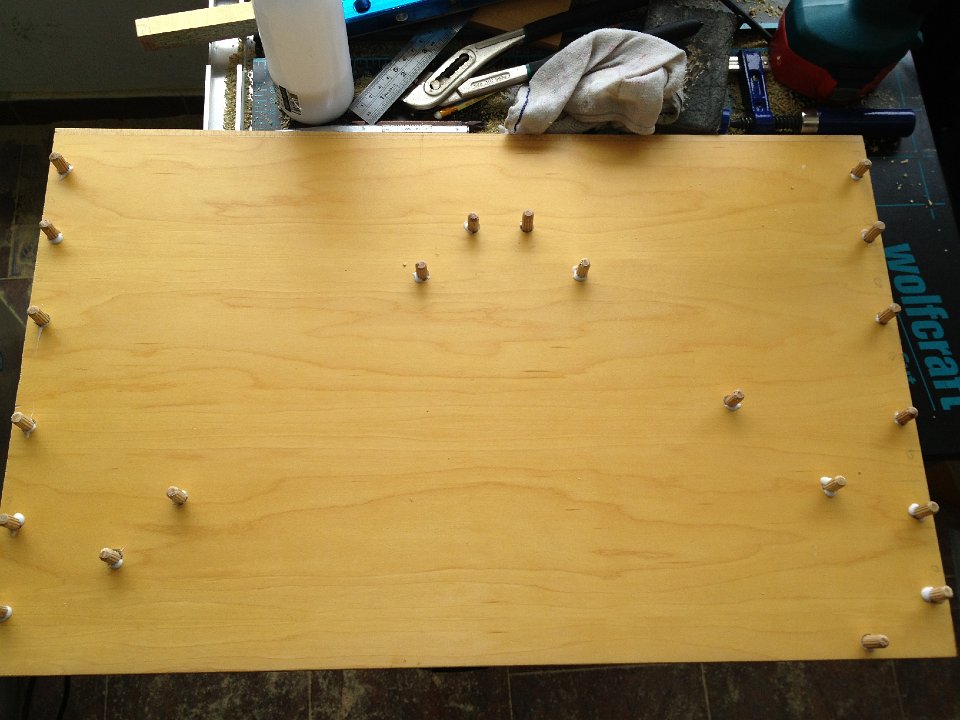 44 Dowelling 101...more is more...decided not to get too close into the woofer cutouts hence the gaps in the middle part. Keeping the sc=trength in the baffle |
 45 Looking goooood |
 46 Clamps a plenty...but wait there's more |
 47 and more |
 48 upper baffle mounts prep |
 49 more clamps! |
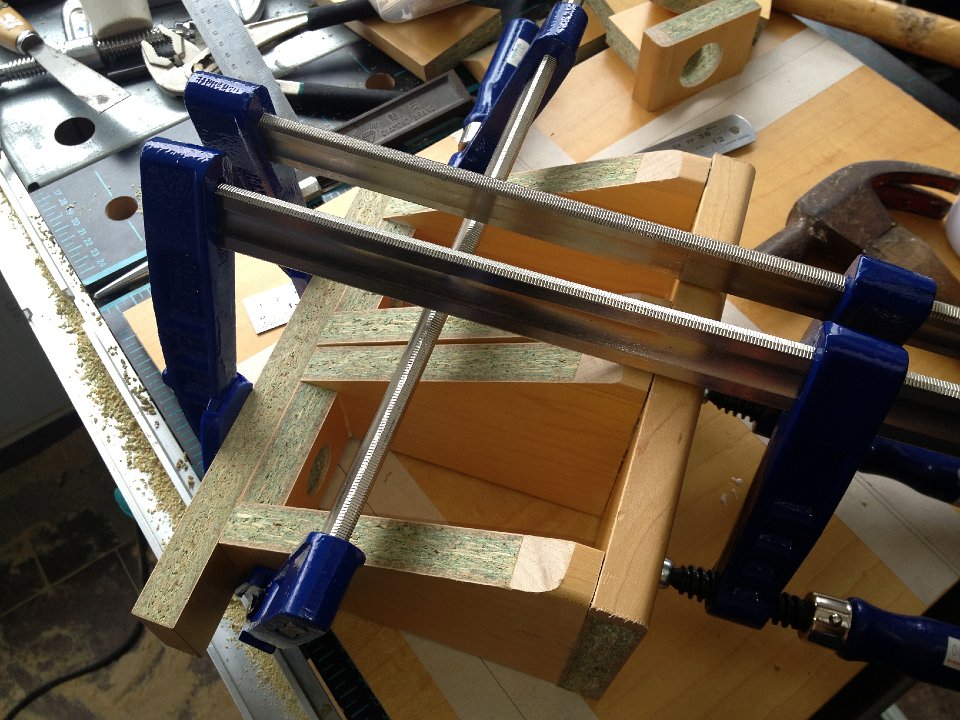
 50 Did I mention I got more clamps...there is a brace in the middle to keep the bridge footer ends and sides square...good tip Steven! |
 51 more clamping and braces |
 52 another angle |
 53 If you have clamps...lots of clamps you can get things happening concurrently...go KIWI GO |
 54 More on the 8mm speaker spikes...8mm dowels are cheap as... US$2 for 100 |
 55 here we go with the spikes...one more time for the ones that didn't get it |
 56 Take your marks..... |
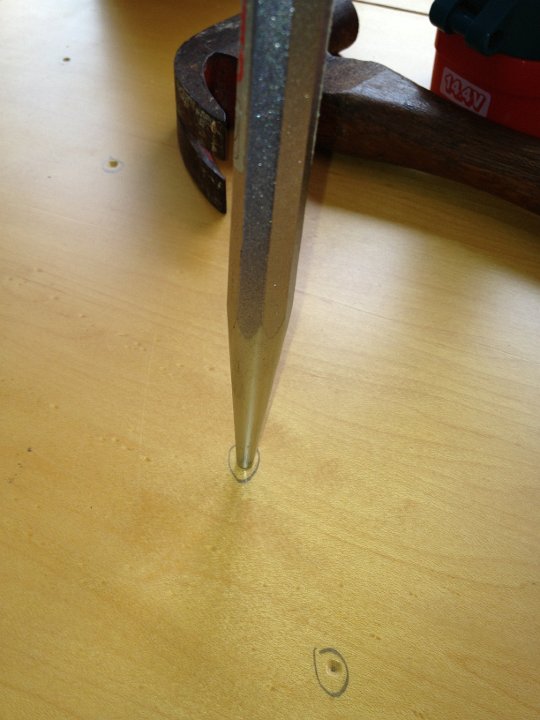 57 BANG ... centre punch the wood to get your drill in the right place |
 58 I should have used a drill press...but I instead used my dowelling jig free hand |
 59 Drill one hole then put a dowel on the jig and the rest is easy |
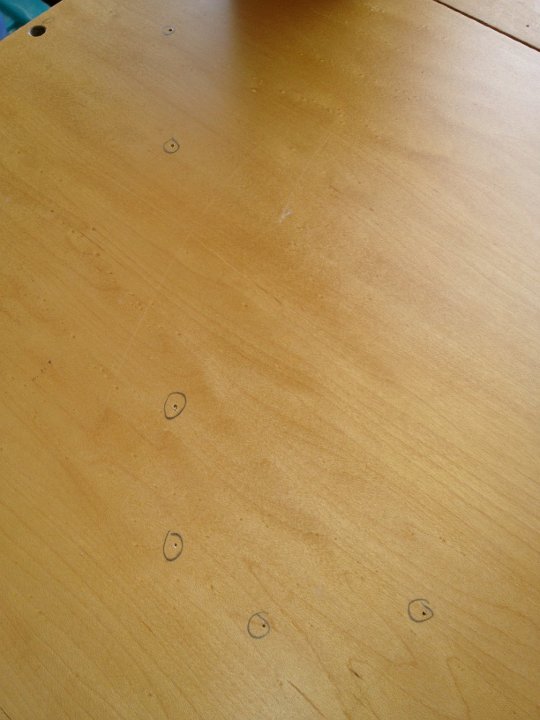
 60 i used a countersink of all my dowelling holes to make the rentry cleaner and allow for any dowel peels and glue to escape to |
 61 like this |
 62 Gule bottle US$1.20 |
 63 In we go...not too much and not too little |
 64 Just right |
 65 ready to knock in the dowel pins |
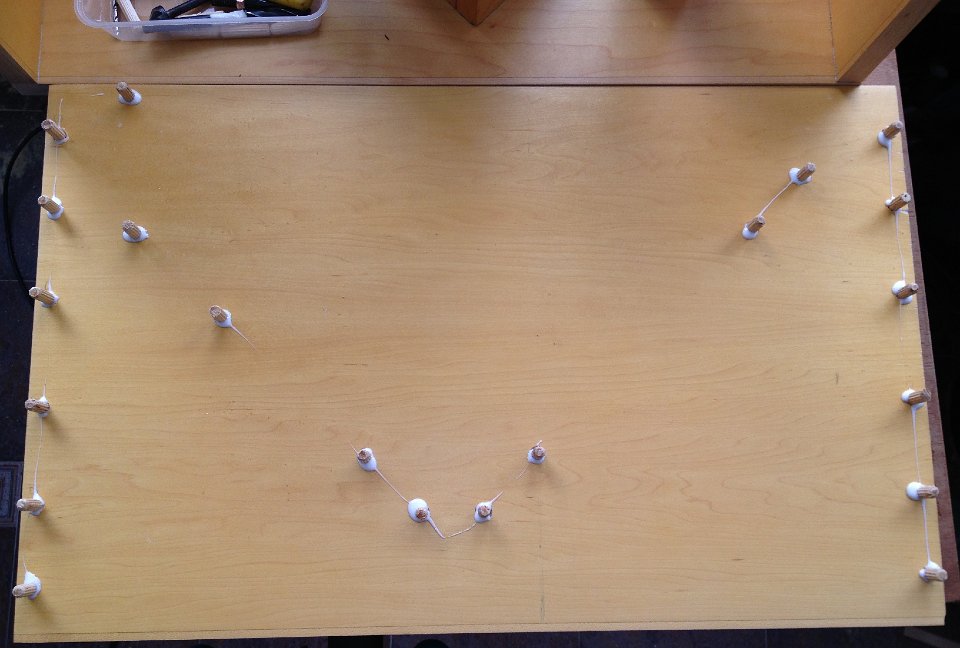 66 All knocked in |
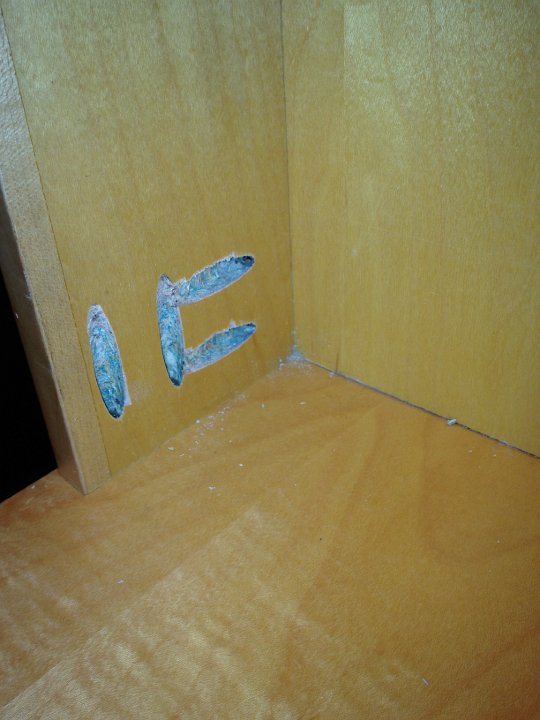
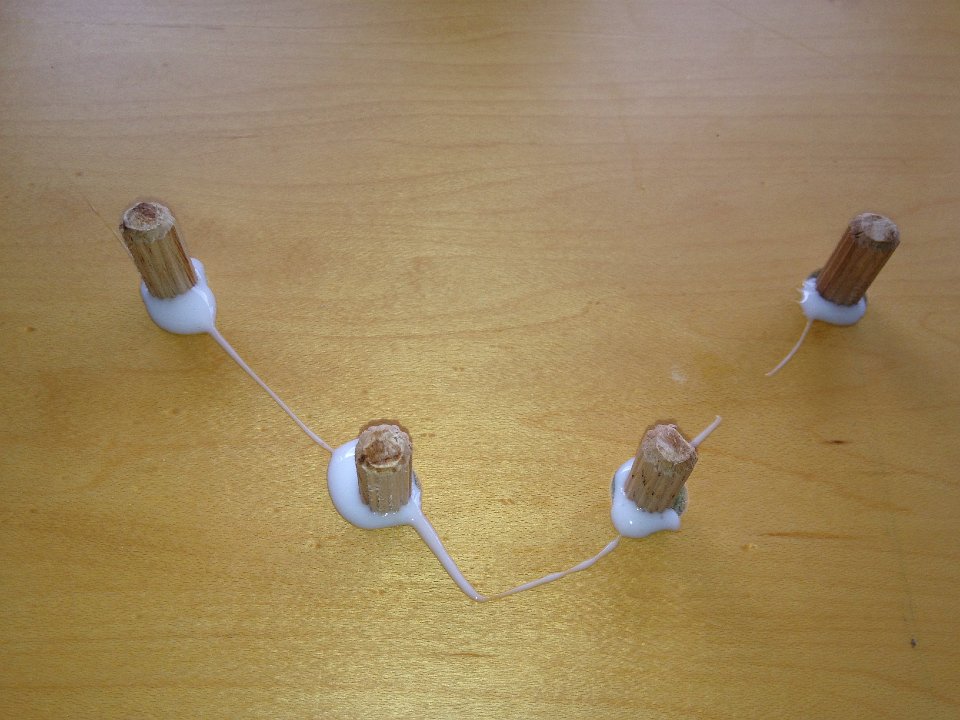 67 Close up...why I did the hole edges with the countersinker |
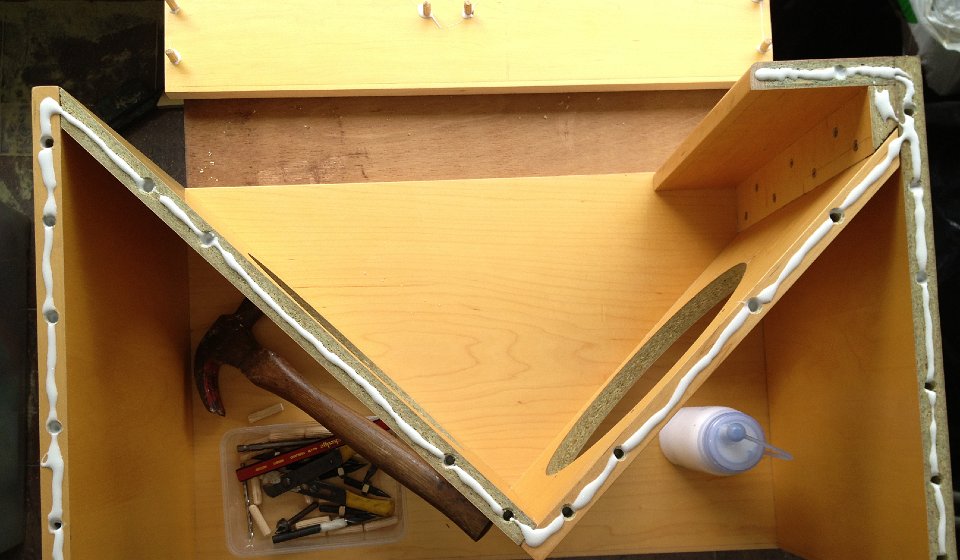 68 Run some glue around for the rest of the join area |
 69 And some onto the holes too |
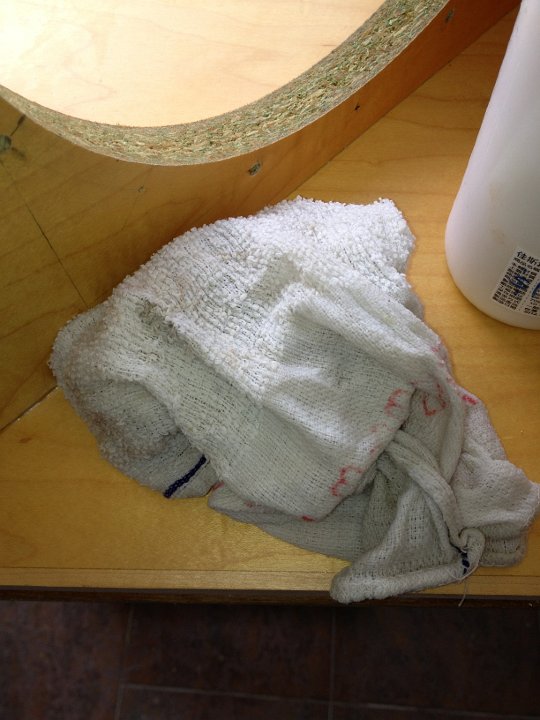 70 Ready with a damp rag to mop up the excess ... Good Morning Towels are perfect for this. |
 71 Smear it around a bit for good measure |
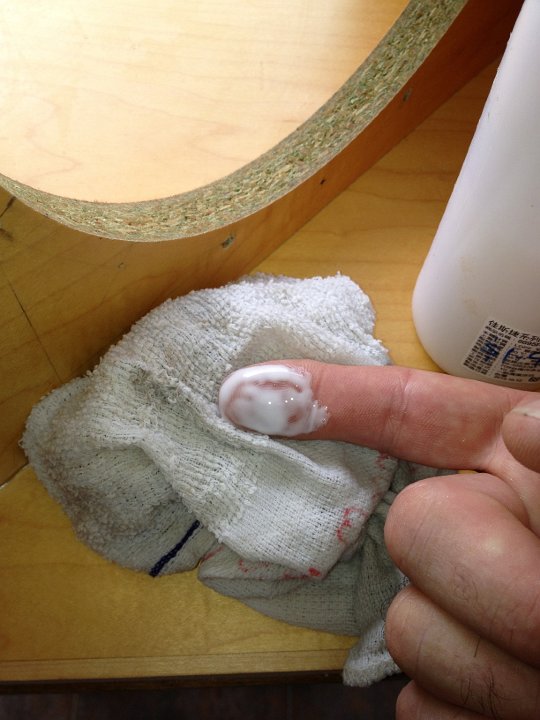 72 Wipe you finger with the wet towel |
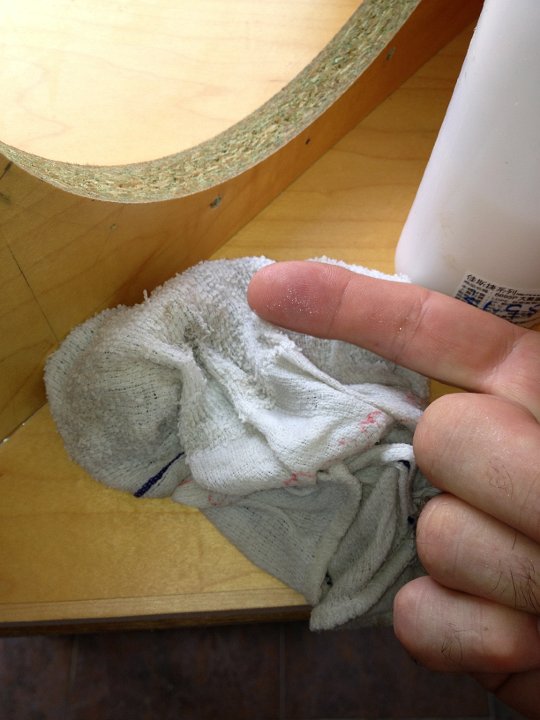 73 Clean as a whistle |
 74 OK here gous the last side.... |
 75 Looking good |
 76 Half way home |
 77 Did I mention I got clamps |
 78 The run off...the wet towel comes in handy more than a few times |
 79 I use my finger or a scraper to push the excess into the joins...then wipe of the remaining bits |
 80 Get as much glue in the joints as you can...figers work best here. |
 81 Before the cleanup...after the finger |
 82 more glue to push into the joins |
 83 Lovely |
 84 Dont push the towel into the corners too hard or you wipe away too much. But I am doing this with finished surfaces...with raw wood you may not want any glue left unless you are painting it |
 85 Dont be stingy |
 86 See .. nice...this wood glkue drys clear by the way. This is the front panel so you see it when looking at the speaker |
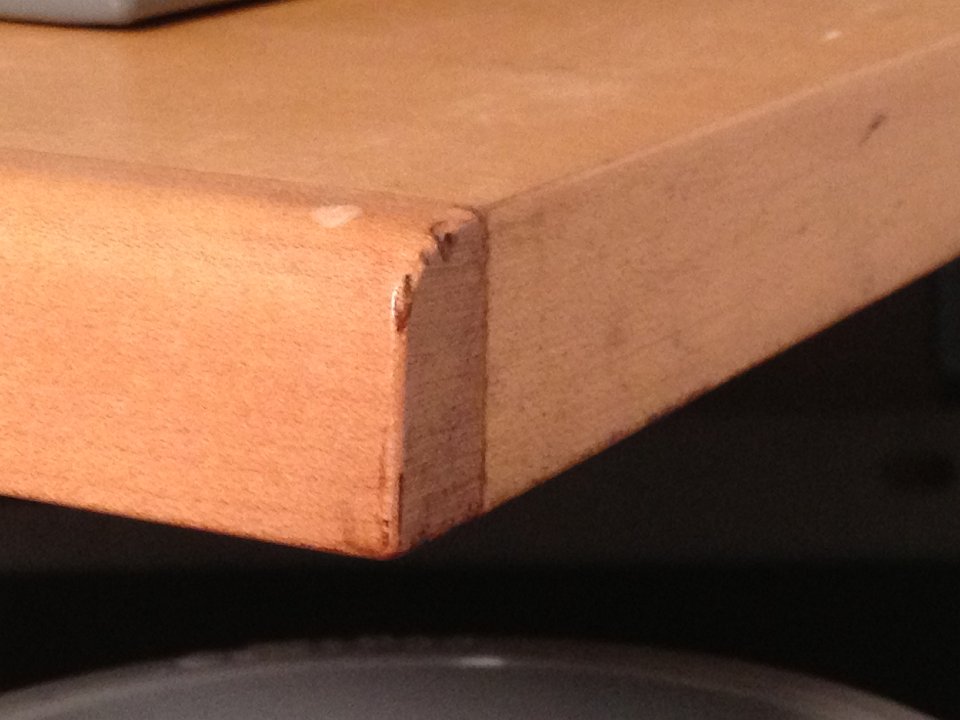
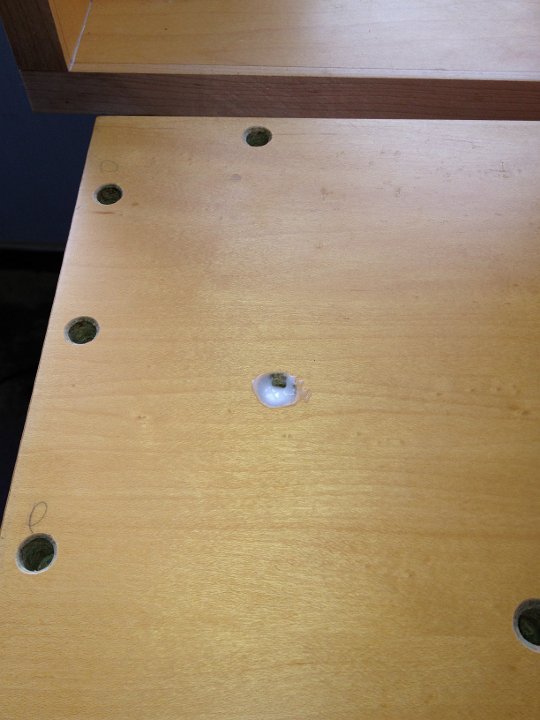
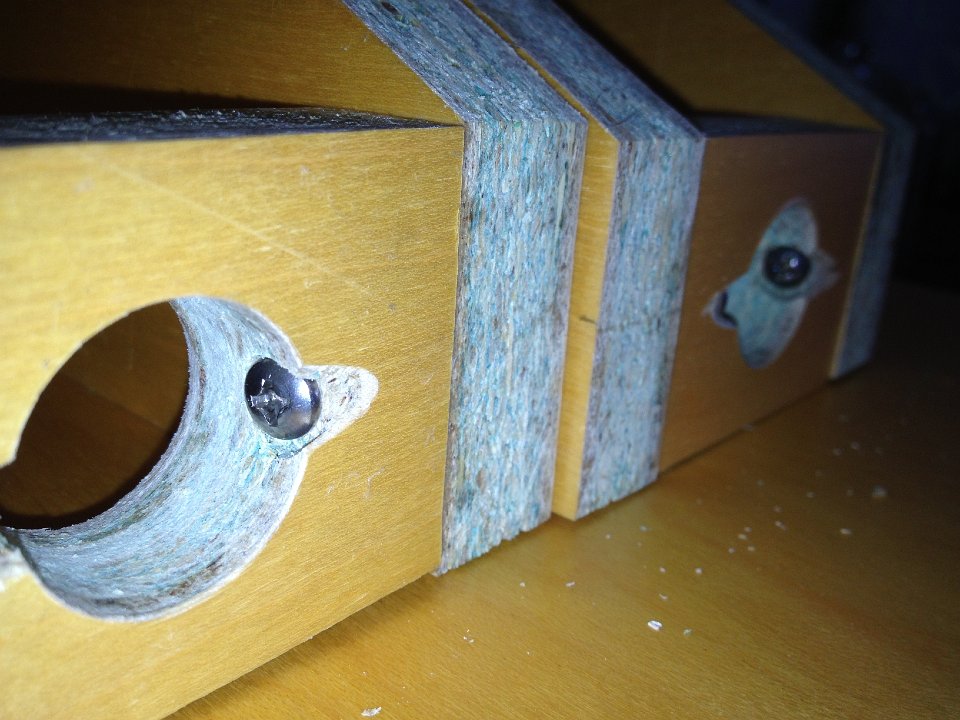
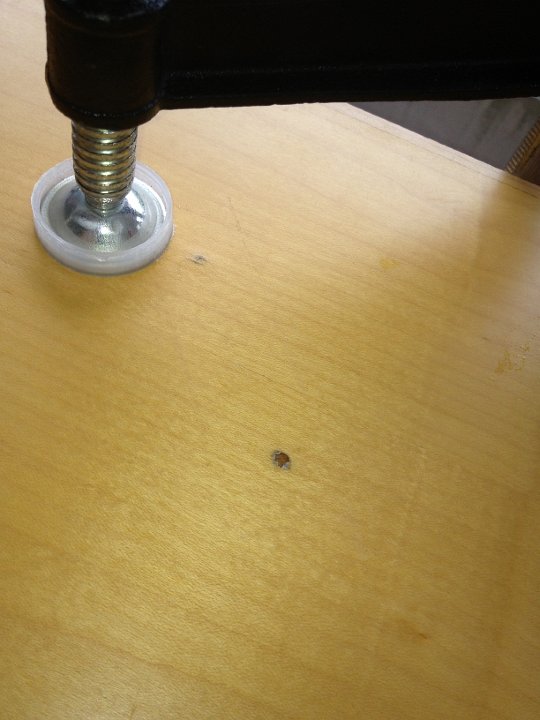 87 HAlways keep an eye on your drilling depth...I forgoit towards the end...one small hole...one a bit more noticable...luckily they are under the bridge area |
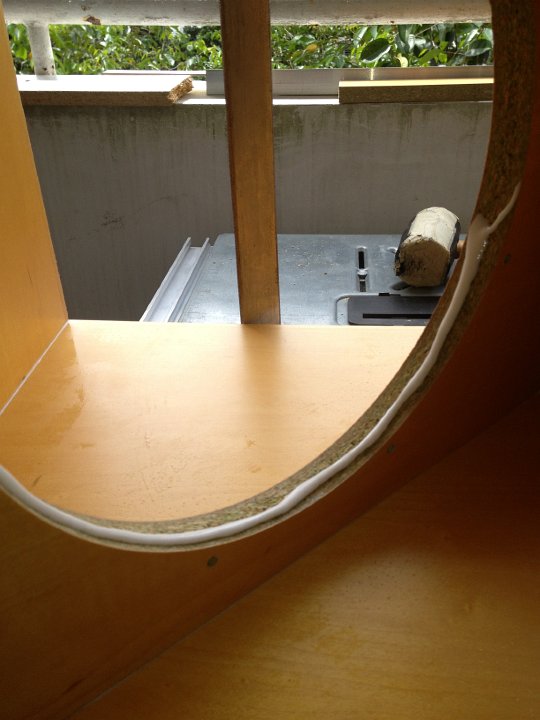 88 I ran glue around the woofer holearea to stop any wood flaking out over time |
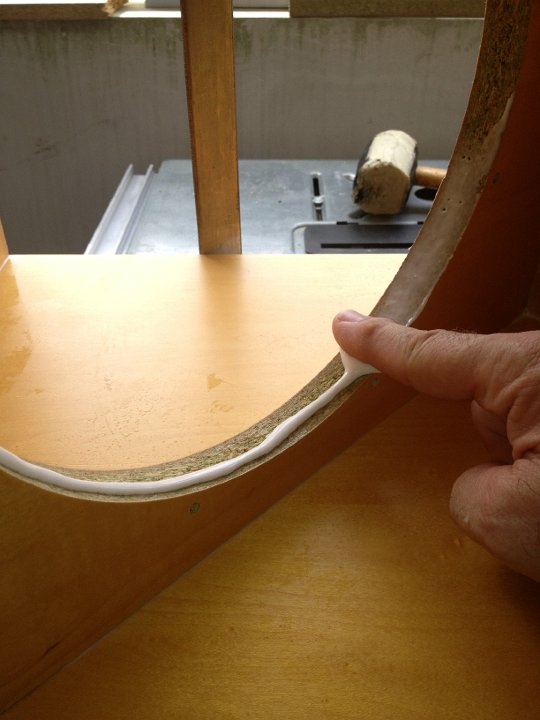 89 Finger to the rescue again |
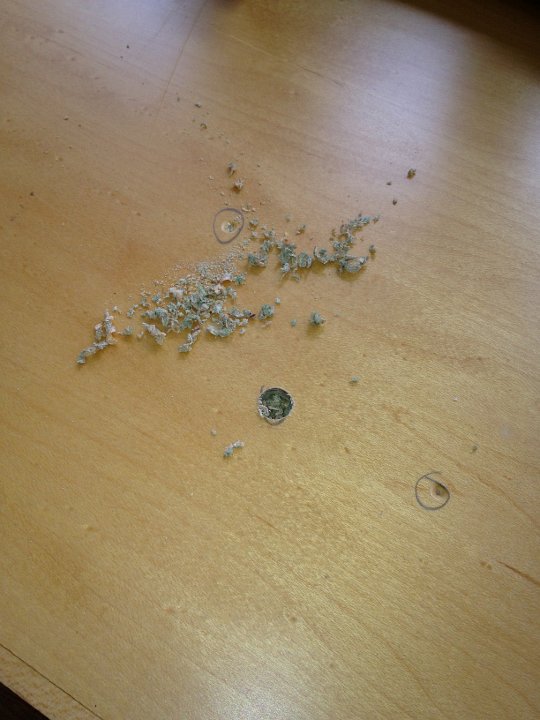
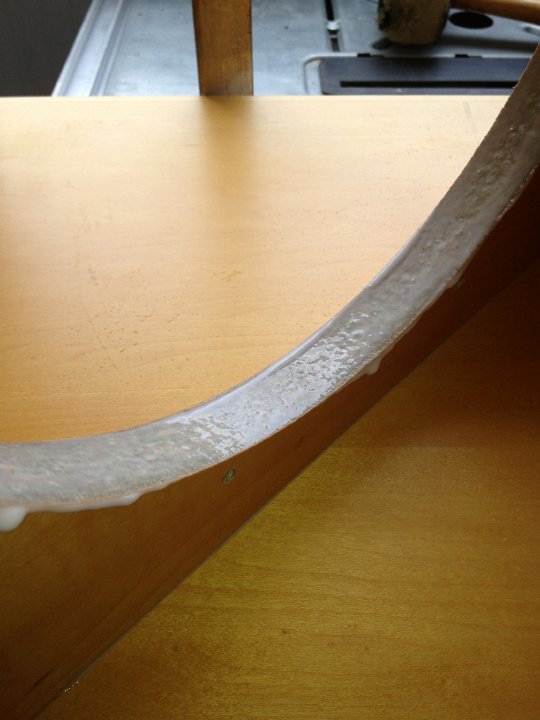 90 Dribble cleanup in isle V |
 91 Sorted |
 92 I think those clamps are breeding |
 93 Another bridge |
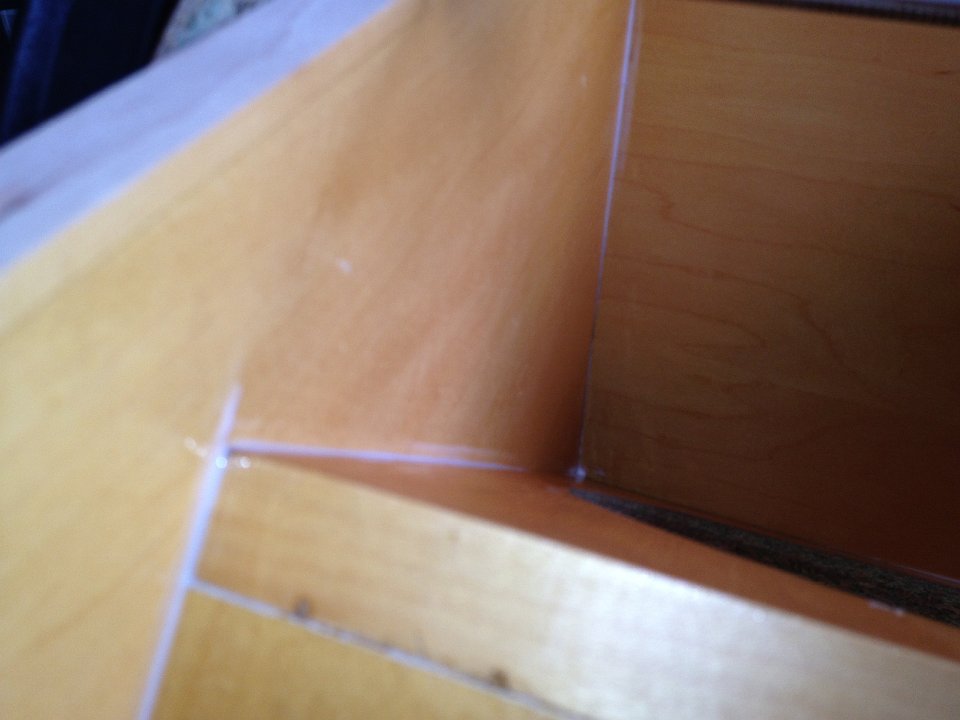
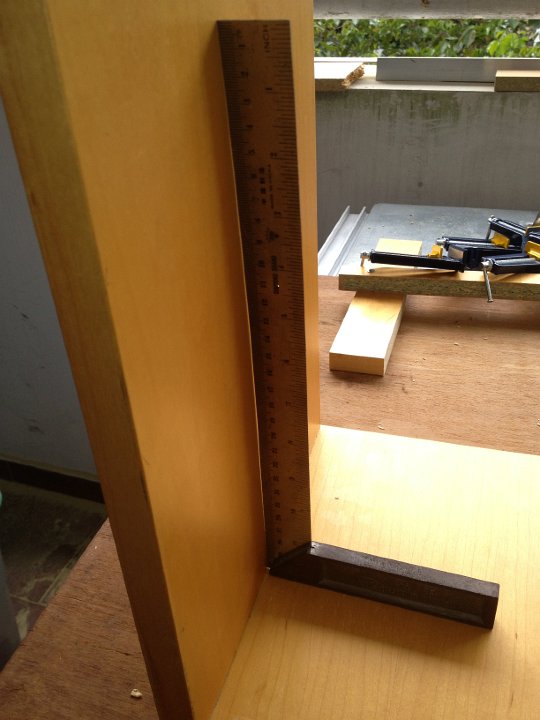 94 Square? ... A blind man would be glad to see it |
 95 Square with a slight pinch....perfect |
 96 Dry run...dont panic...2 dowels for a dry run |
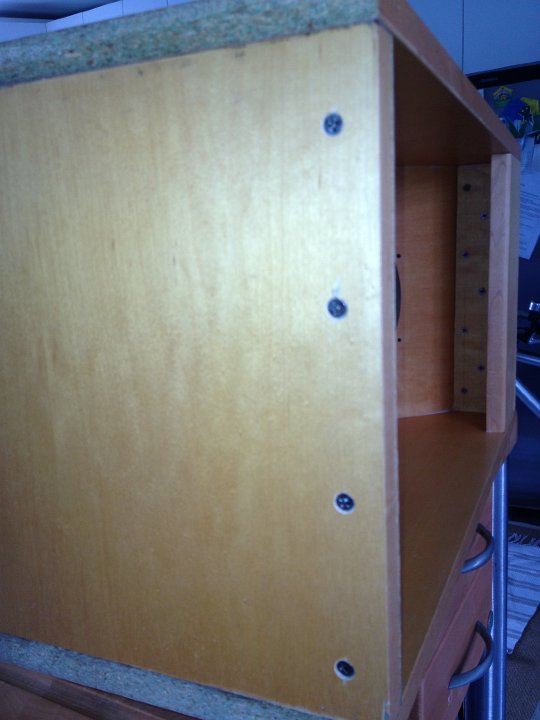
 97 OK lets make sure the woofer bolt holes are good. I didnt take pics for the hole drilling done before all the assembly was started. Used 5mm holes done on a drill press with no issues. Screws are 5mm x 35mm stainless steel so they wont rust - important in out humid 75-95% climate |
 98 I do have clmaps...might have mentioned that before...forgive me. |
 99 90degree clamps are handy...in the USA I am sure you have much better options |
 100 One bridge 8 clamps |
 101 All 11 screws in this shout...plus the 50 dowels and thats a wrap |
 102 Hiding the upper baffle bracket screws inside the 4way speakon holes...cool eh? |
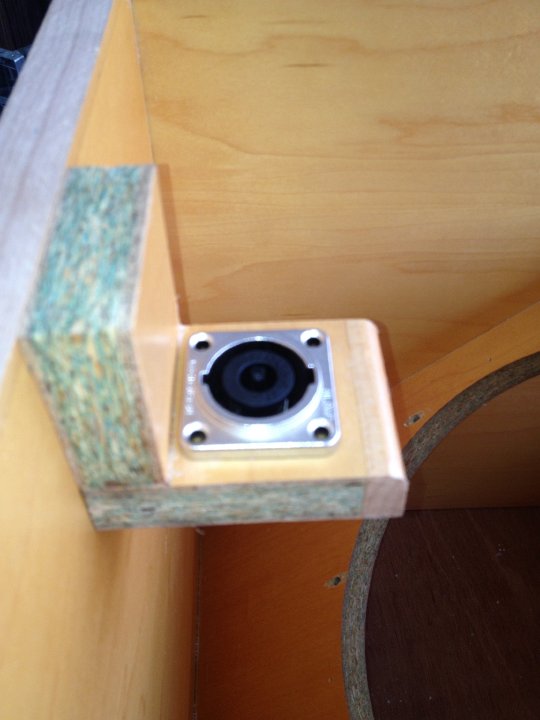 103 OK 5 more screws for the 8 way Speakon bracket mounting...ya got me! |
 104 Mostly done |
 105 Crap....better get this sorted out before SWMBO gets back from her travels |
 106 A dry run of the upper baffle speaker drilling options |
 107 My workshop all locked up...thats about 2/3's of the whole area |
 108 My pooch is not impressed...me well I am quite chuffed...bass bins and bridges and upper brackets DONE! |
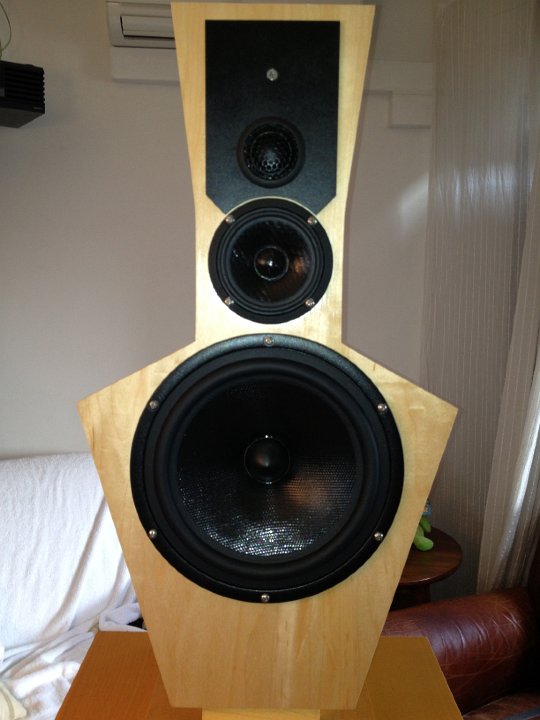
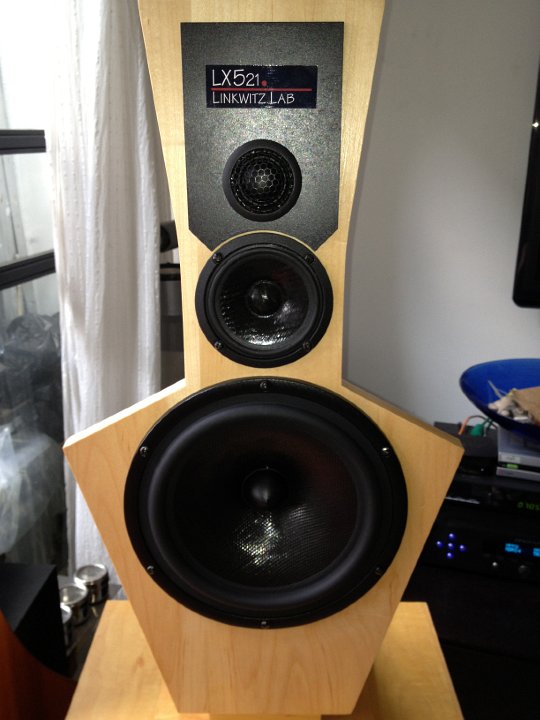
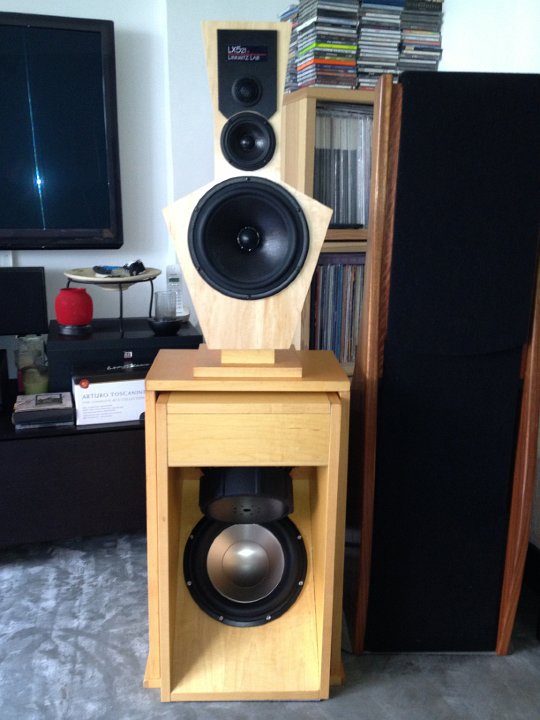
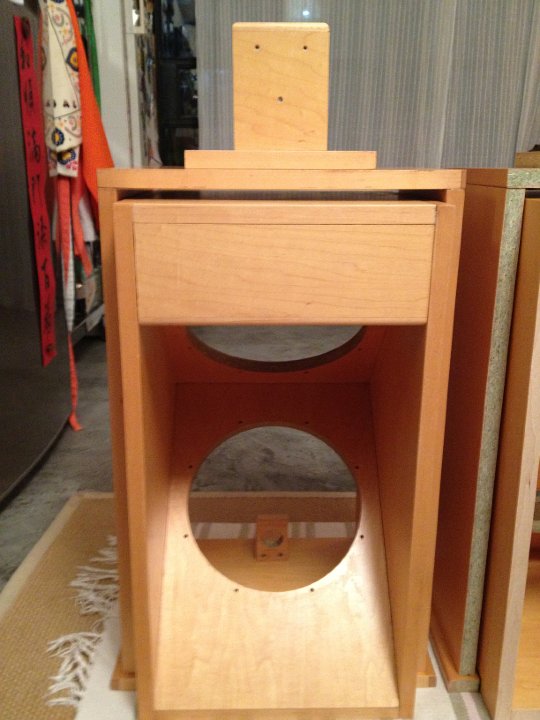 109 Full Frontal! |
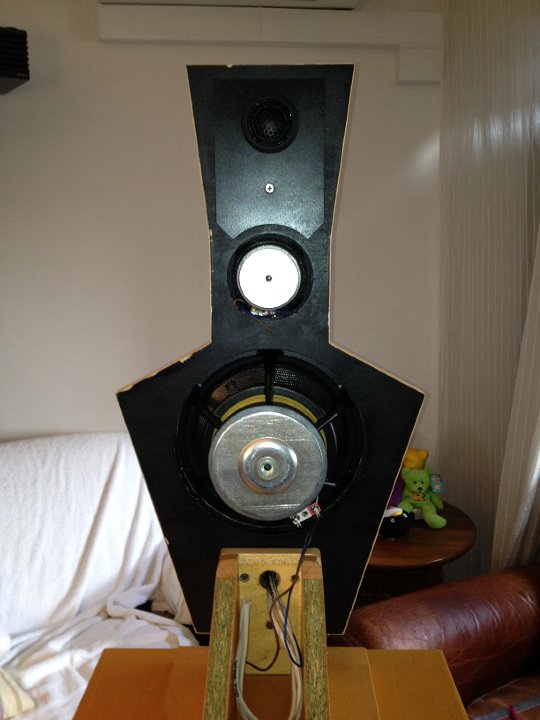
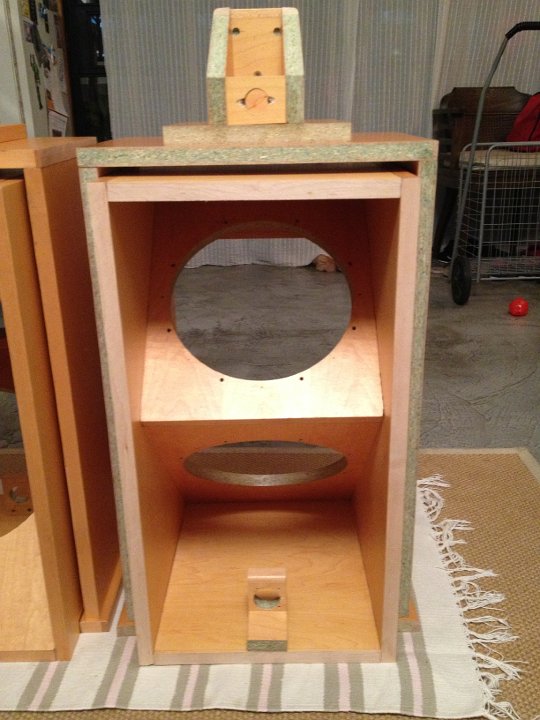 110 In the tradesmans entrance! |
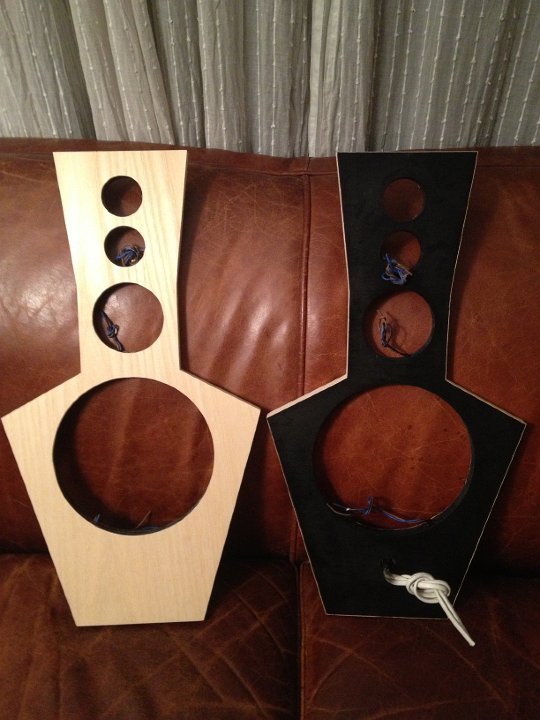
 111 Time to do the upper baffles...tweeters to the right...upper mid to the right and lower mid in the middle |
 112 The other channel |
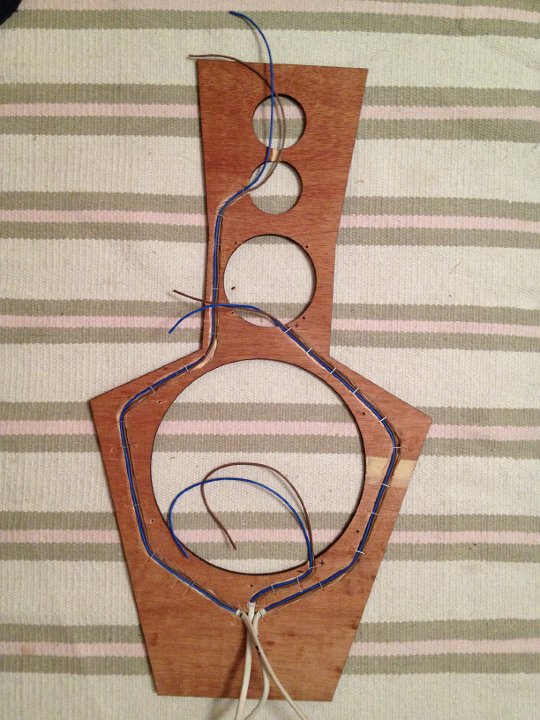
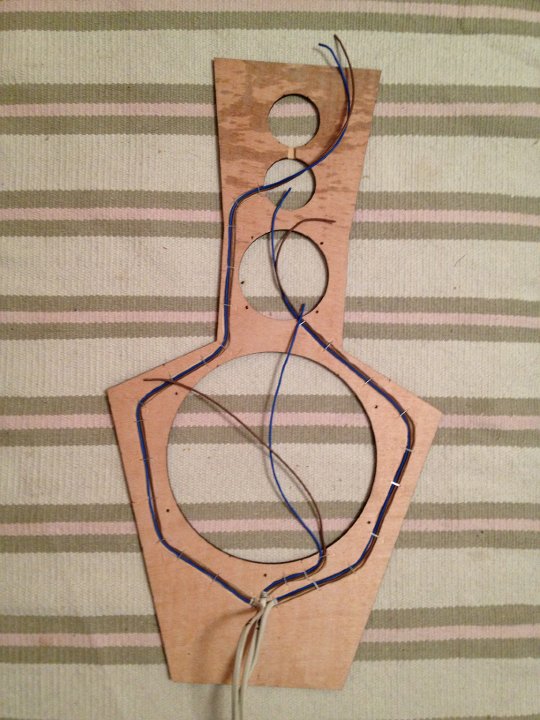
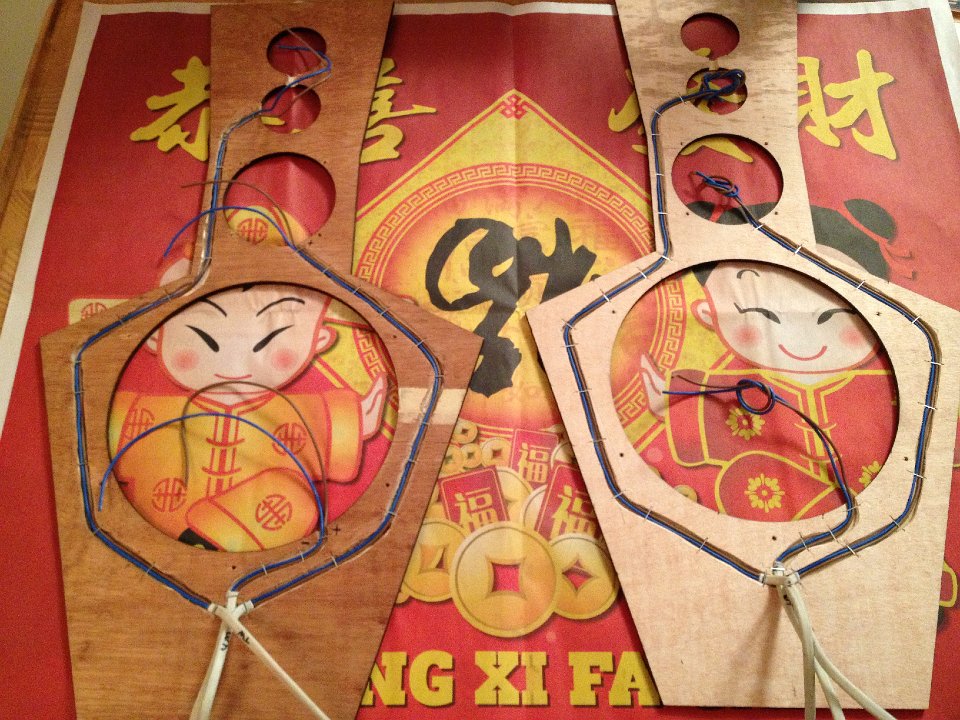 113 Happy Chinese new year...belated. Stapled and ready to glue |
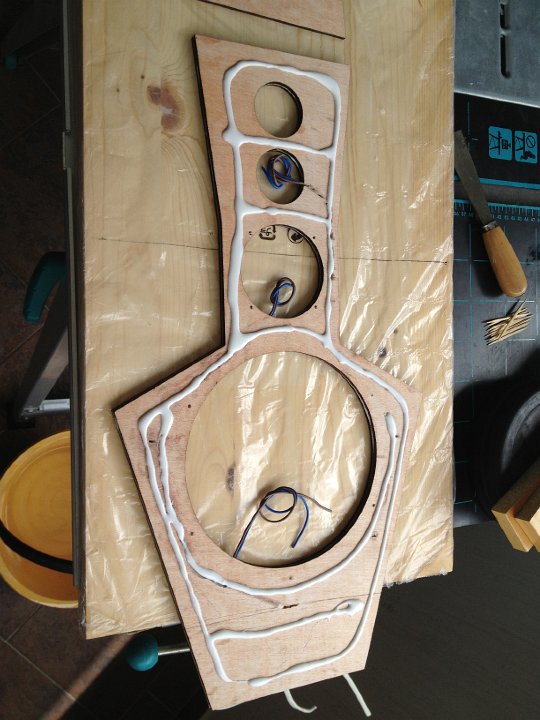
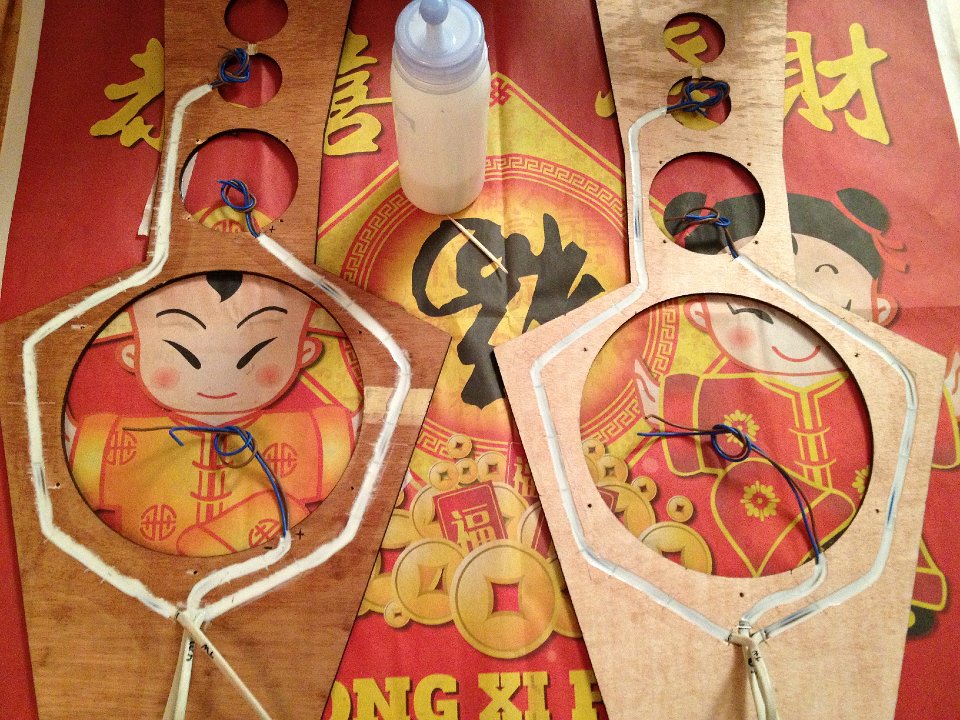 114 Glue done....lets go have some icecream |
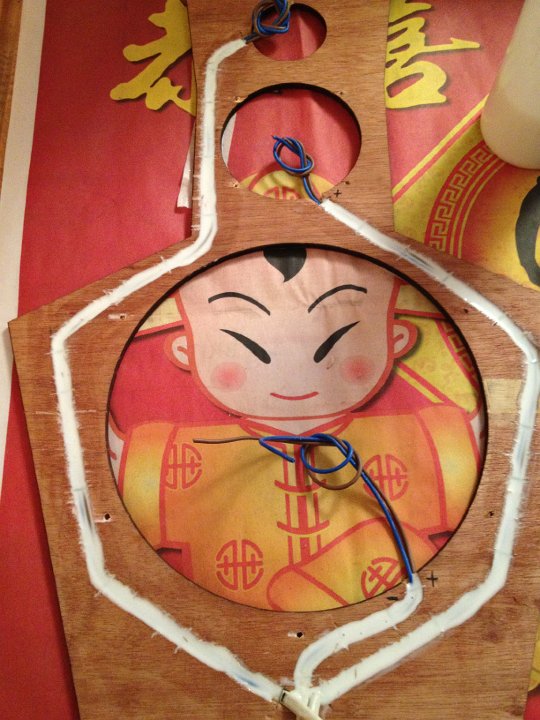 115 Close up |
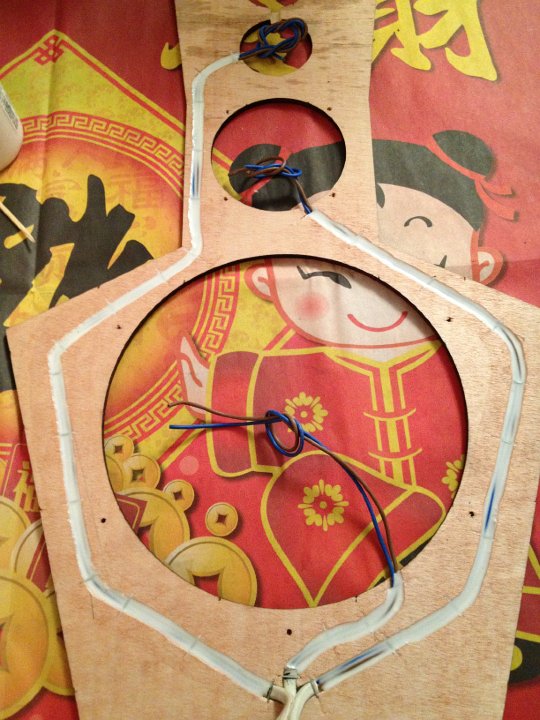 116 The glue is seeping into the wiring ... plan is it will stop any rattling of the wires |
 117 Starting assembly on the ply panels... 3 x 6mm and 1 x 3mm (nominal) |
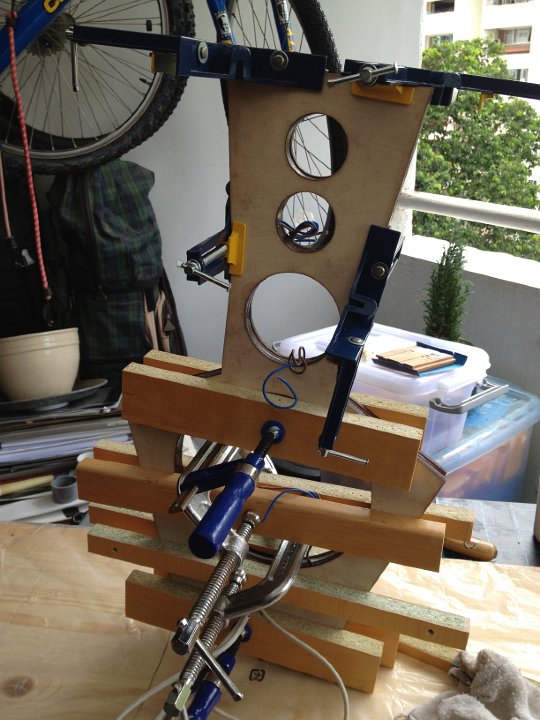
 118 Love this glue but it takesa good 24hrs before I like to unclamp it...di I mention I got some clamps? |
 119 Layer 3 about to be placed on |
 120 Yeah BABY ... have clamps |
 121 Somemore |
 122 Love it |
 123 How good is that!?!? |
 124 No clamps... no problem |
 125 What was I building here...hmmmmm |
 126 yes I did spread each layer out....not just this one |
 127 Frankinbaffle |
 128 All done.... but the grain is all horizontal...thinking about paint and veneer |
 129 OK sorry Steven... need to buy you a trimmer bit...and get the filler out |
 130 not pretty (before) trimming at all. |
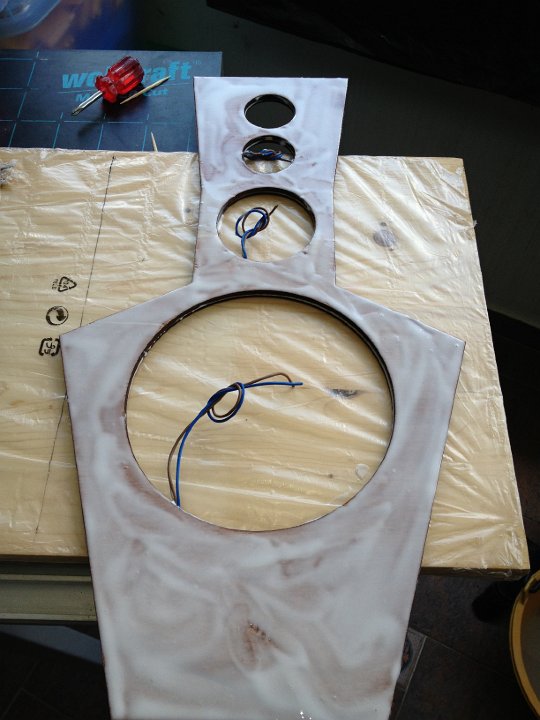
 131 All veneered (front and sides) and black painted on the back and speaker holes...then I realised the veneer is not the same as the wood for the rest of the speakers....bugger |
 132 Looks good though...maybe some honey maple wood stain? |
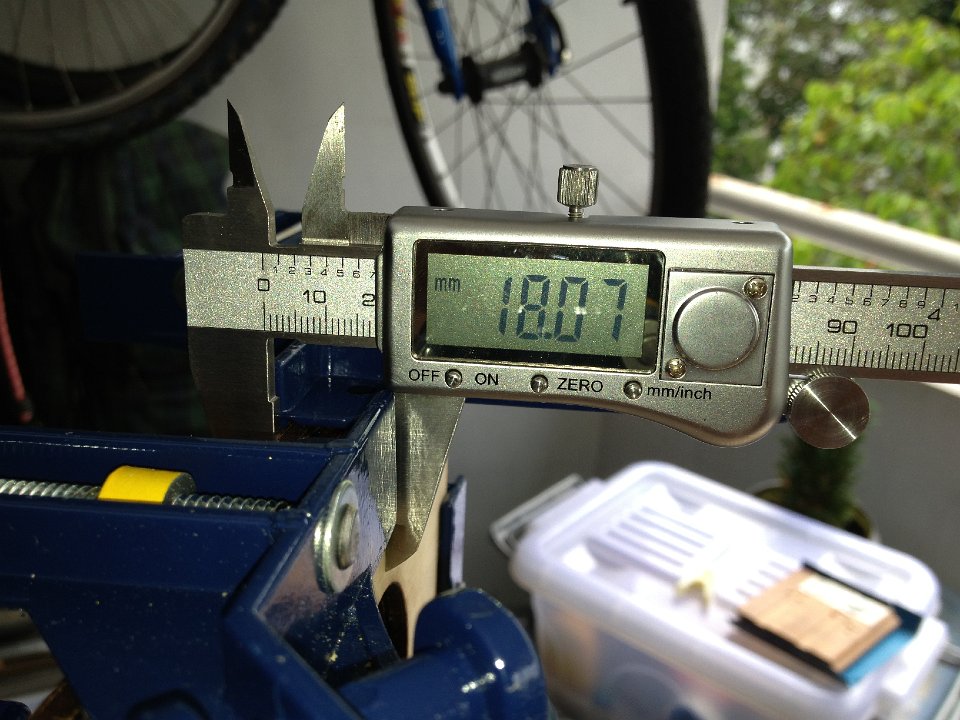
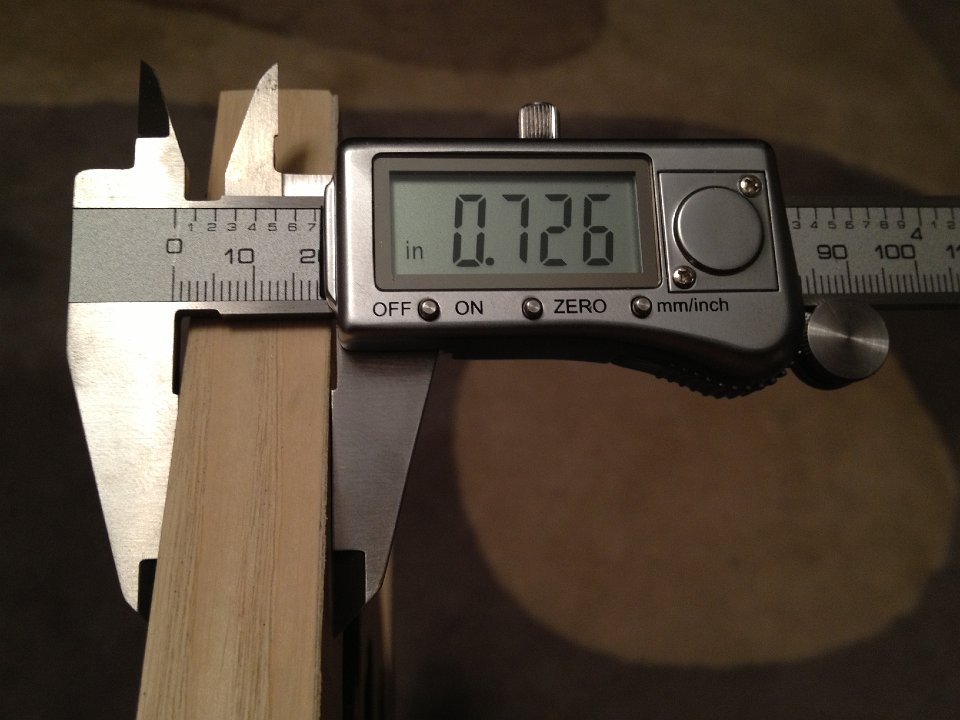 133 Pleased with the final thickness though |
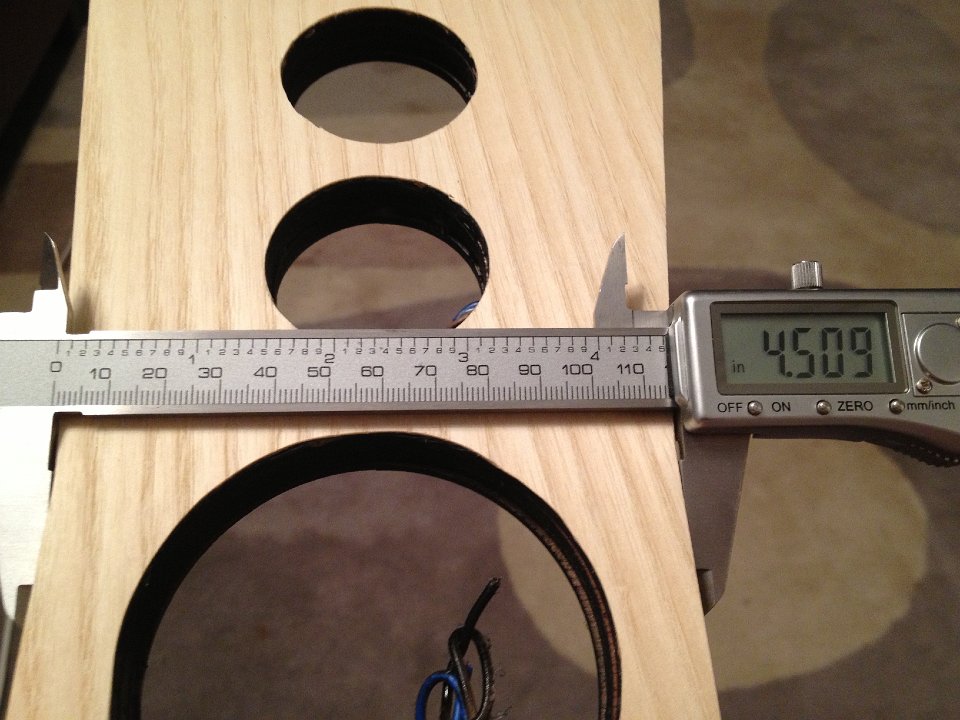 134 hmmm close enough? |
 135 OK the veener could and grain as just wrong....off to the hardware shop... |
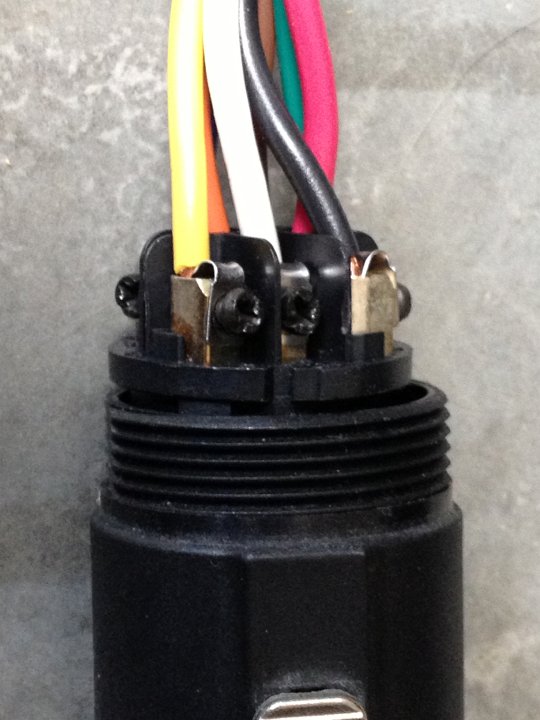 136 decontructing the Wood Artistry 8way Speakon cable pinouts |
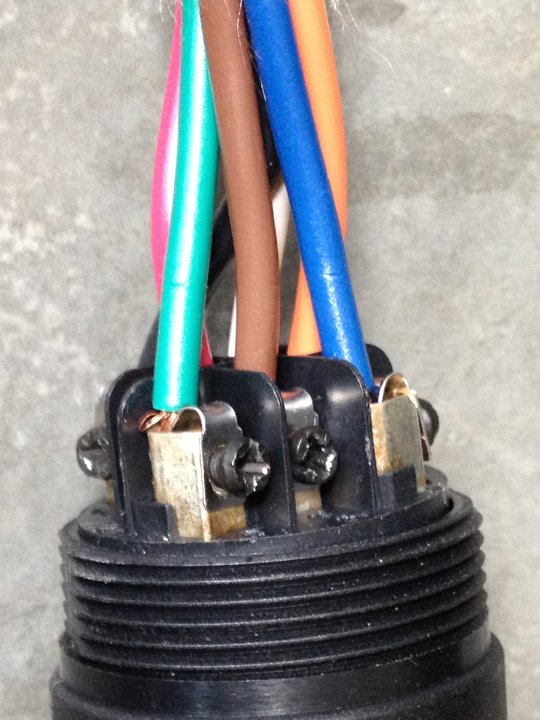 137 OK got it... |
 138 Re veneering...honey maple this time....DOH |
 139 Thats looking better |
 140 Oh Yeah... |
 141 Cabling the 8way up... a bit off centre for the bracket hole but I'll pass it |
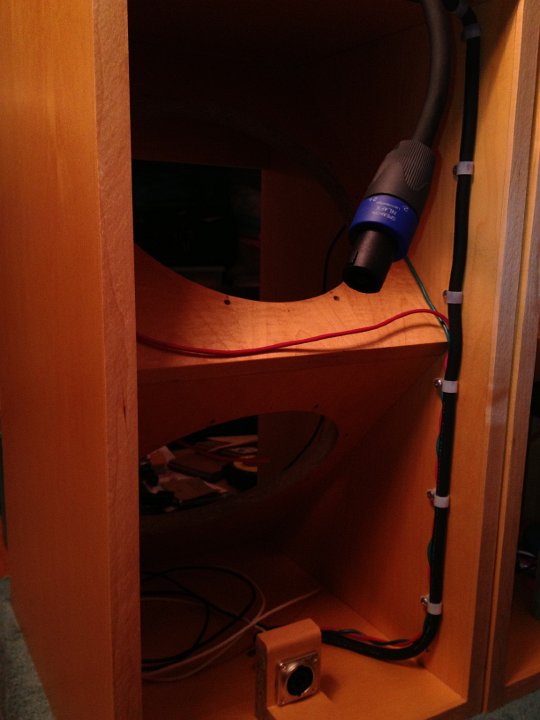 142 Oh yes...no rattling cables in my bins |
 143 The workshop is almost back to normal |
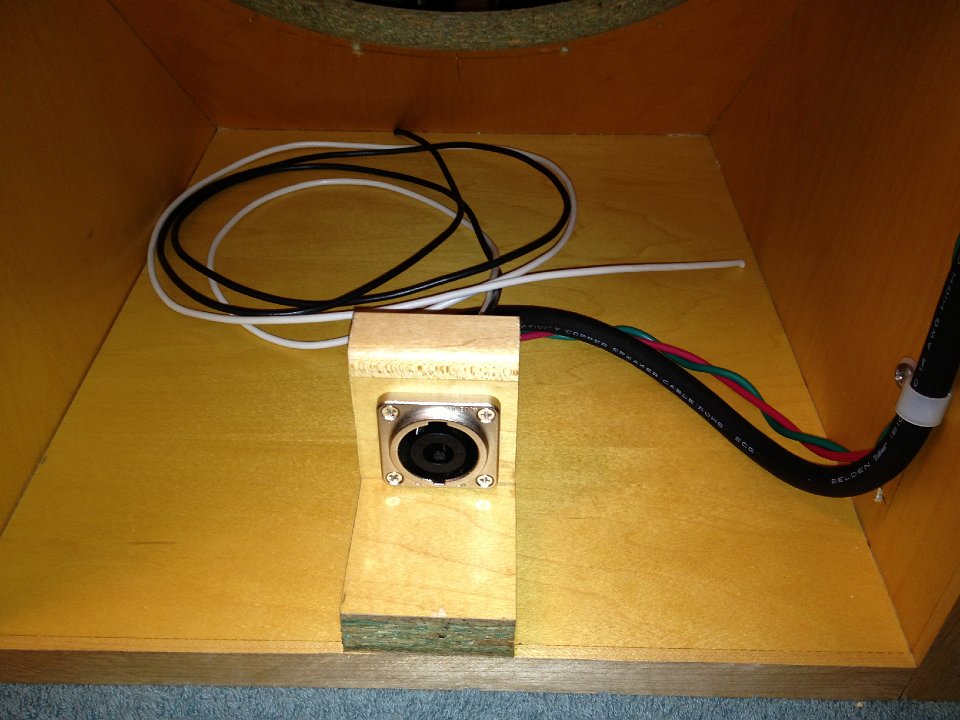
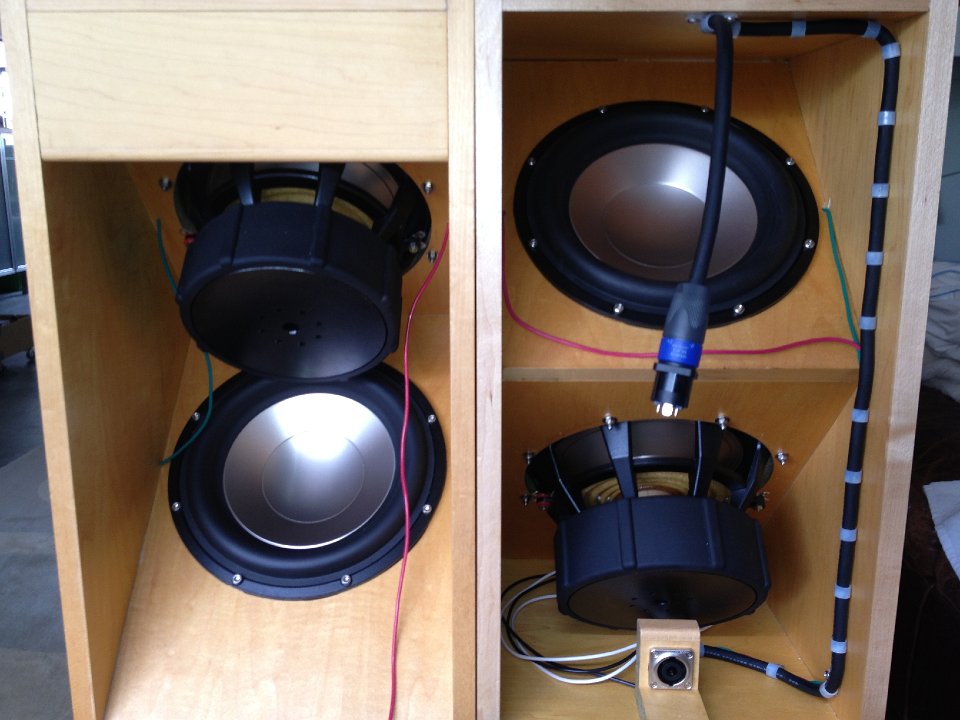
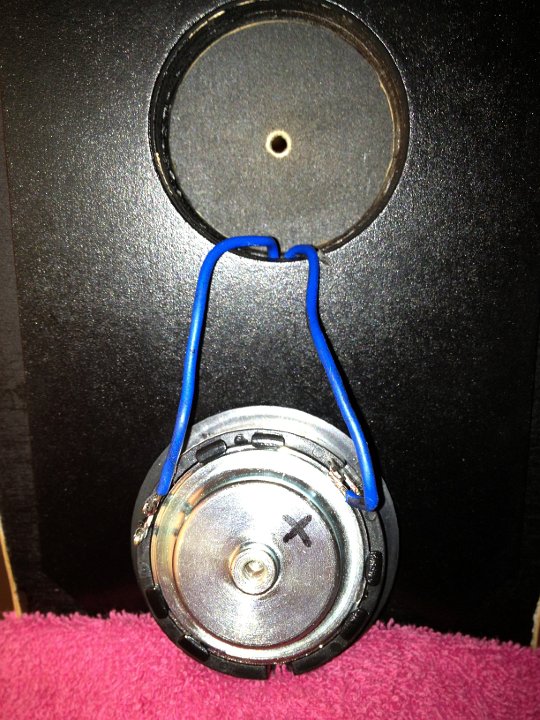
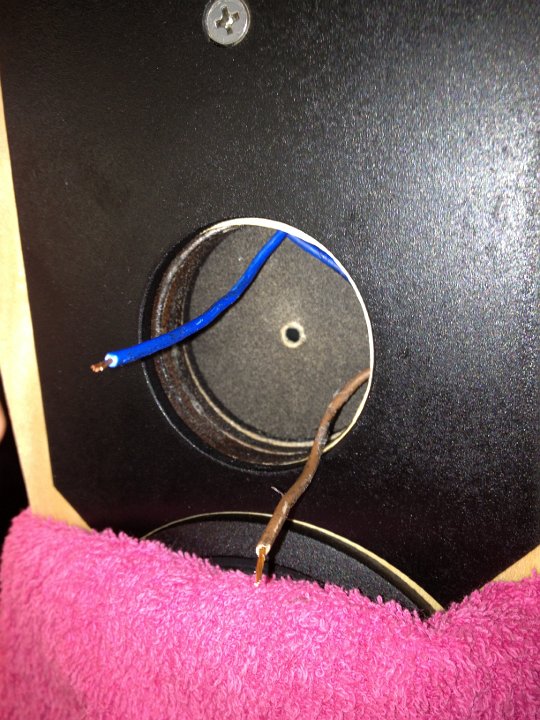
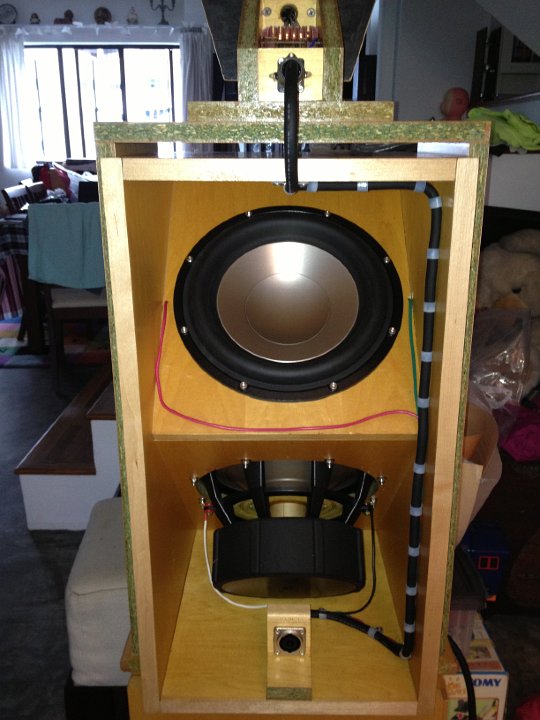
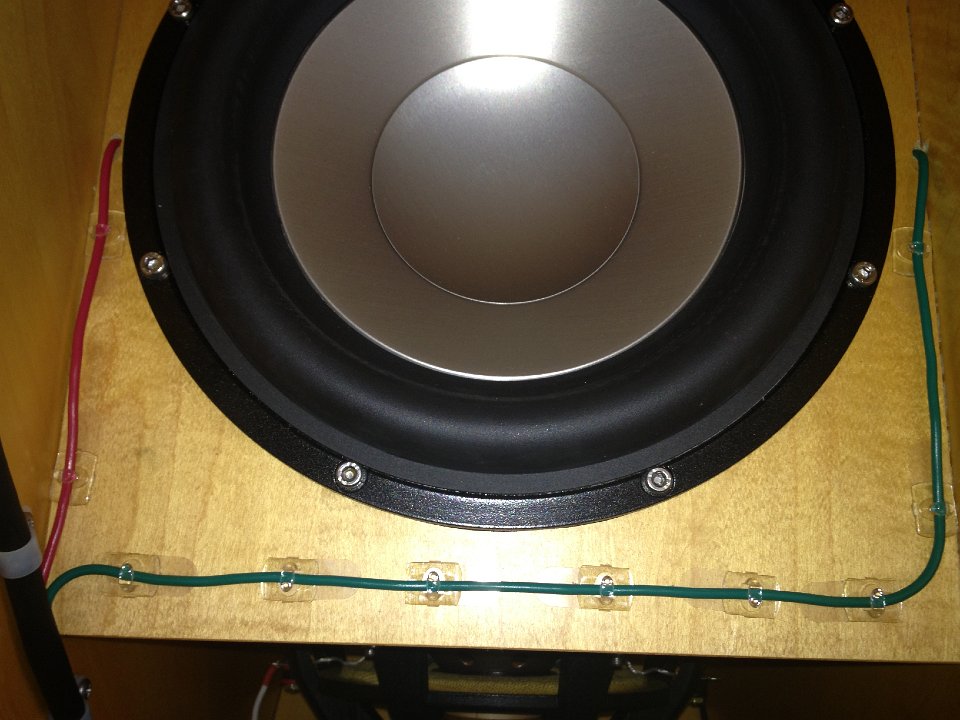
 144 Make sure you secure all the cables before you put the woofer in...at the very least the ones under and around the lower bass driver |
 145 No point in having the wires too short |
 146 Getting there...an extra pair of hands here really helps...wished I had had some |
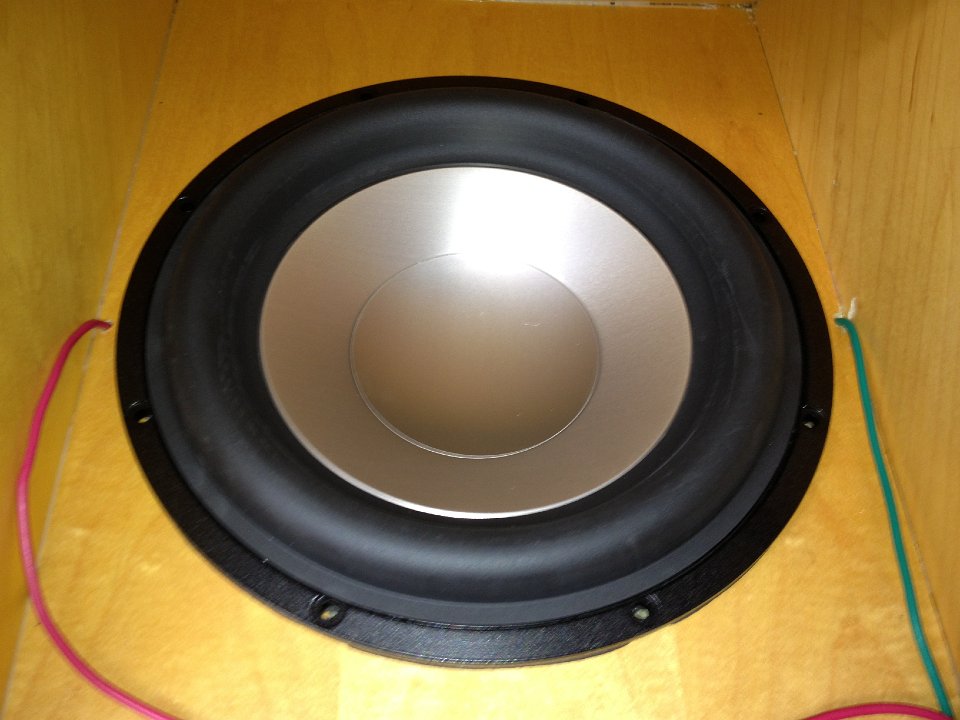
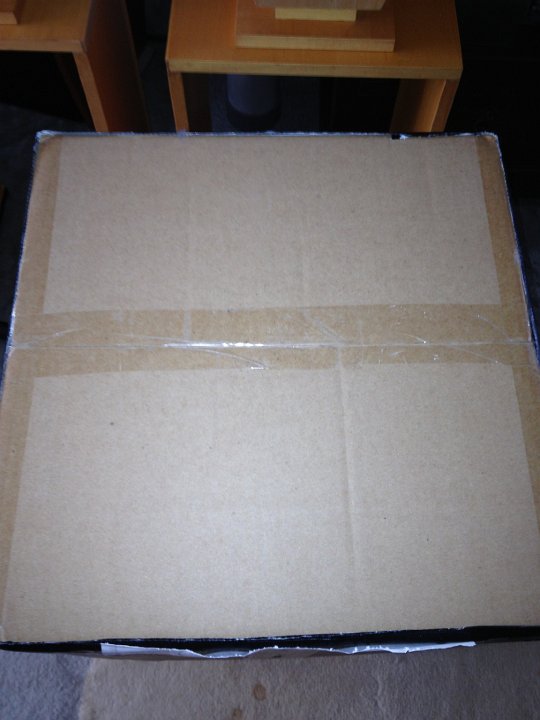 147 The woofer unboxing...boring I know. |
 148 Pass the parcel |
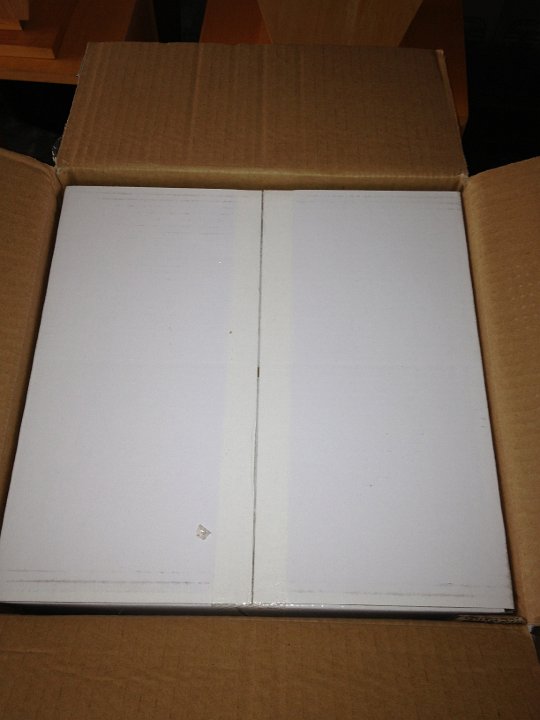
 149 More cardboard |
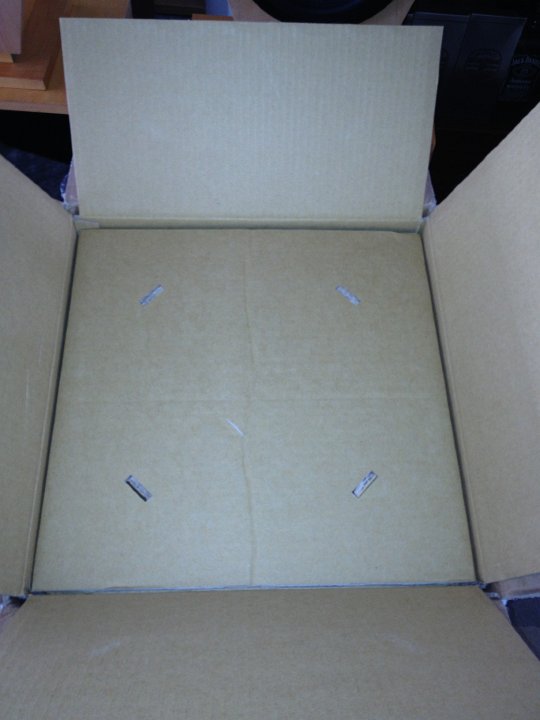
 150 OK I see it now |
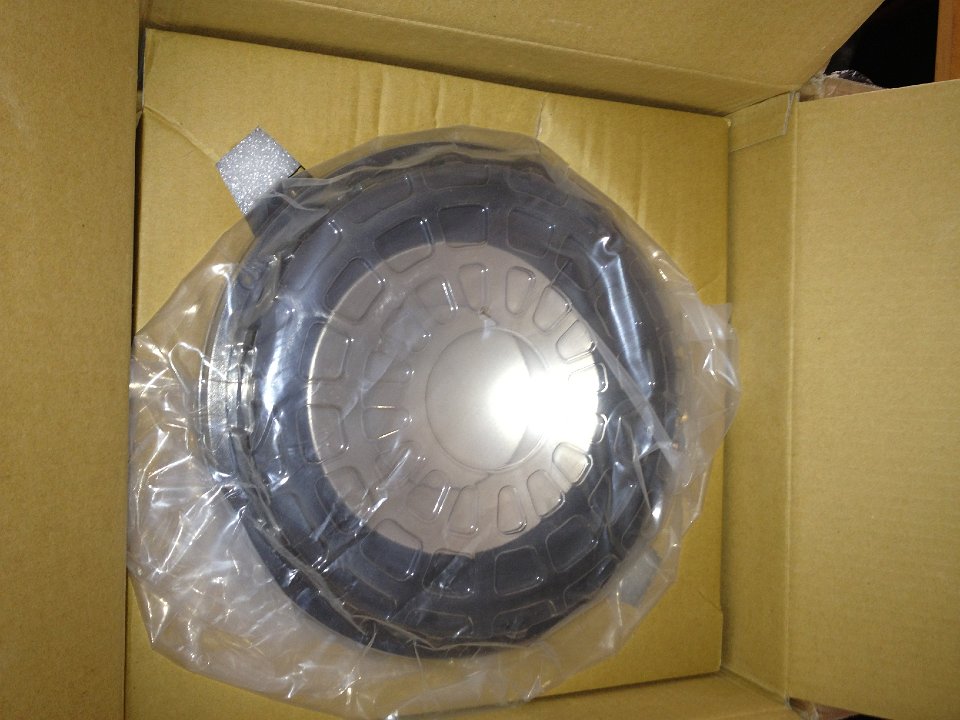
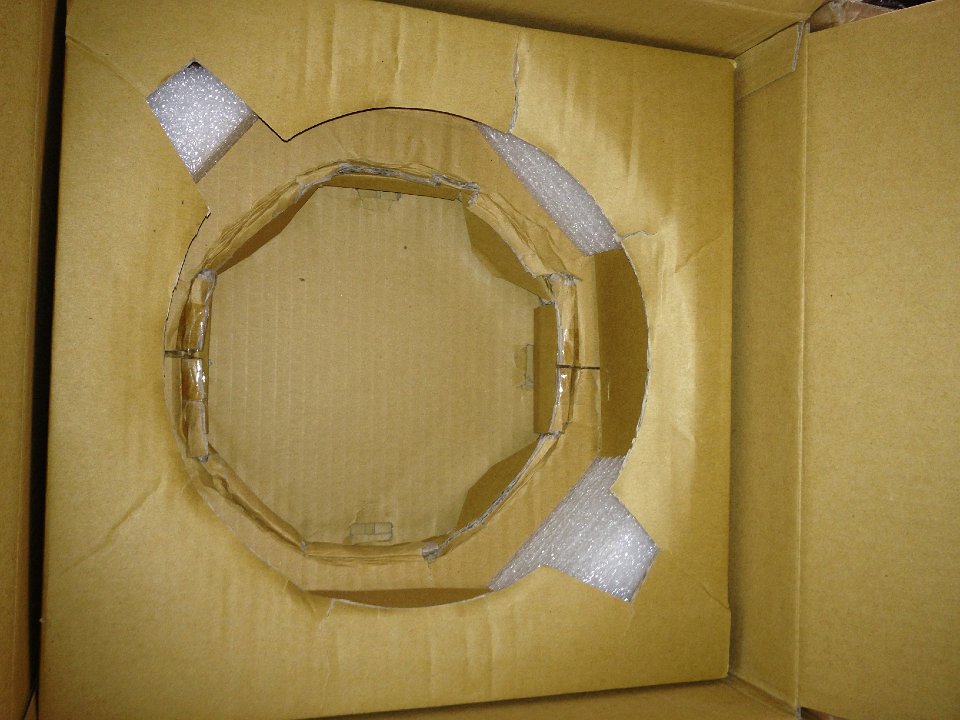 151 Who took it....they wont get far at 10Kgs a piece... |
 152 Ready to go... the glue up top still not quite finished drying... |
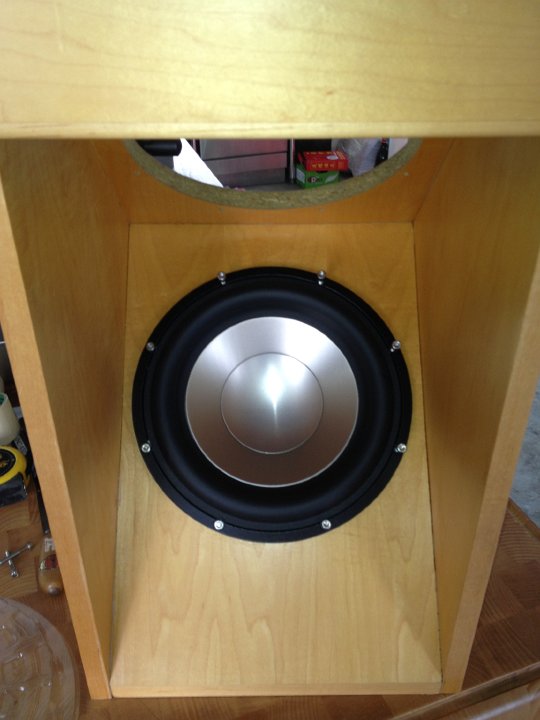
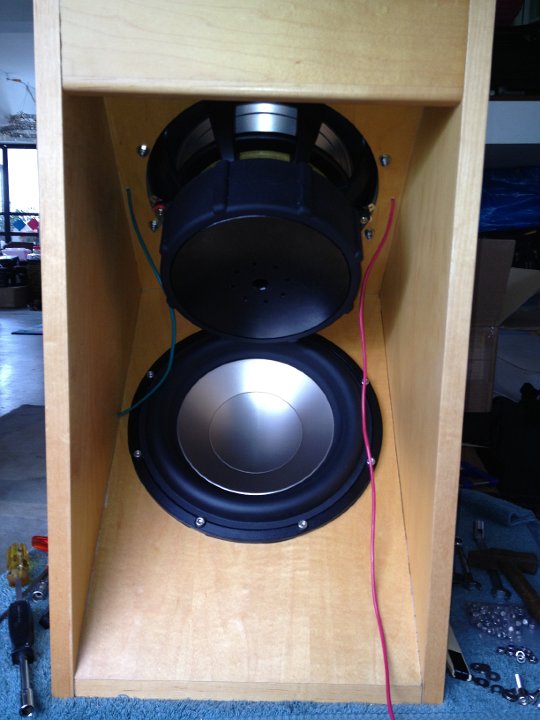
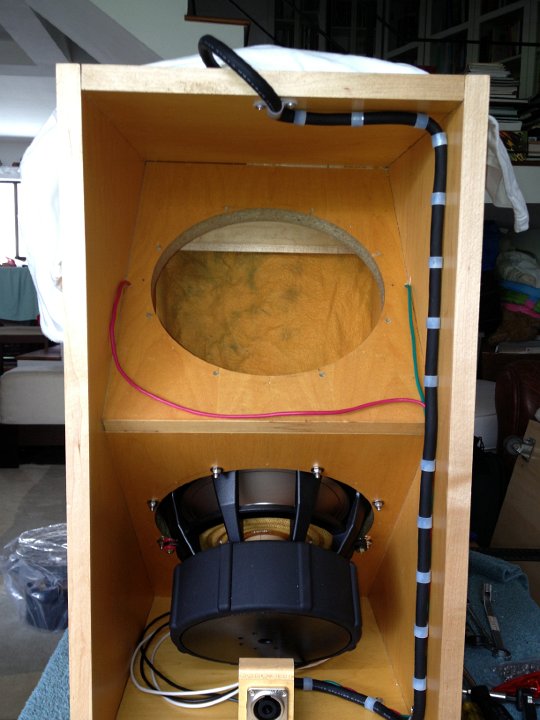 153 Mount the bottom woofer first...work at a good height that yoy can sit at... |
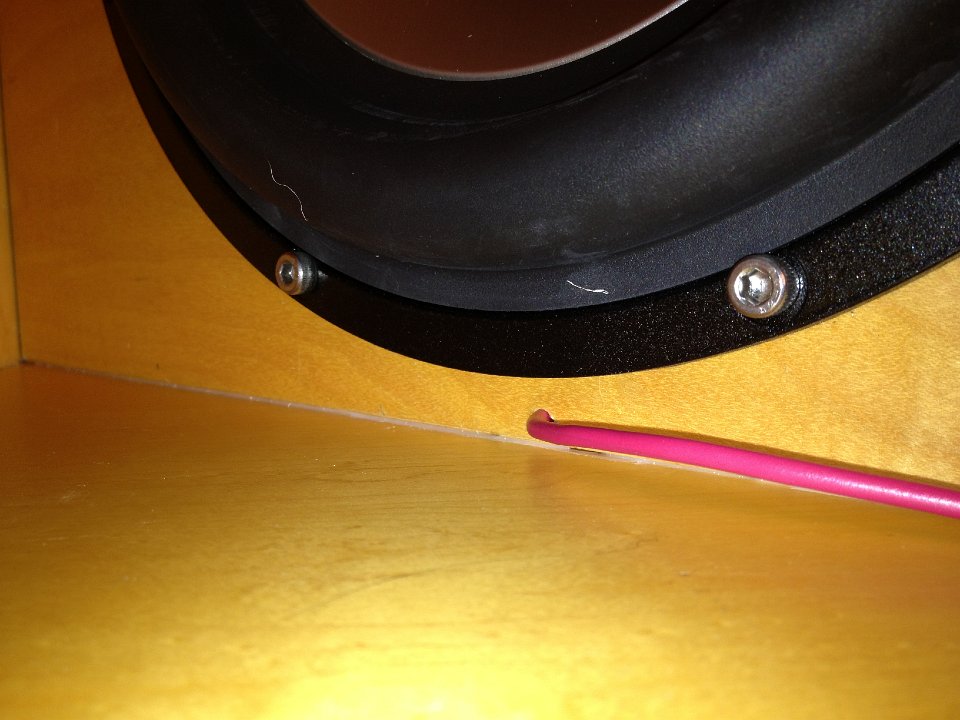
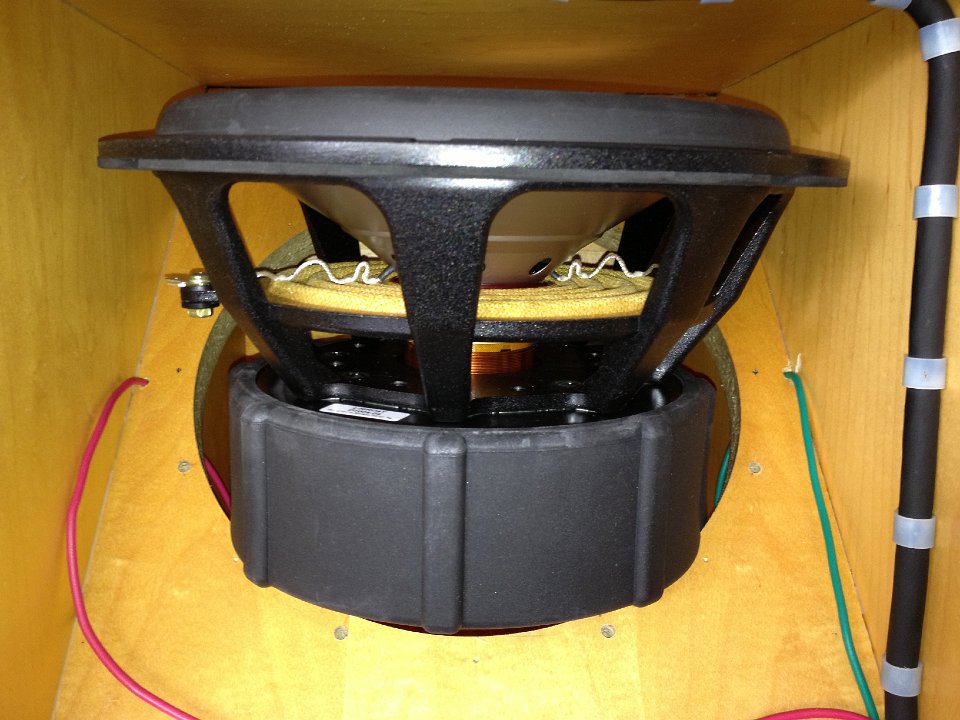 154 a balancing act...I found doing the holes with machine bolts intead of blind tapping screws the preferred option. USE ALL STAINLESS STEEL...hardware and tools too if you can...non magnetinc is GOOD |
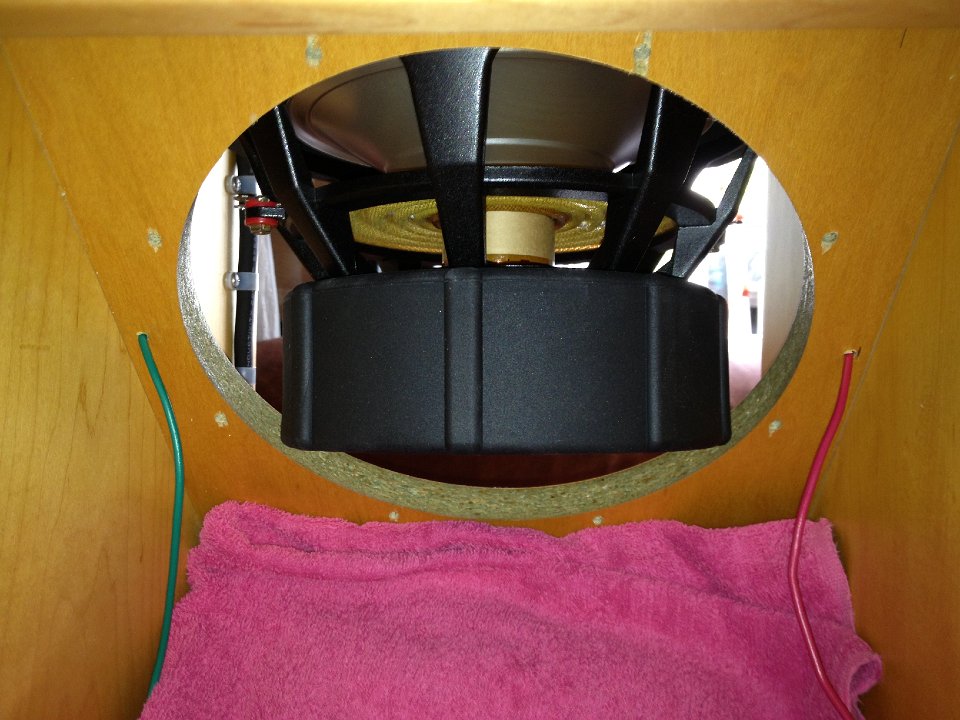 155 Cover up the lower woofer while you work |
 156 There...bolts please |
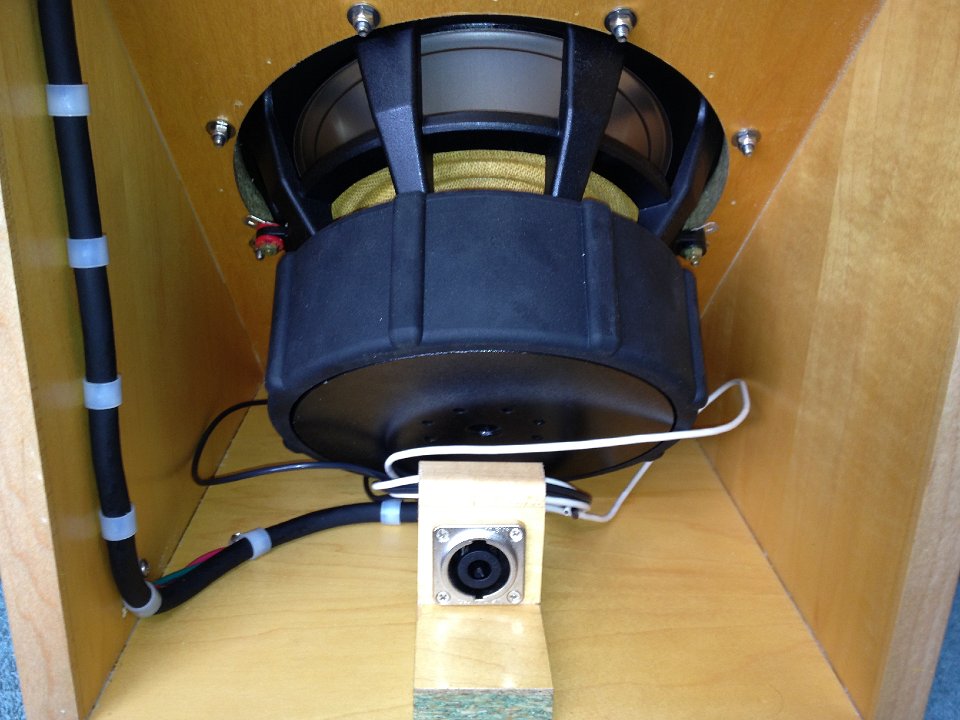
 157 OK now to connect the cables for the bass drivers |
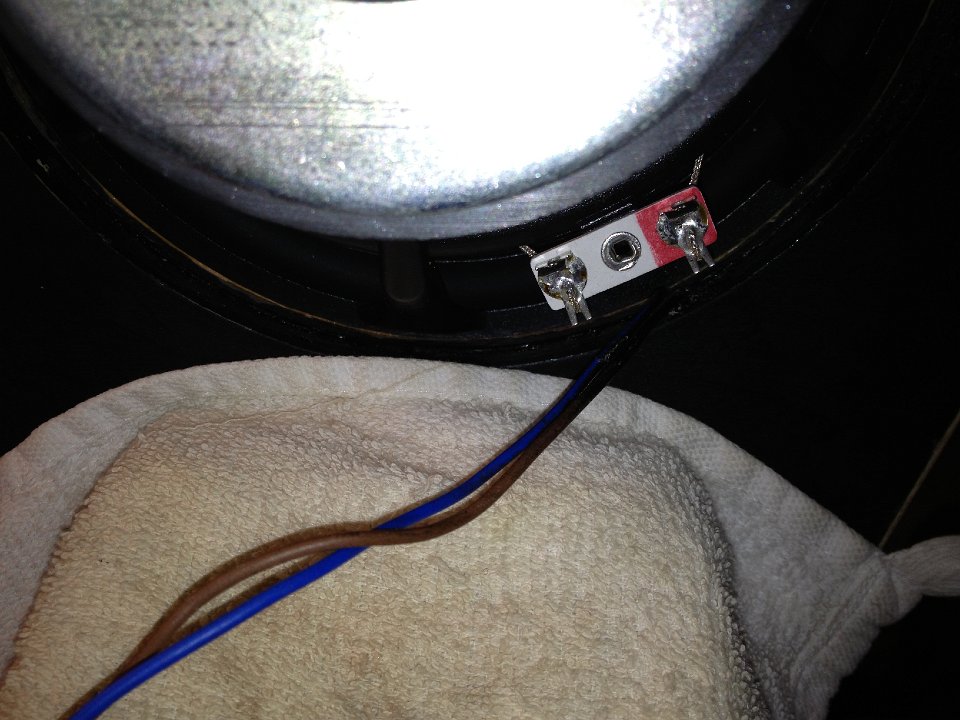
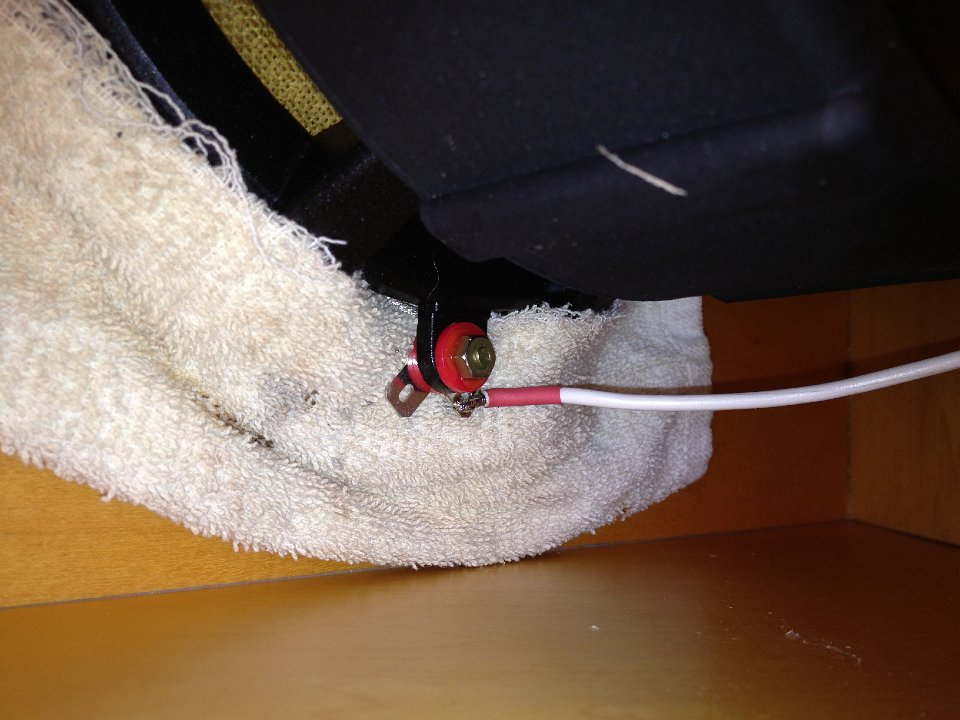 158 Soldered as I dont like the fastons that much..plus I dint have an 8mm ones on hand. Heat shrink the end so you know the polarity and helps stop the platic melting at the end and saves your fingers a little more too |
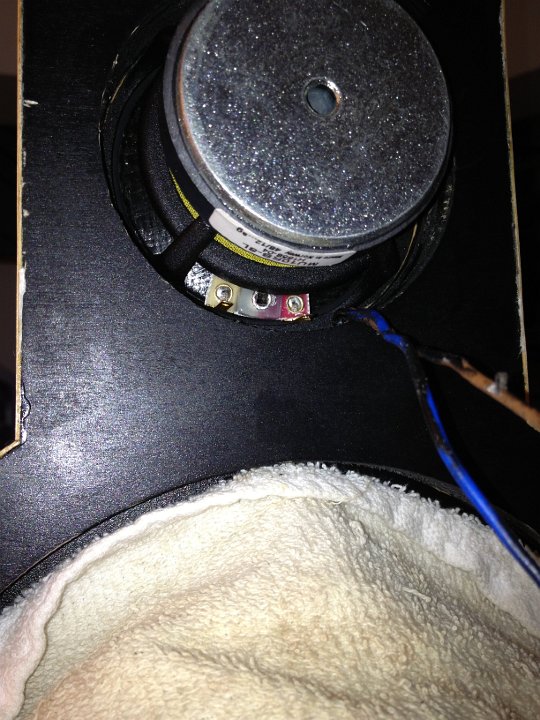
 159 Keep the holes as small as you can |
 160 Doing the mids and tweeters same rules apply...keep things protected from solder doplets |
 161 upper mid wires...my drivers dont have the tabs in the same place...the tab is on a floating ring on the driver spider ...I am surprised coming from SEAS, I expect this is something that needs to be QA'd |
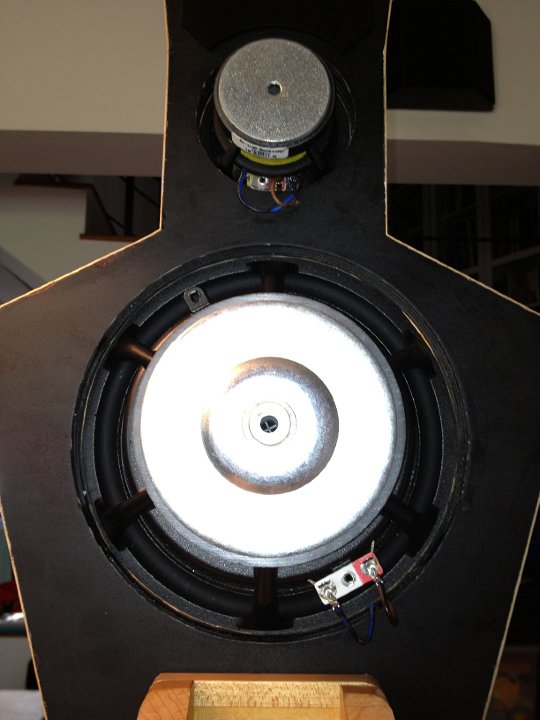
 162 Tweeters...I used 4mm counter sunk screws to secure them...mark the tweeters before you go to far with mounting them as the only marking is on the label and if that comes off you are blind |
 163 Cover everything. personally I thing the tweeter holes could be oversize in the main baffle as the tweeters are a sealed unit as far as I can tell. This would leave more room to route the wires |
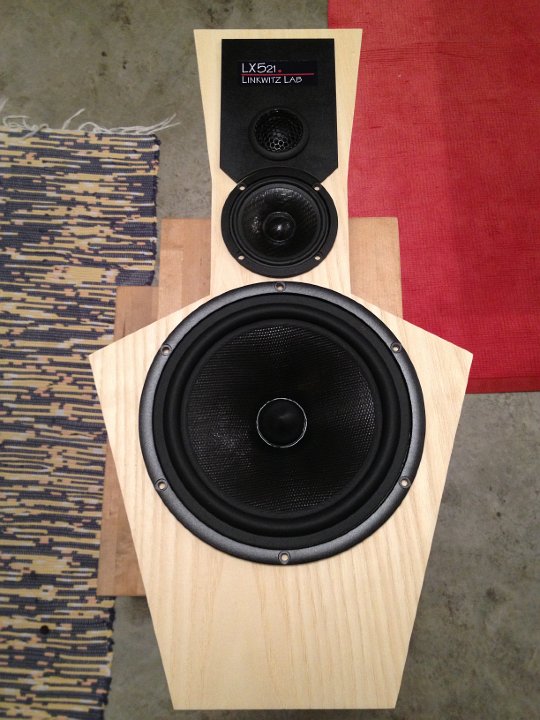
 164 OK the upper baffles are done and dusted |
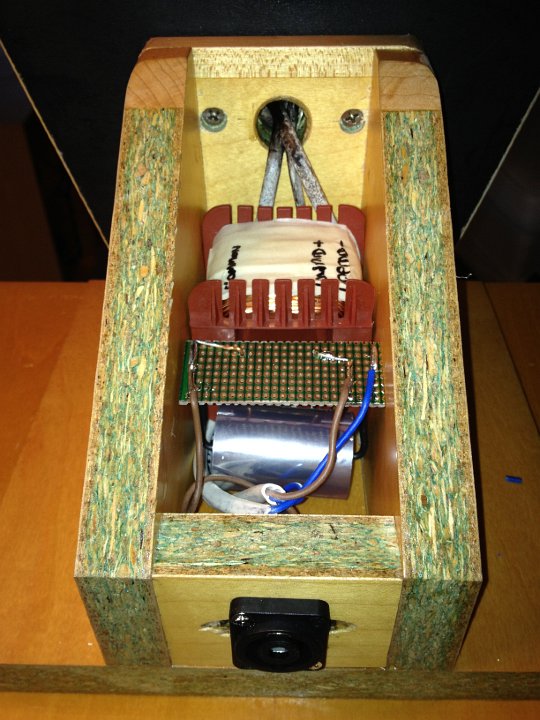 165 Mid crossovers done on a bit of vero board and I will probably to off the cavity with some plywood...maybe veneered or black. 4 way Speakon for the removal from the bass bin |
 166 Almost done...just need to secure upper woofer wires |
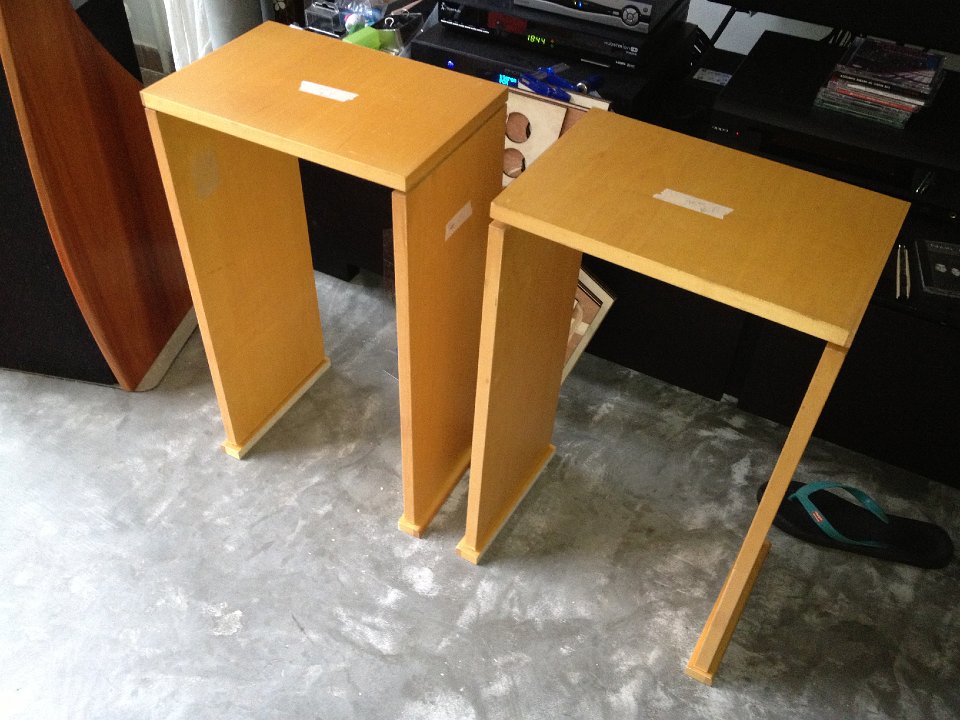
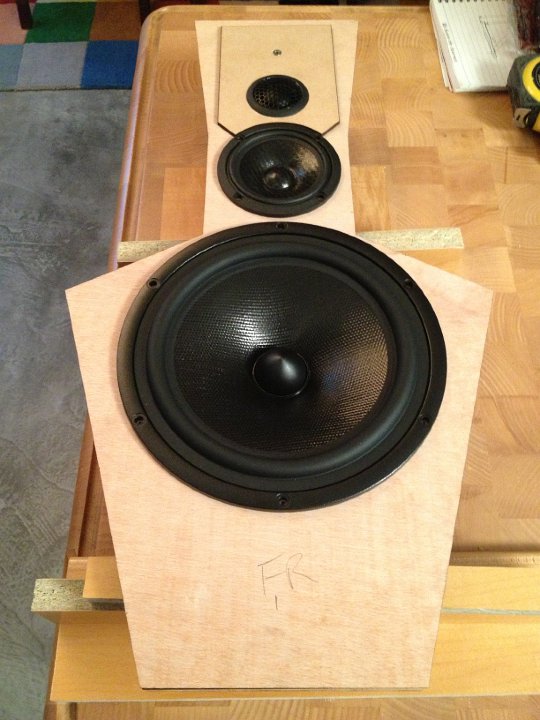
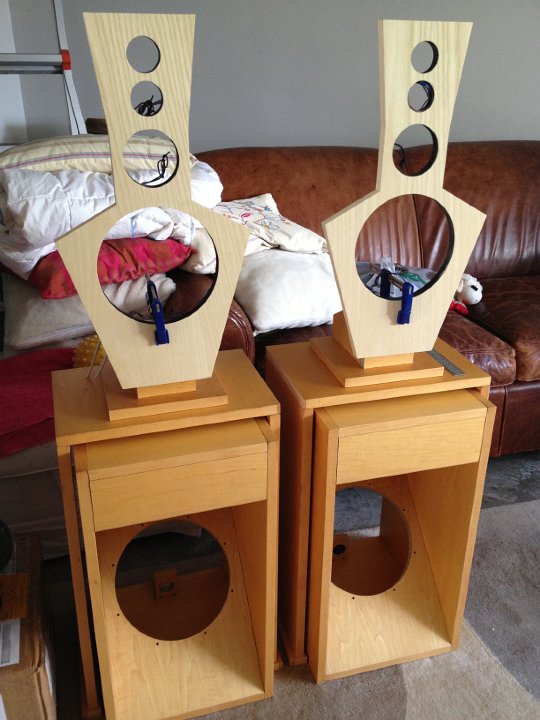
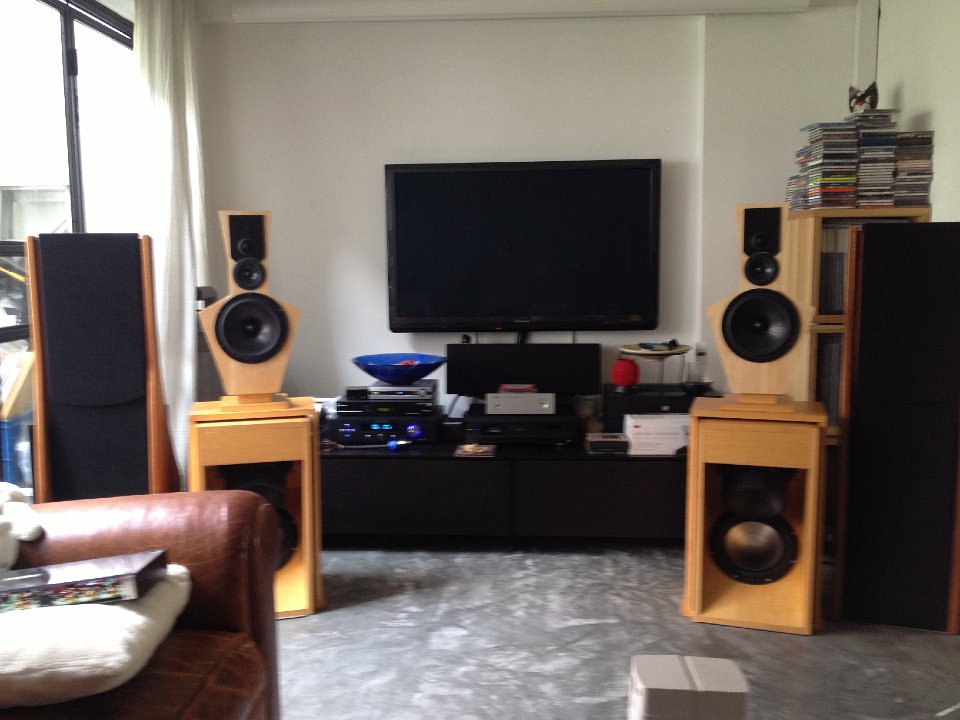
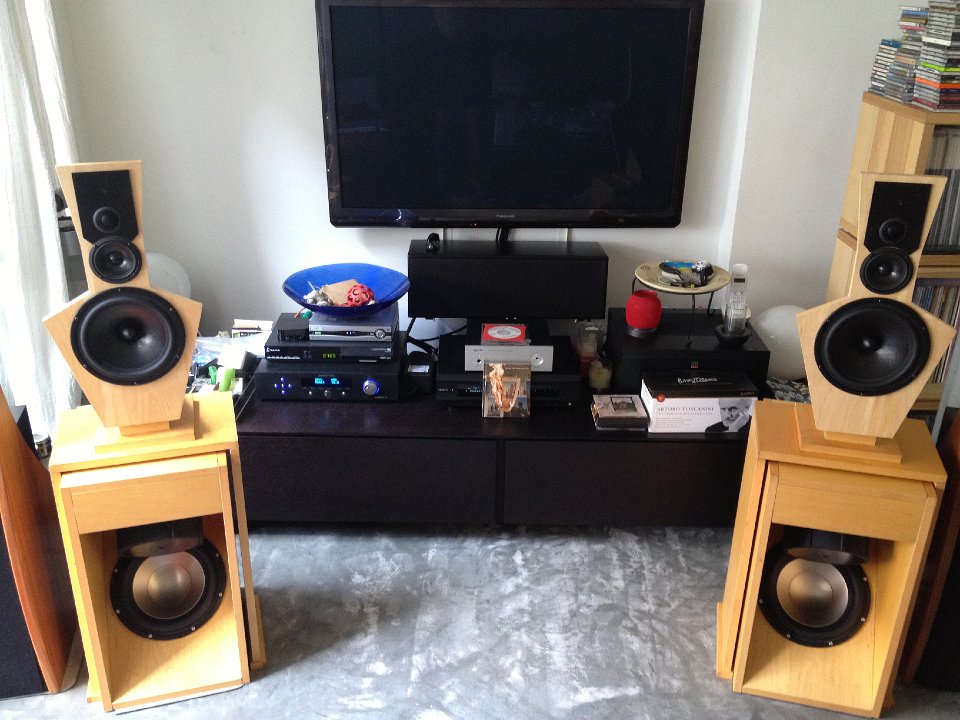
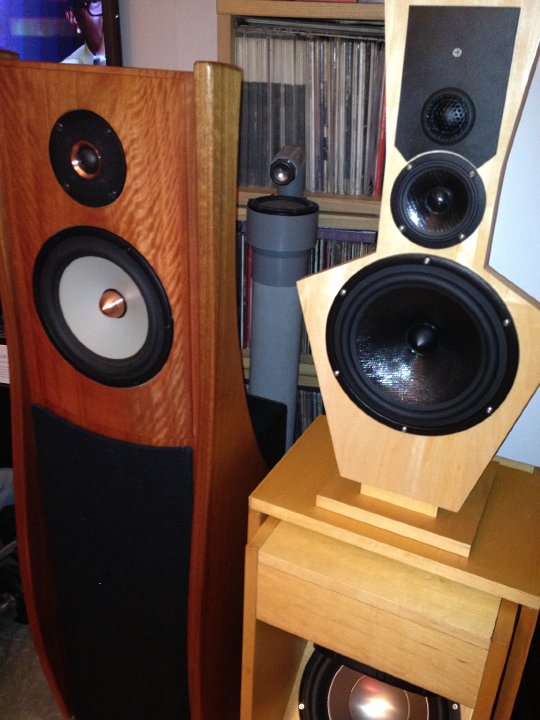 167 Old meets new...and the baby in the back |
 168 The LX's are a little taller and look much more agressive |
 169 Back to the boards...now all the woodworking is done. |
 170 That was fast! |
 171 I'm in a hurry now |
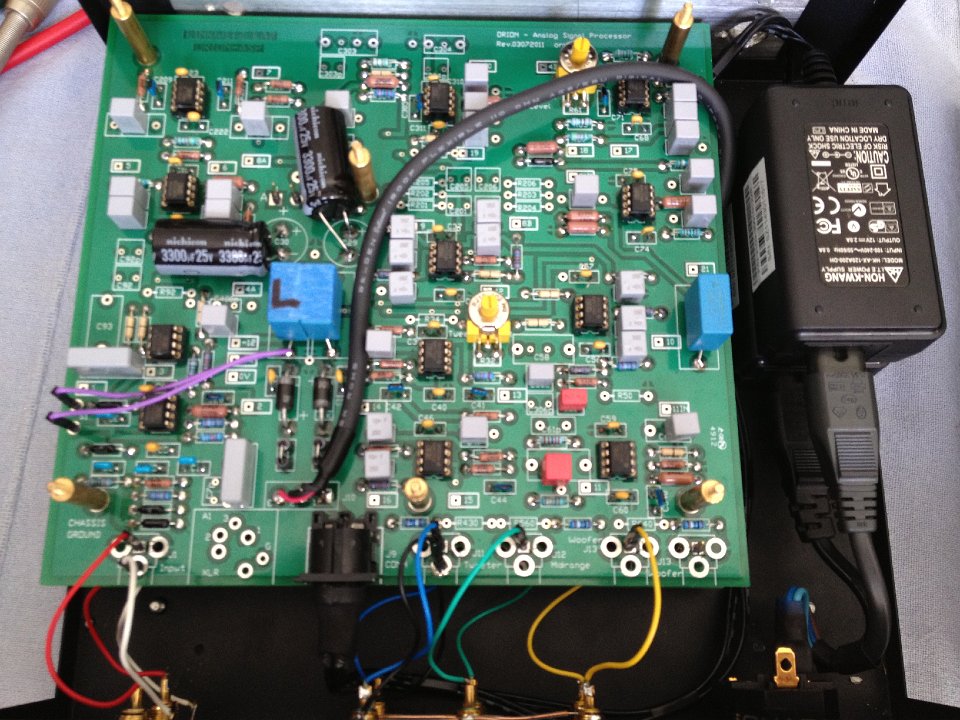
 172 ASP's are DONE |
 173 Woofer cable secured |
 174 We have ignition... |
 175 WYWH ... oooooh....aaaaahhhhhh |
 176 Proud to be a Linkwitz.... |
 177 OK...time to relocate the Orions...they have served me well...for 3 months SOB |